Background
16 years ago, I bought a red 1997 Mazda Miata. It was a ton of fun, but I sold it in 2015 since I was moving to a high crime area without a garage. I knew the car would be vandalized and likely stolen, and I didn’t want to deal with that. I missed that car for years.
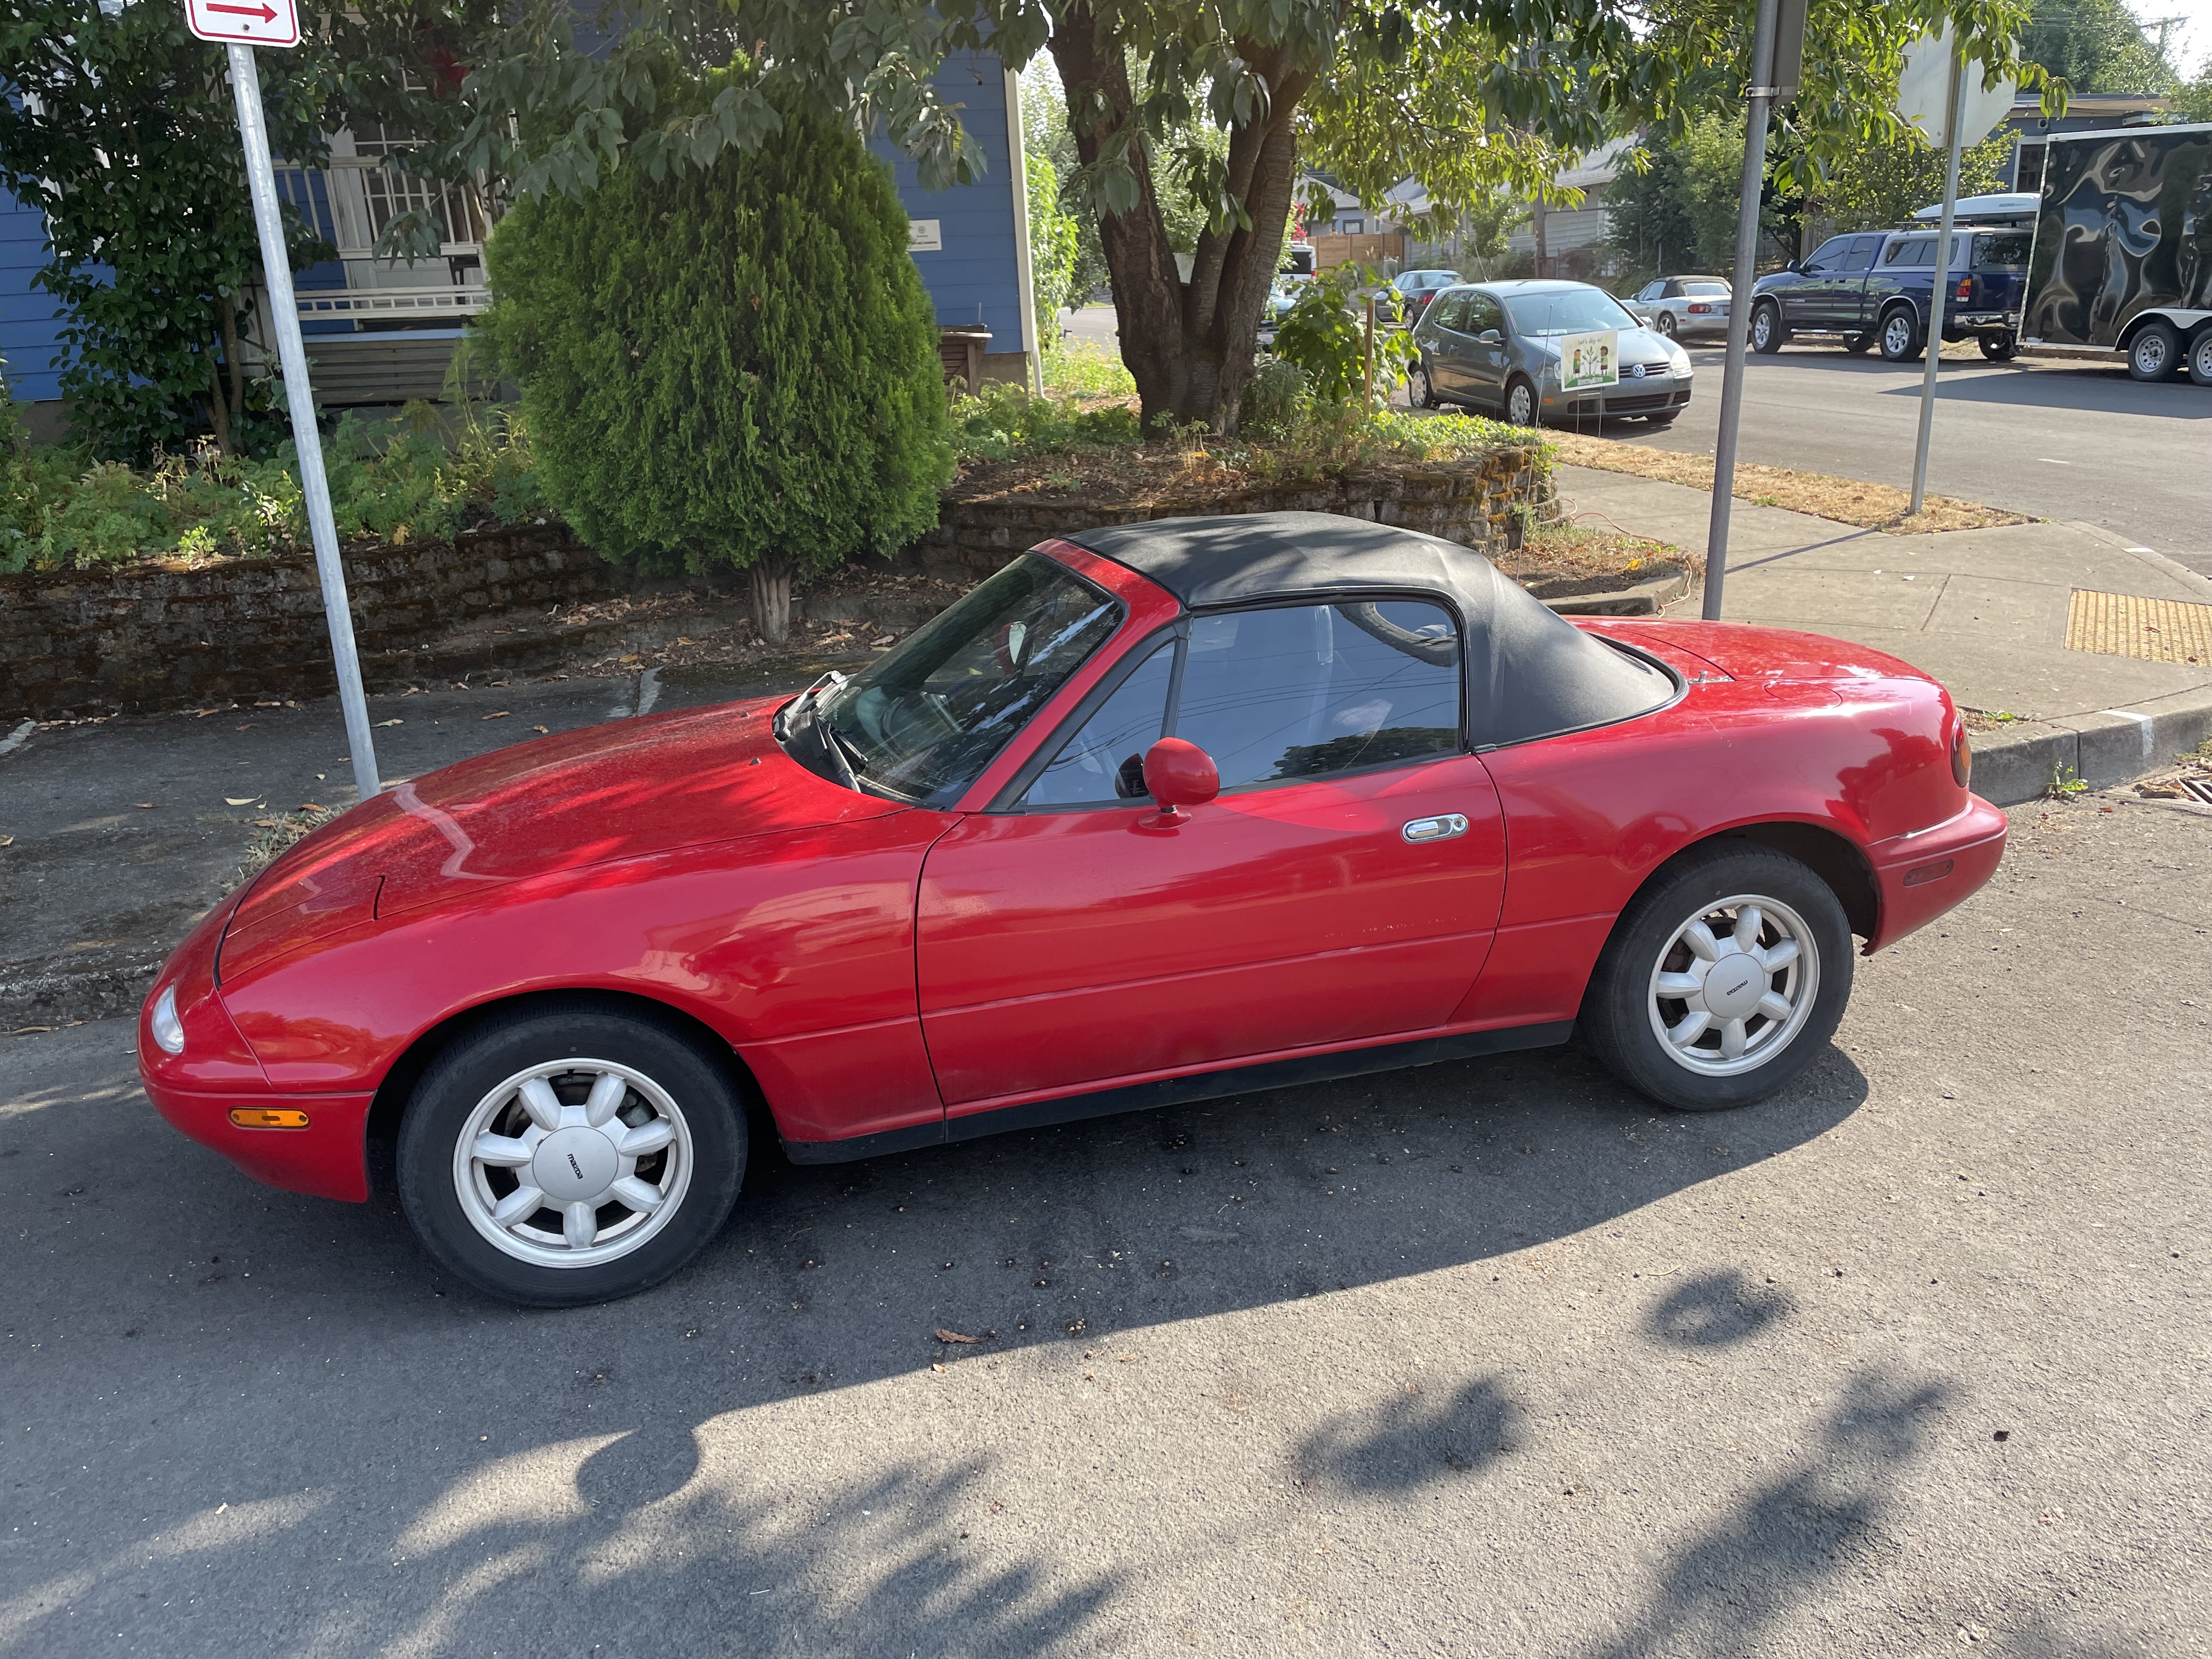
In January of 2023, I stumbled across a very similar vehicle: A red 1990 Miata. The original owner had it for at least 20 years, then sold it to a younger relative. In 2021, he sold it to the third owner, who was selling it.
Mechanically, the car was great. It had around 112,000 miles on the odometer. I couldn’t find any rust problems. Recent maintenance included replacing the timing belt, replacing the clutch, recharging the AC, and installing a new starter motor. Nothing leaked. The exhaust was colorless and smelled like rich fuel, not burning oil. The seller did mention that sometimes the car would not start, most likely due to a failing ignition switch. He had ordered a replacement but it hadn’t arrived yet.
There were some small issues. The paint (which was original) had faded from weather and time. Scratches were impressively minor for a 33 year old car. The battery hold down clamp was missing, as were the brackets for the spare tire and jack. The car’s antenna had broken off at some point. The second owner had installed an ugly aftermarket LED interior light. The sound system was original. It had an AM/FM radio and a cassette player.
I bought it.
Goal
My goal with this car was to turn it into a time capsule from the 1990s. No performance upgrades. No fancy customizations. I wanted a machine that looked and behaved as if it came off the dealership lot in 1990. If I did customize anything, I’d make sure I could restore it to original condition.
Restoration
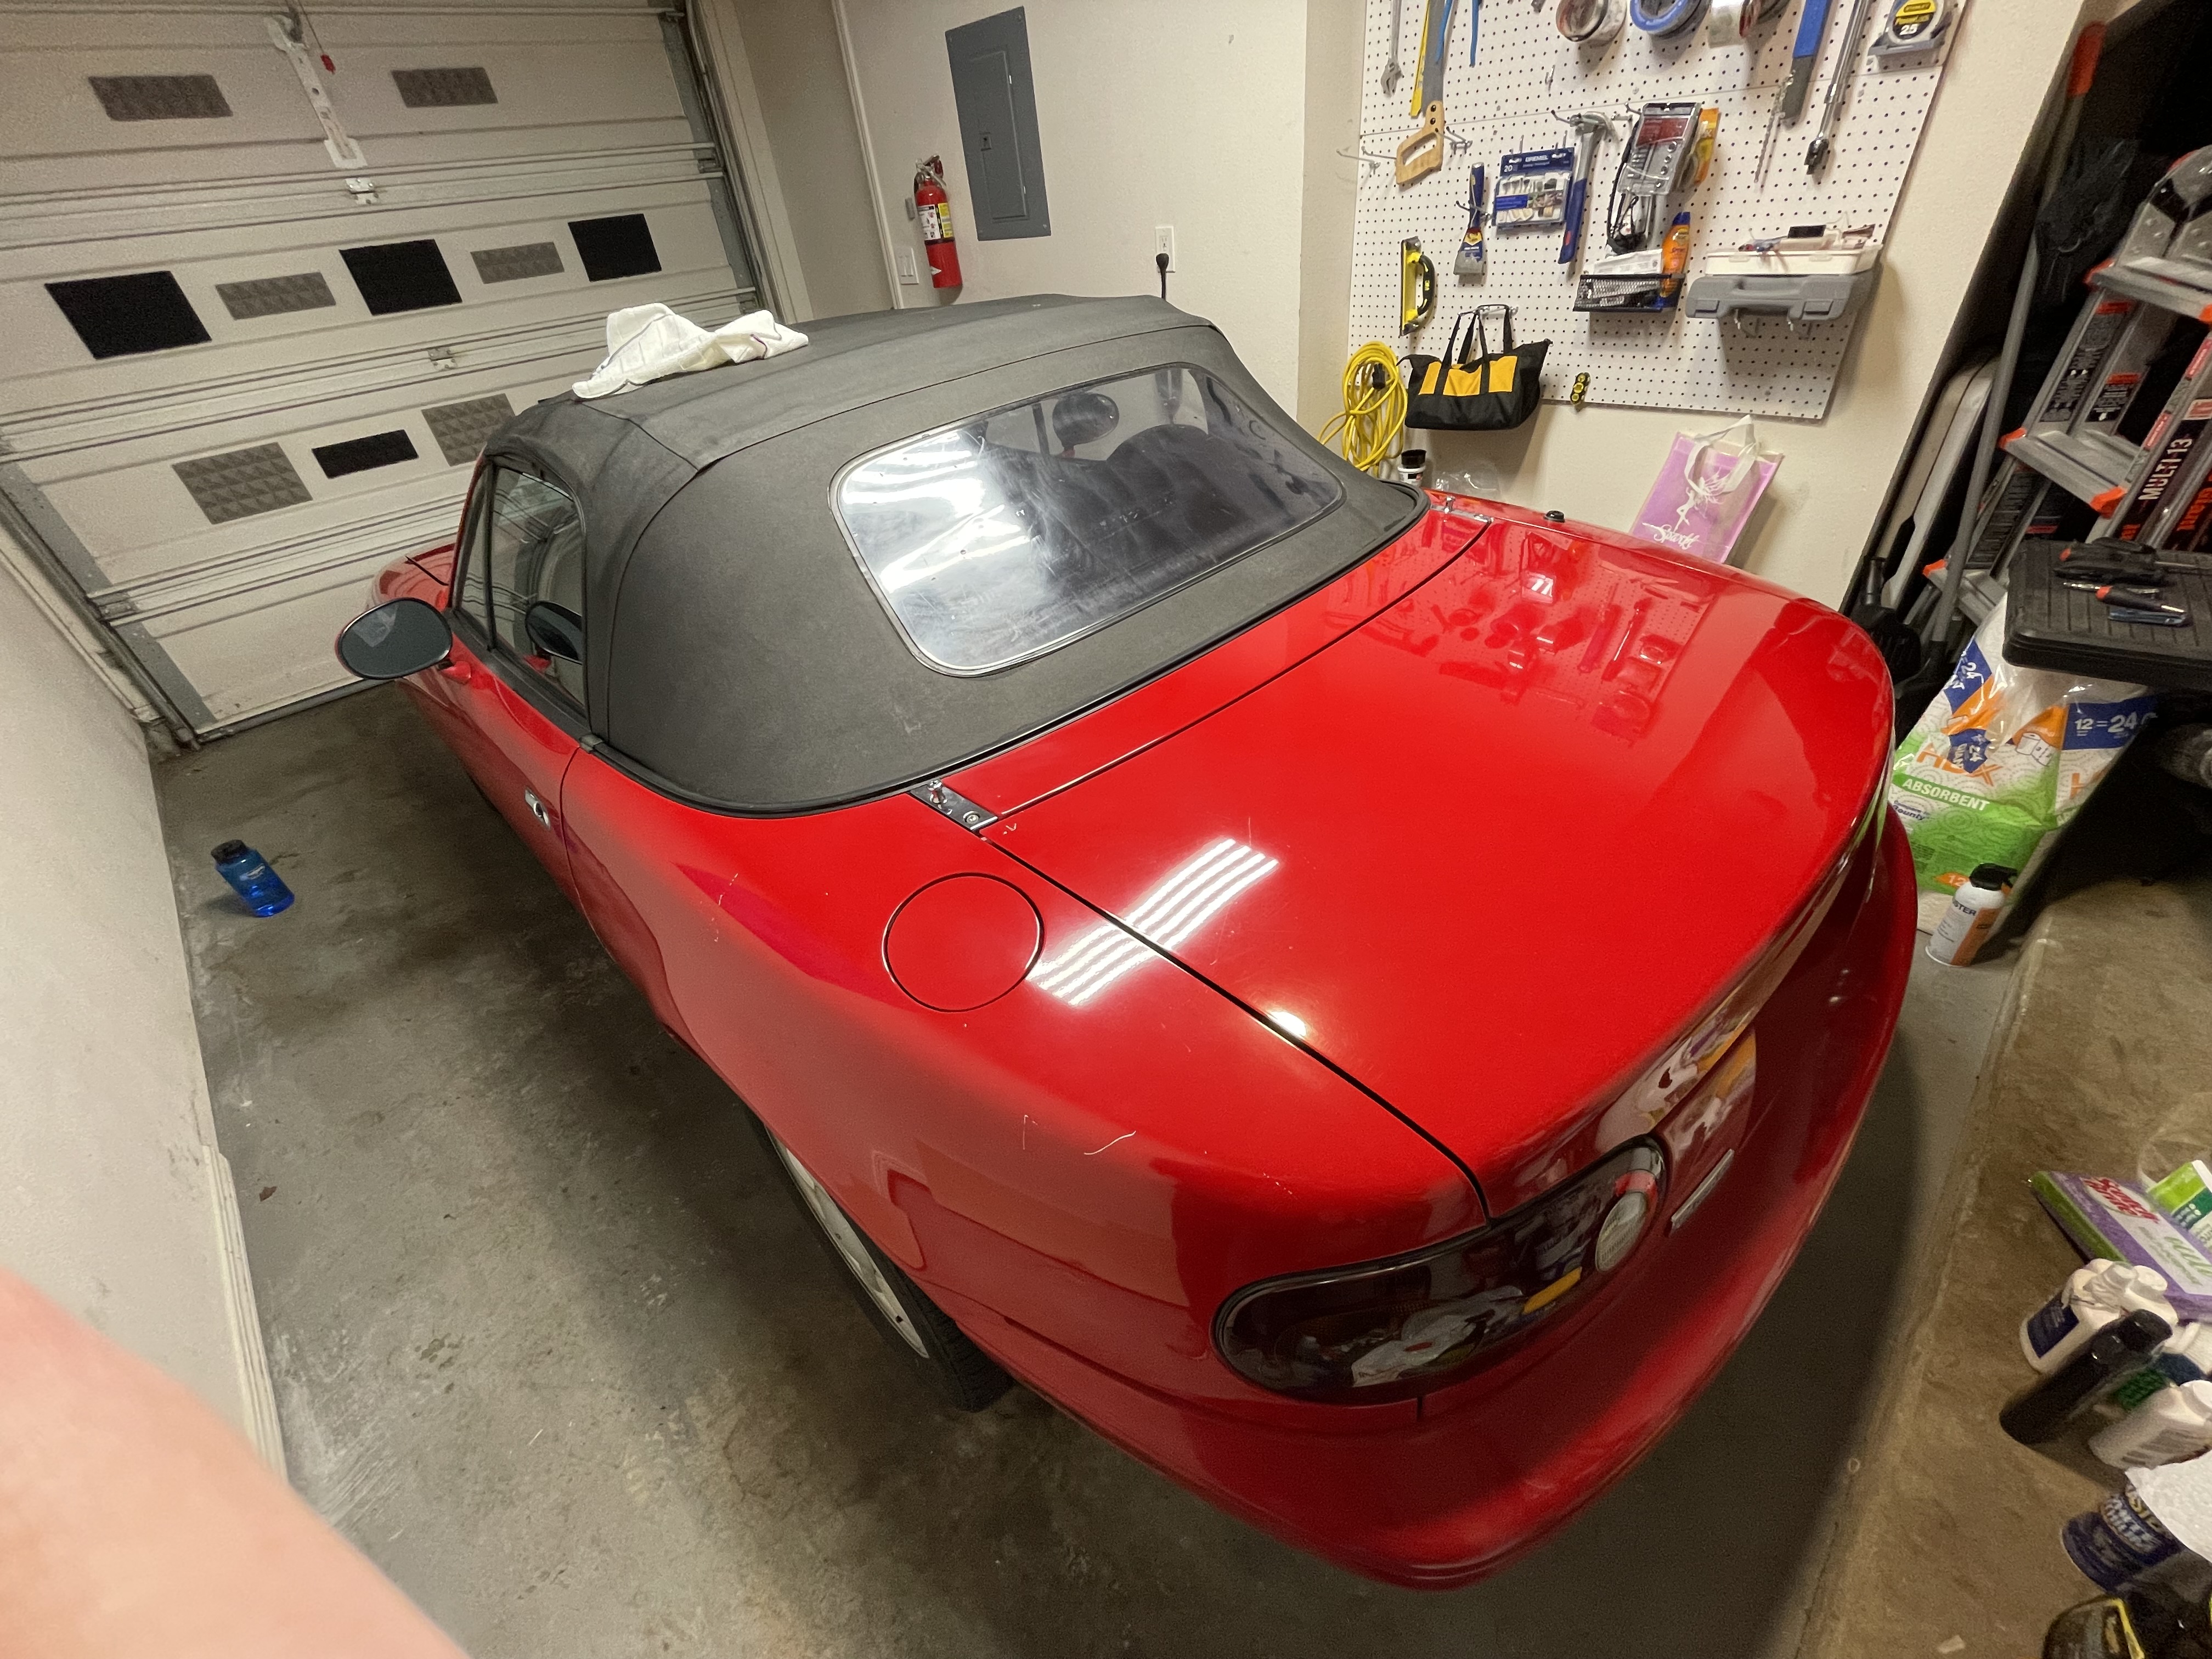
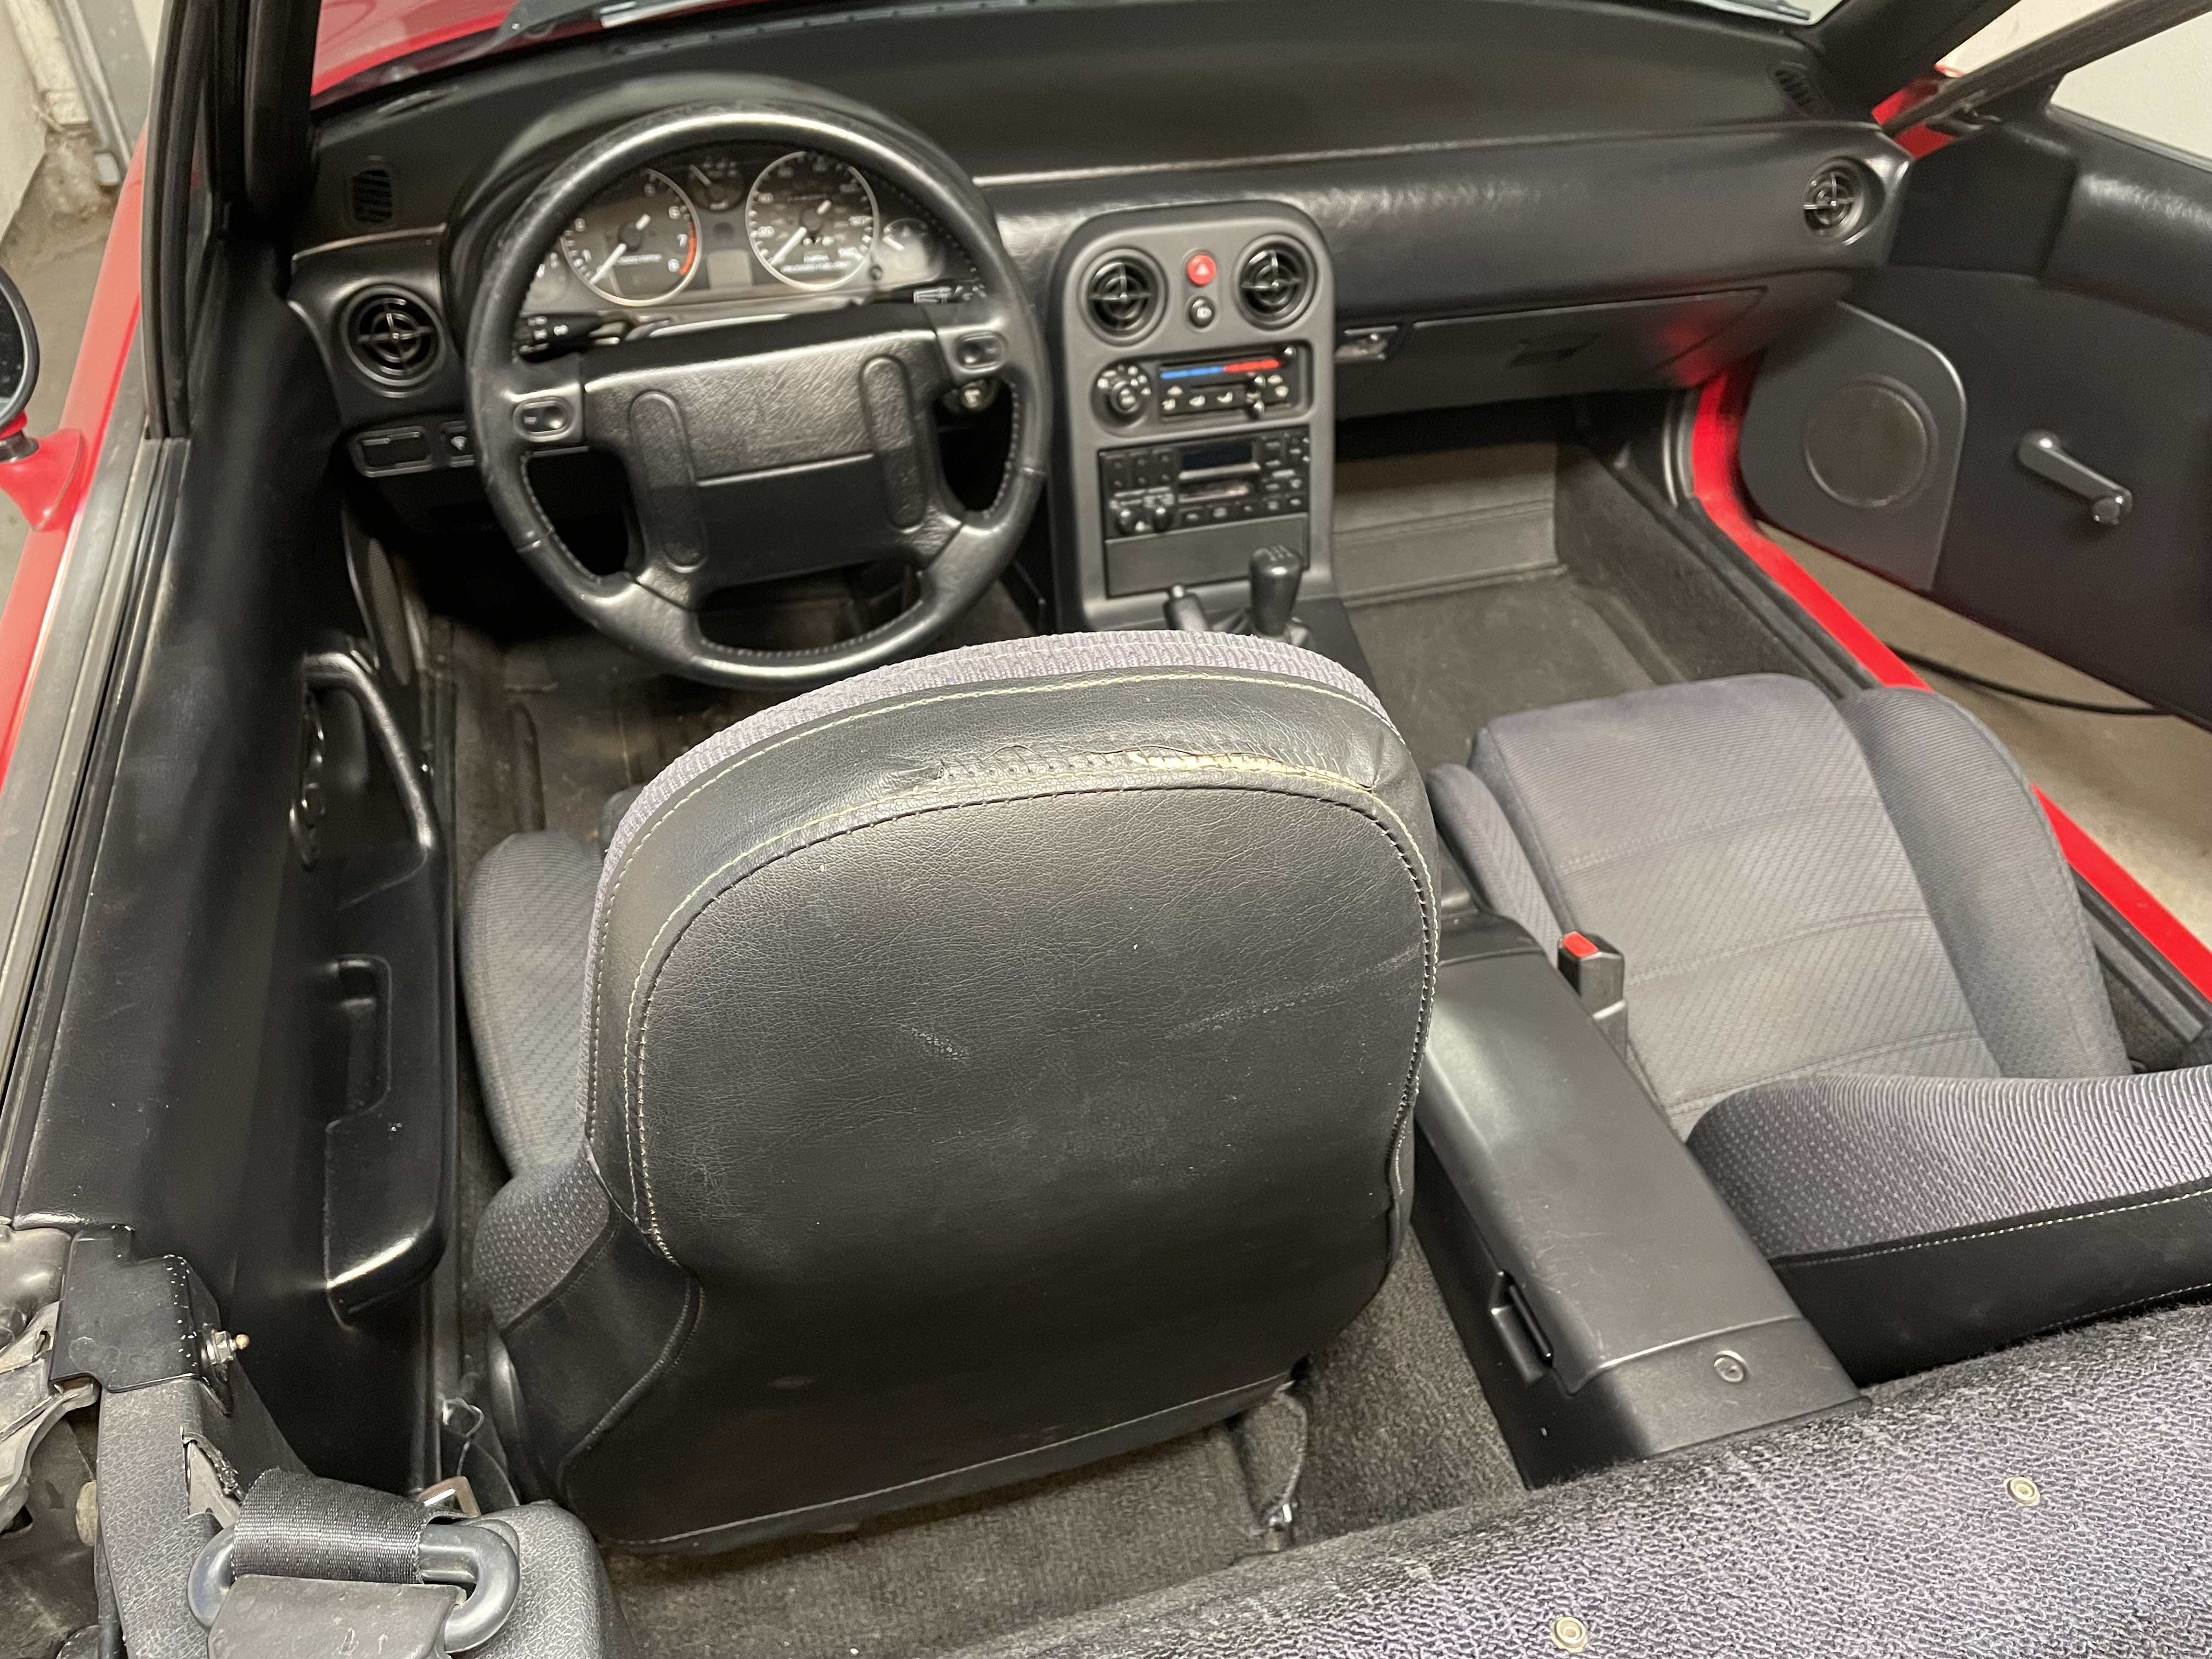
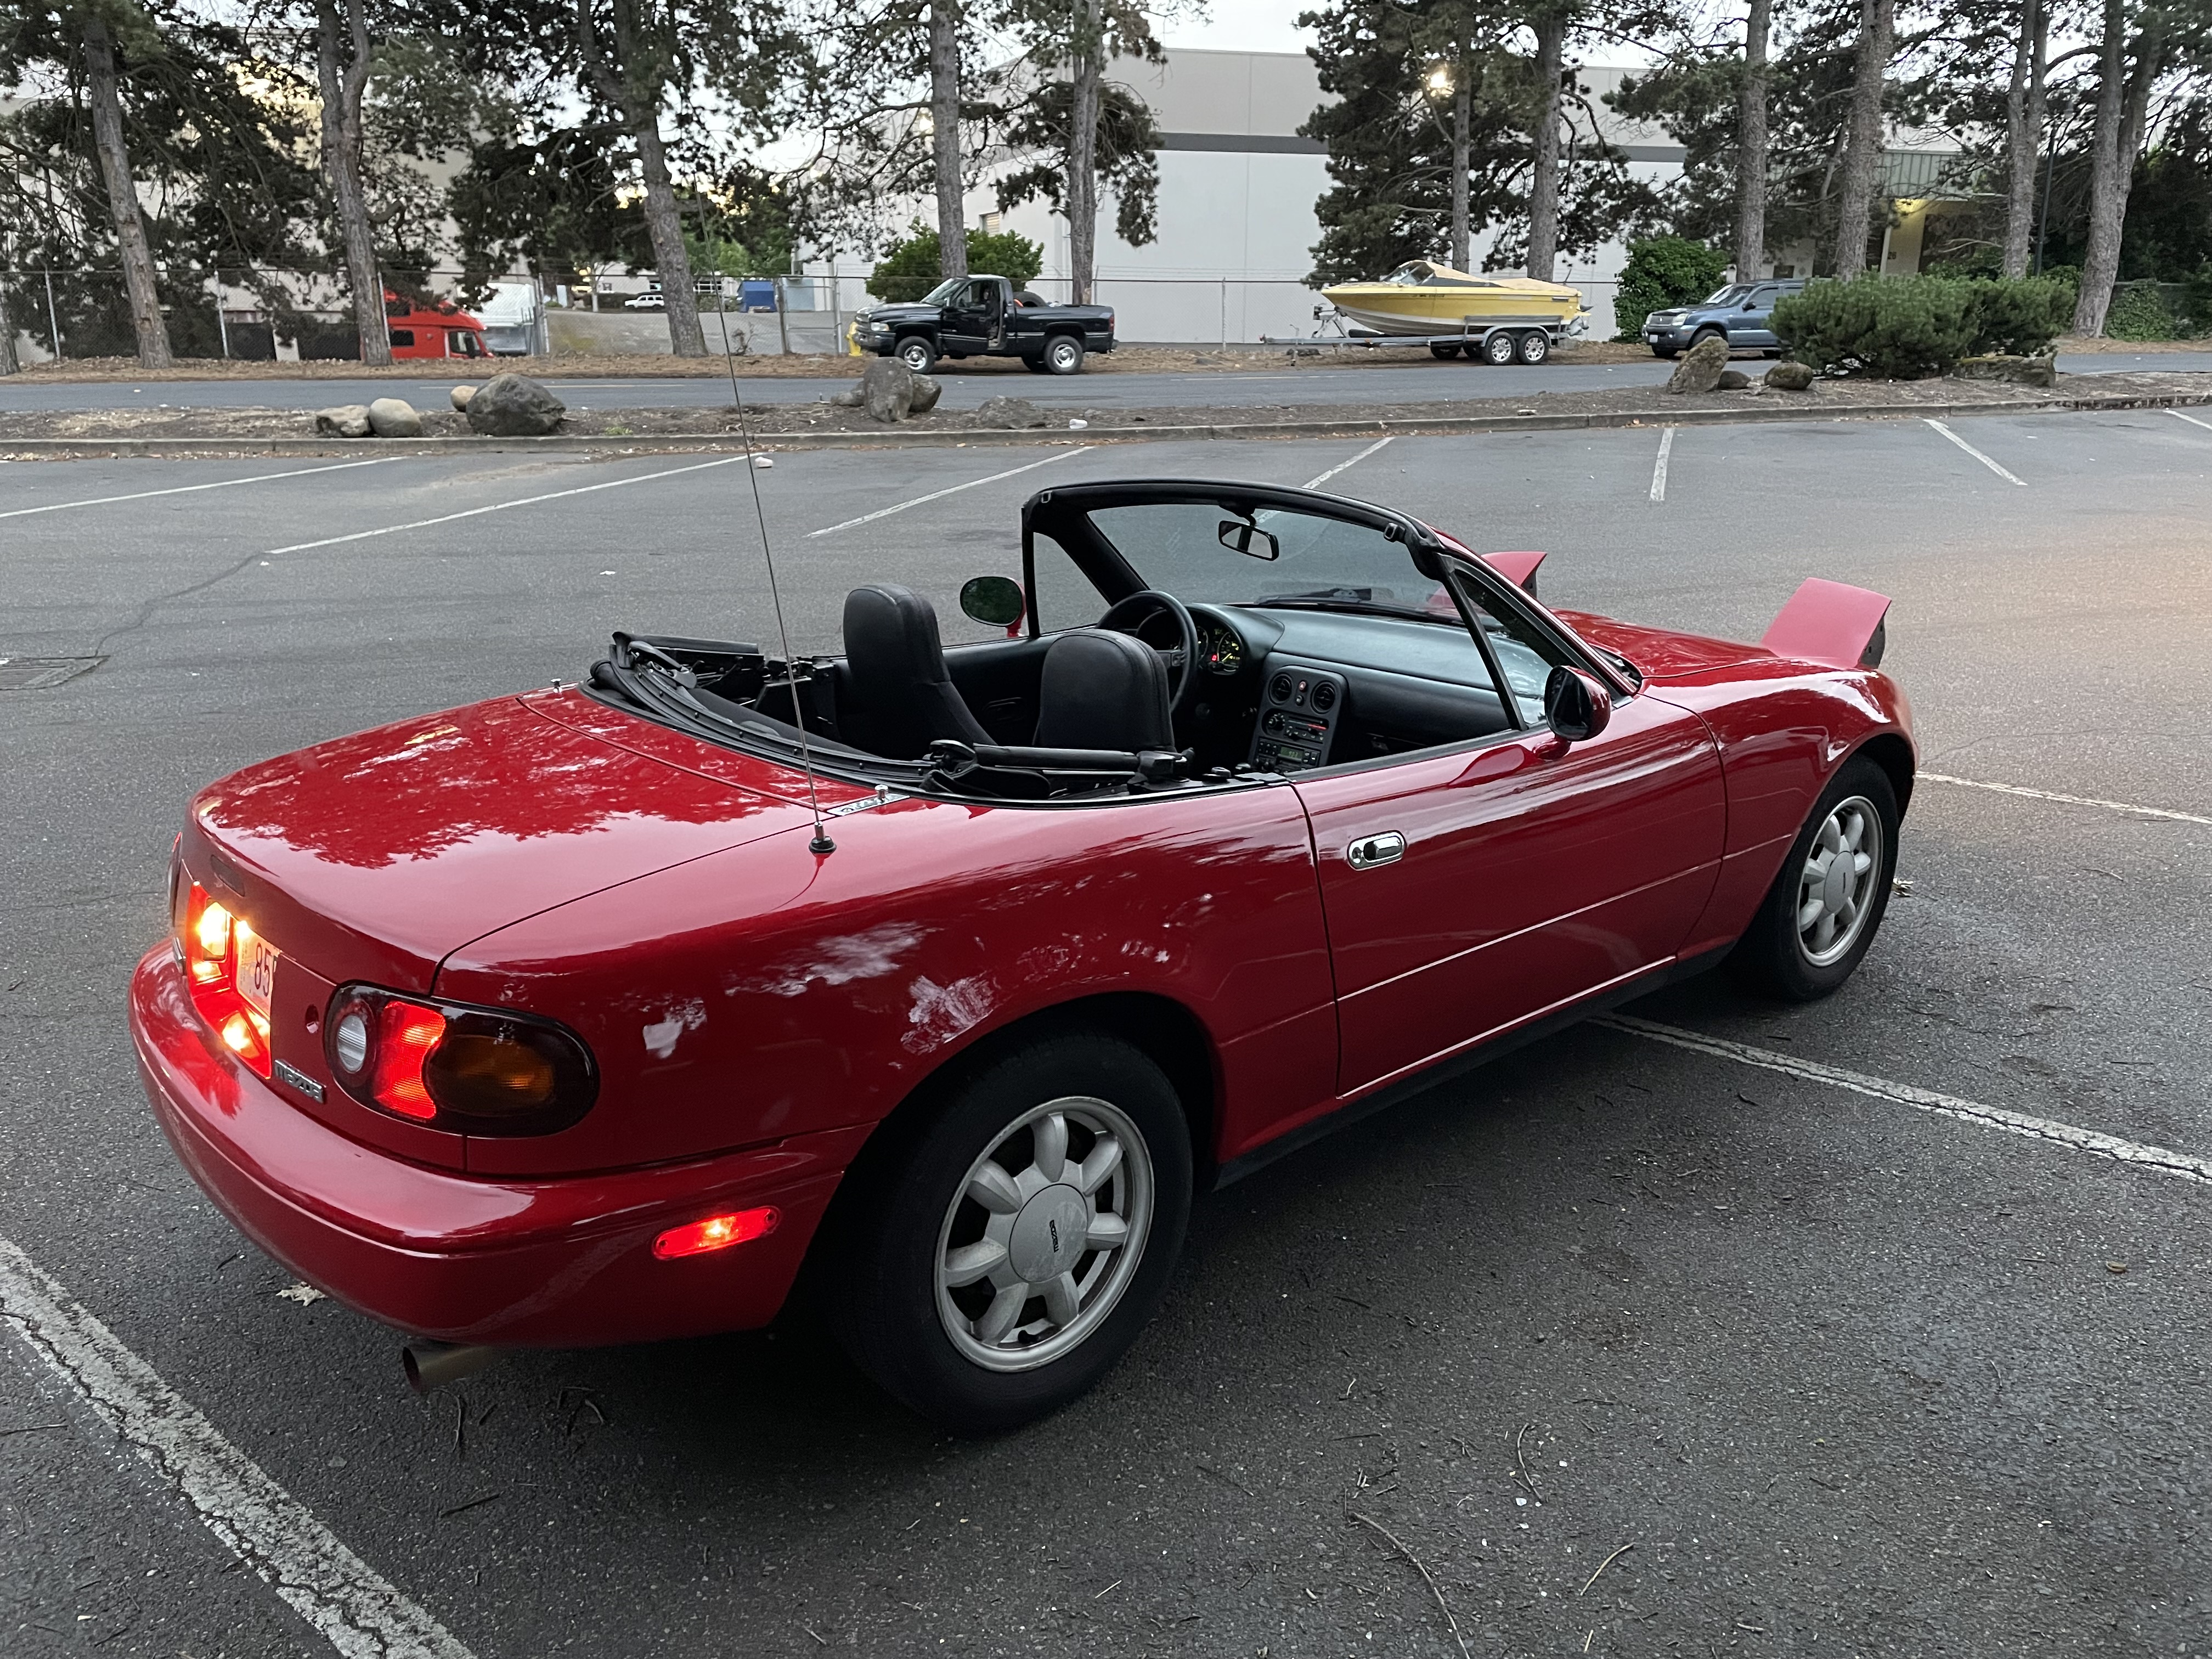
This is what the car looked like when I got it: 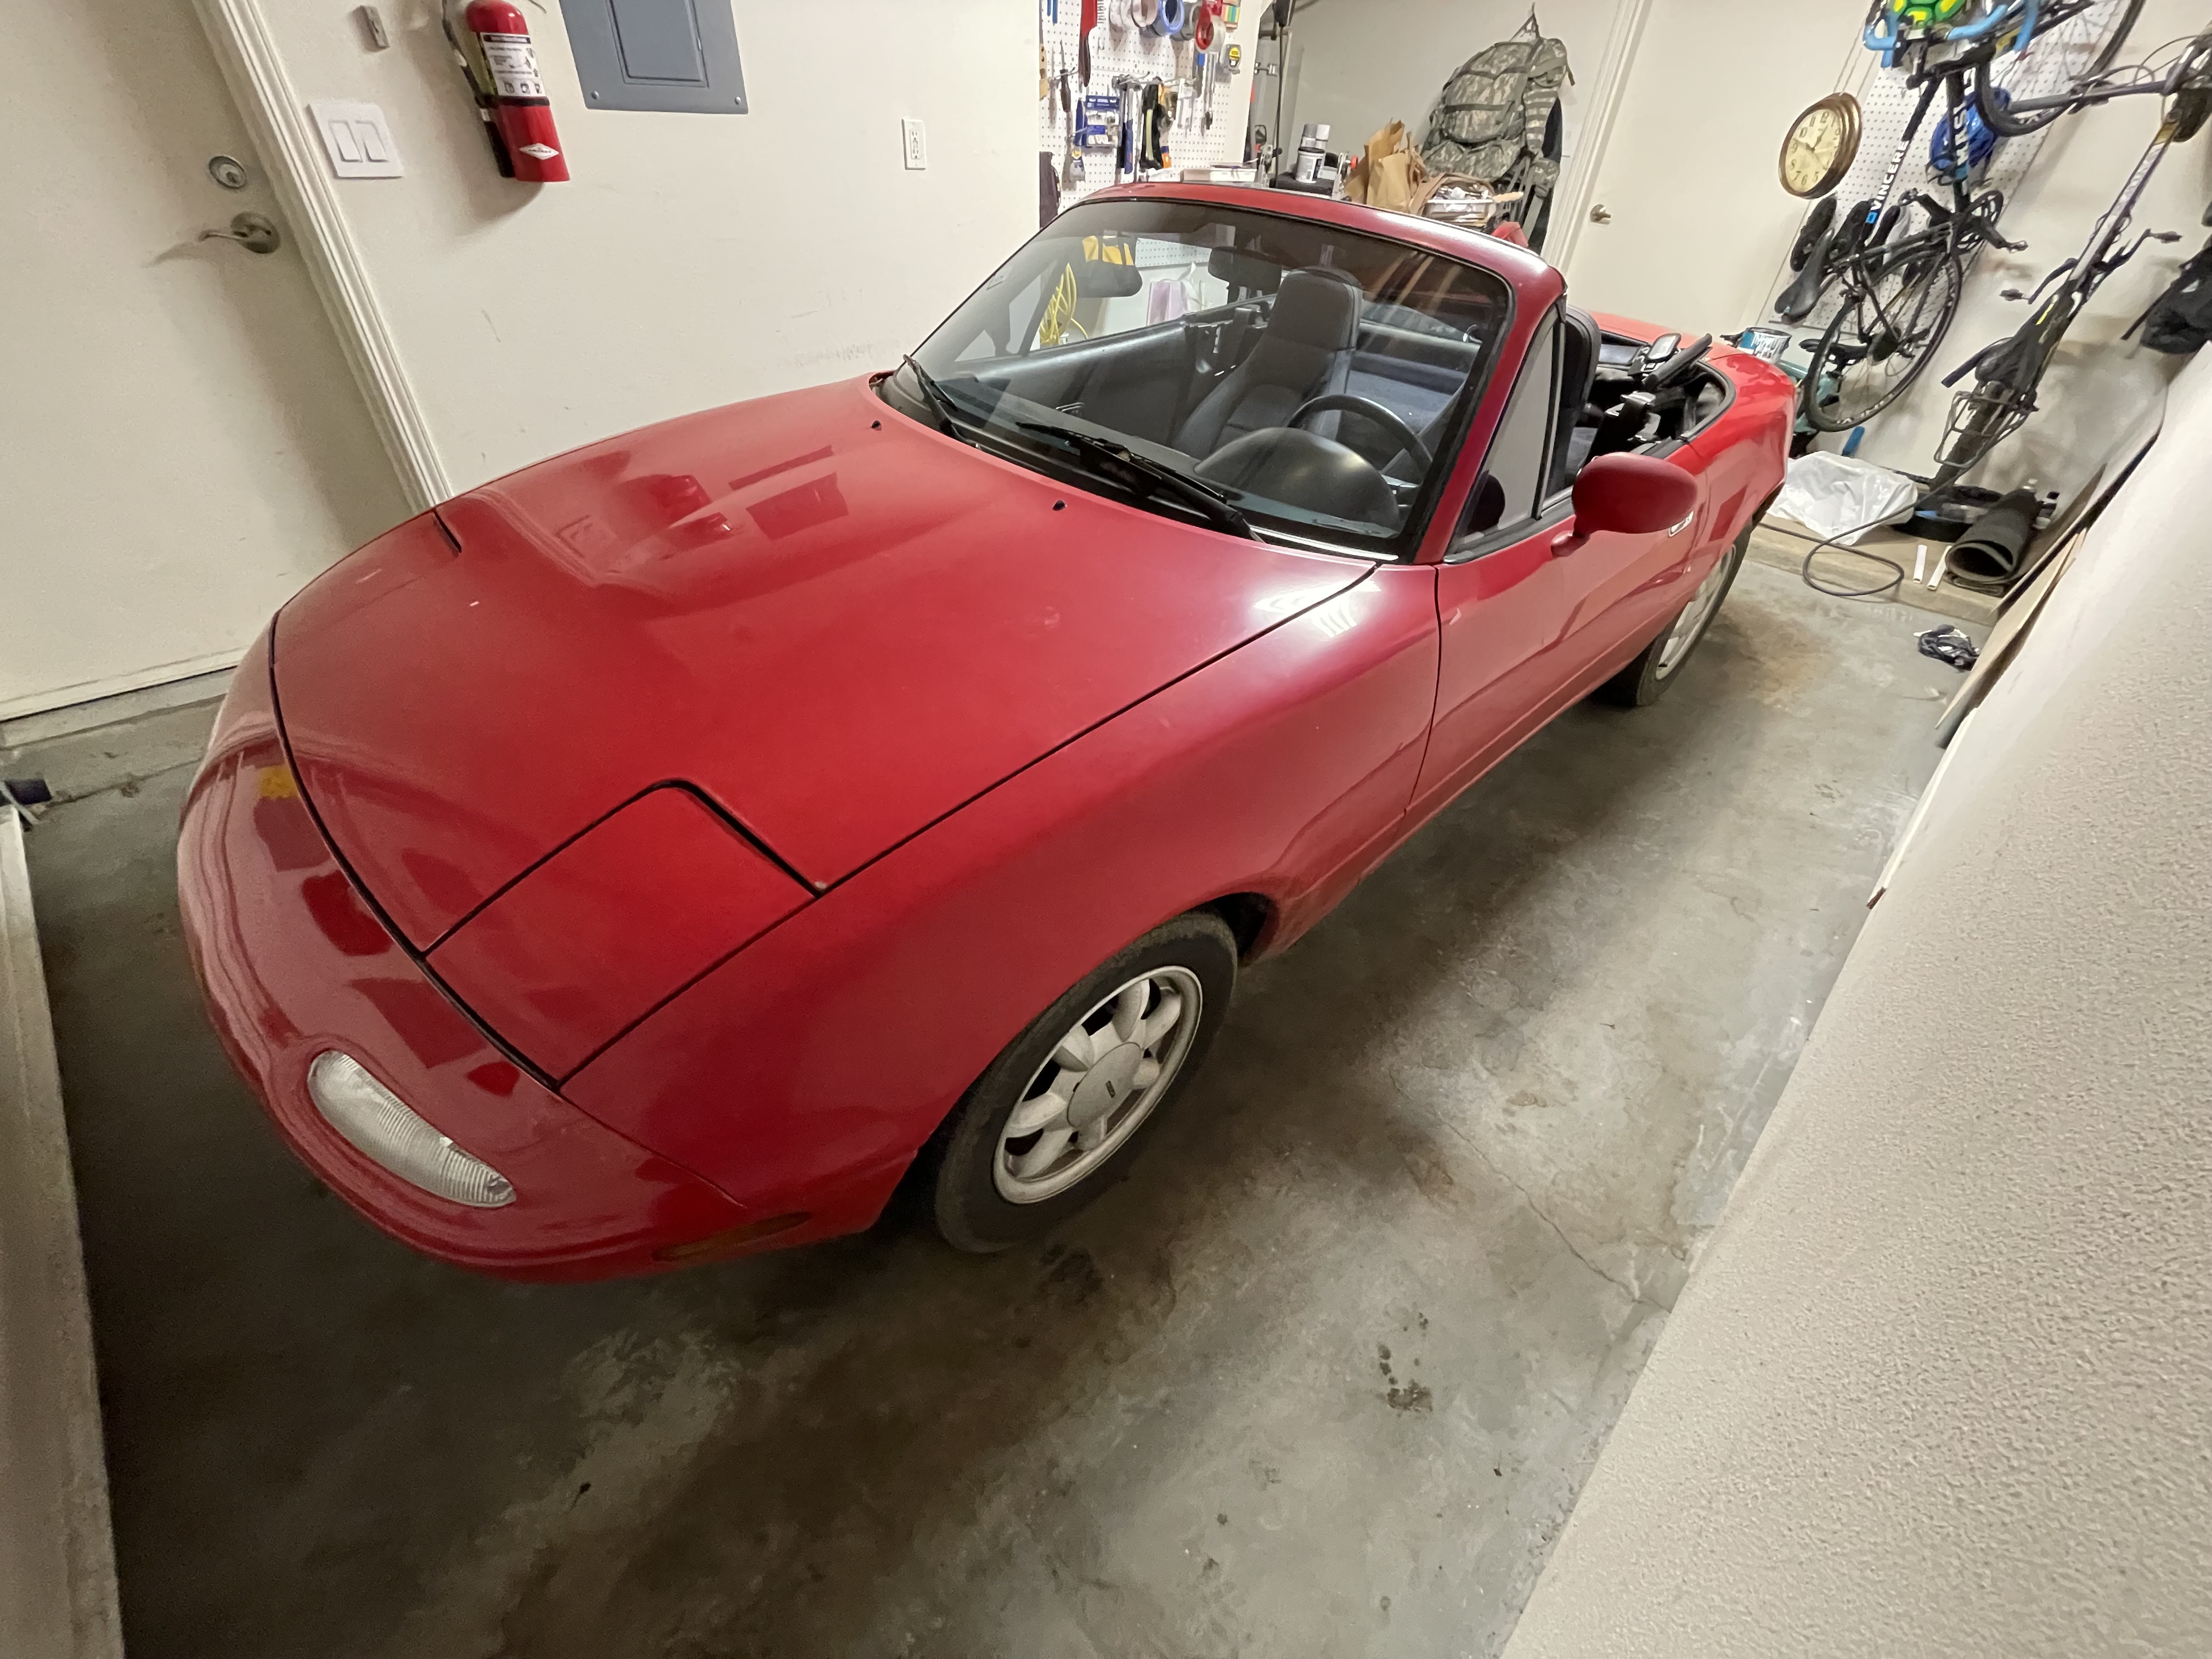
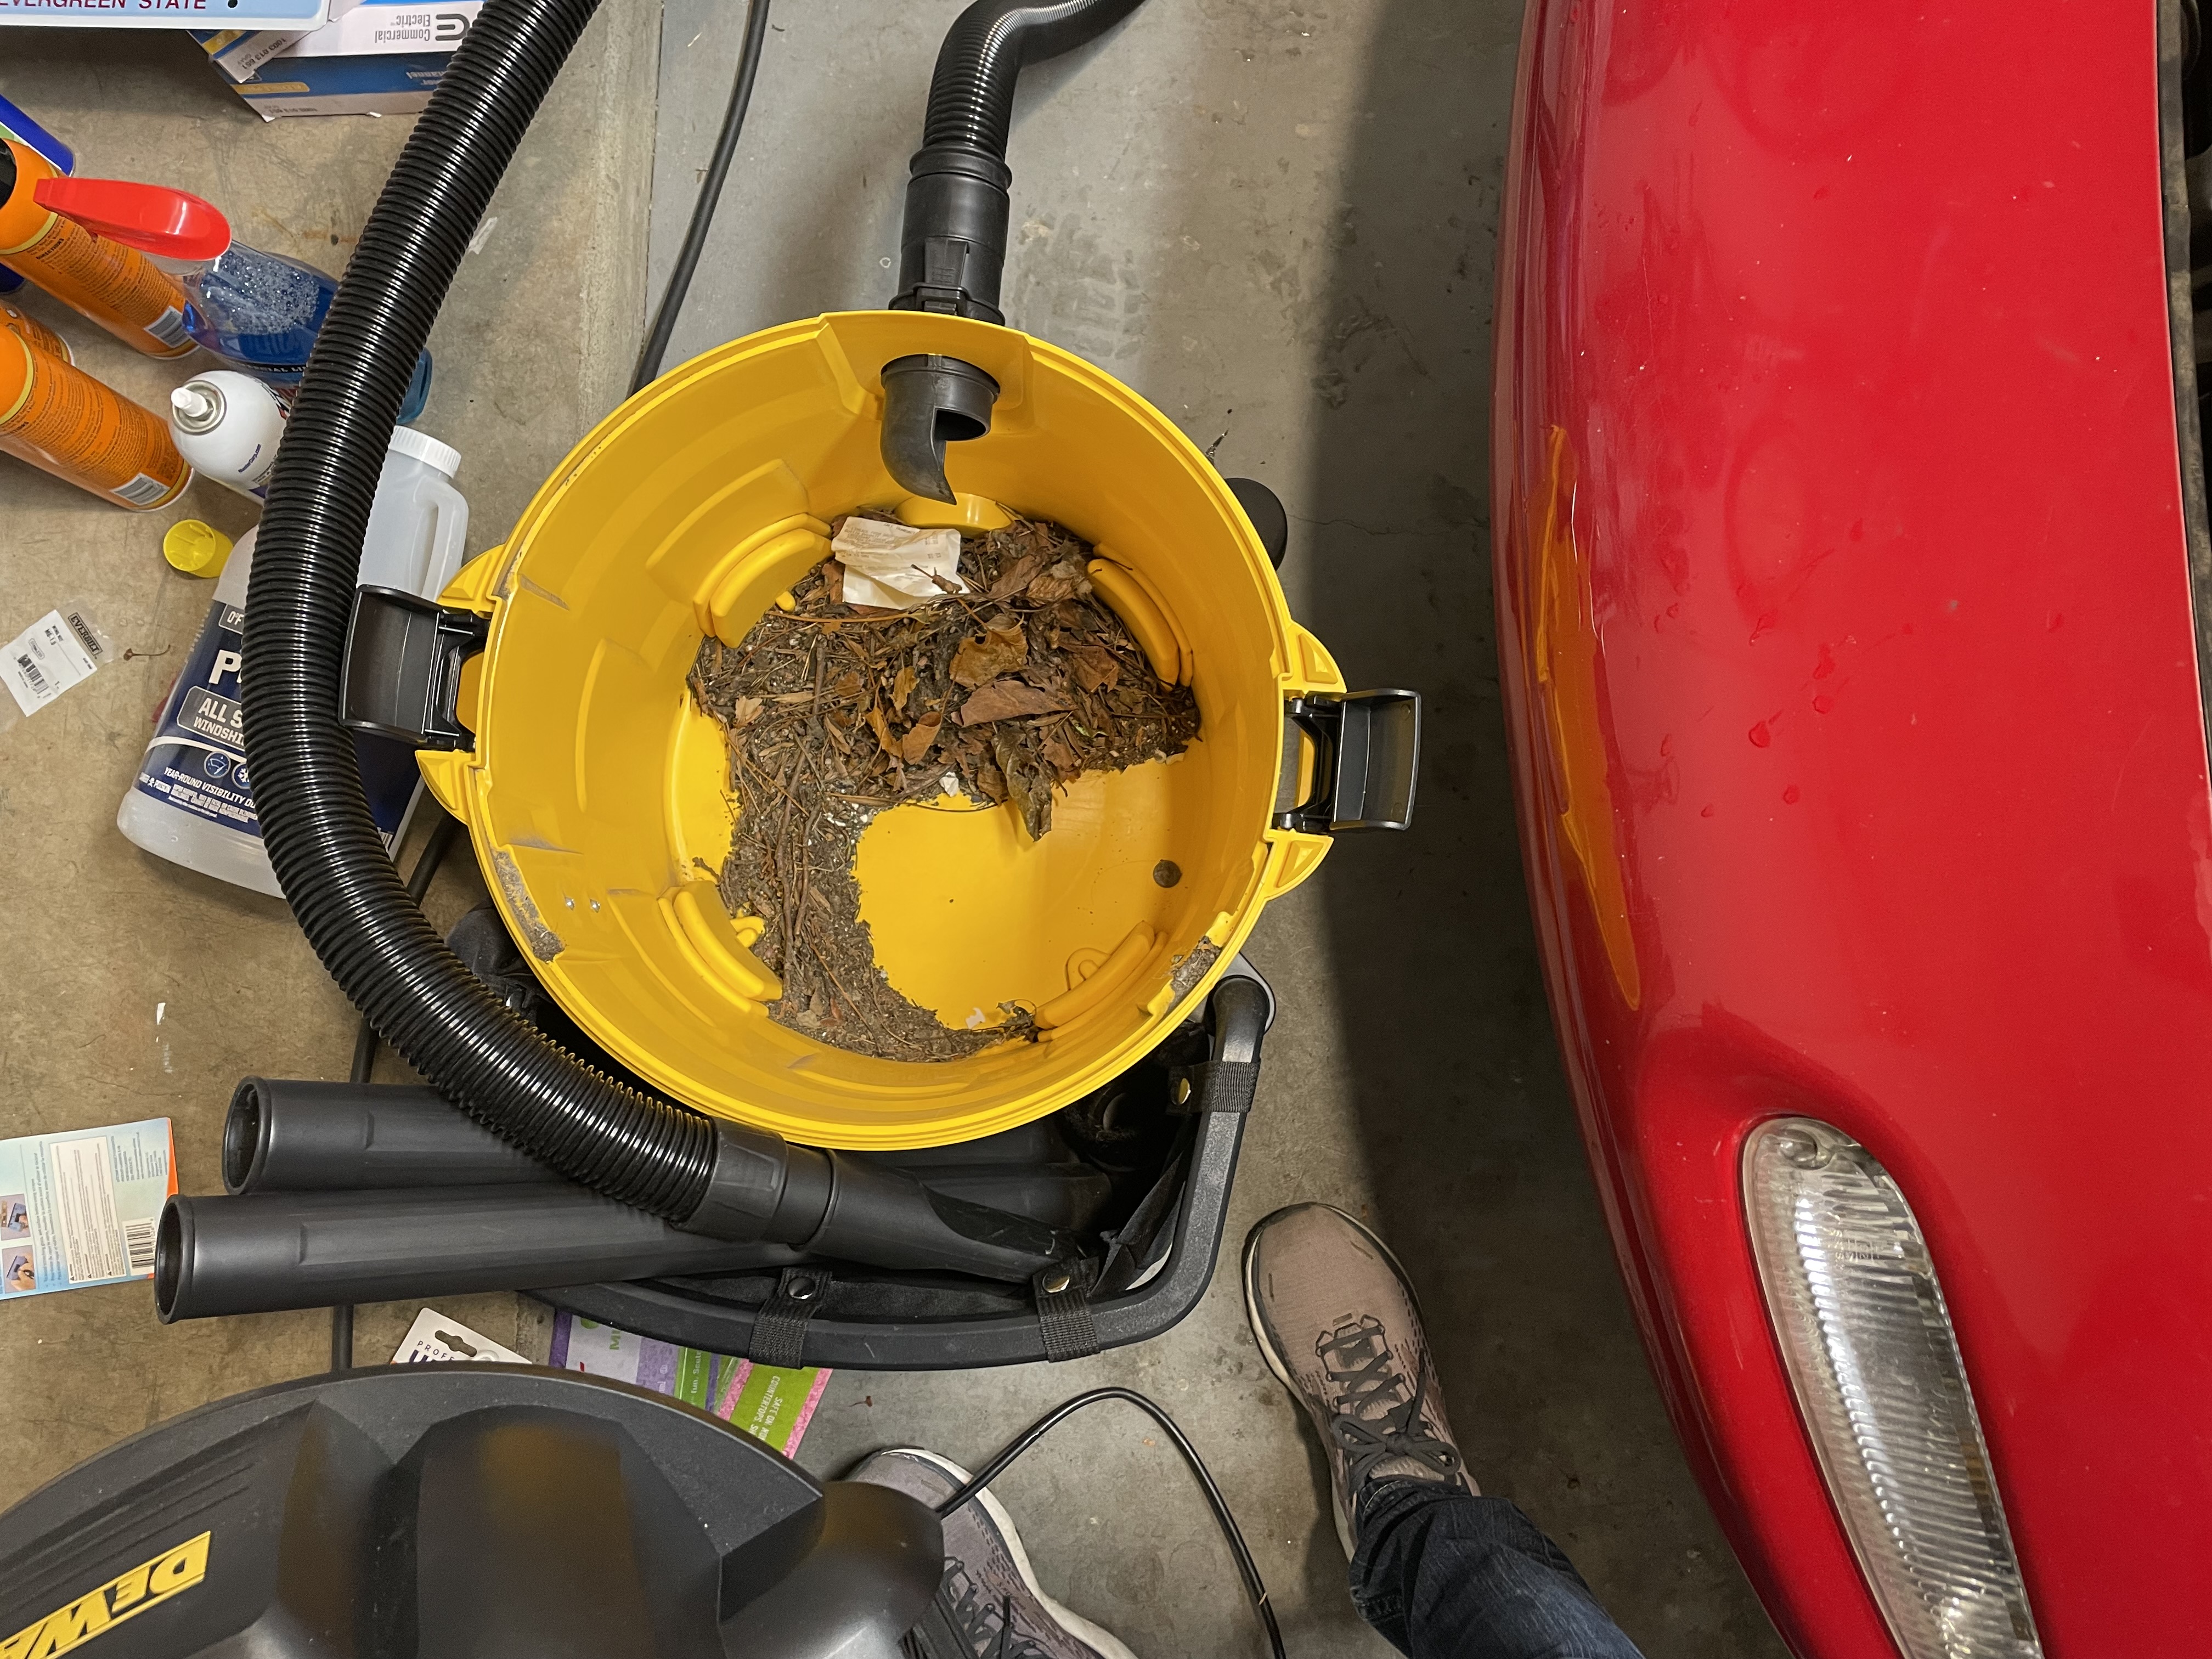
I got to work. First, I vacuumed everything. (The seller had a very cute dog with white fur.) The engine compartment had quite a few leaves, leaving my shop vac looking like I’d tried to vacuum up a tree.
The driver side sun visor had lost a screw, so I found a replacement. Though the car is 100% metric, a #10x3/4in sheet metal screw fit just fine.
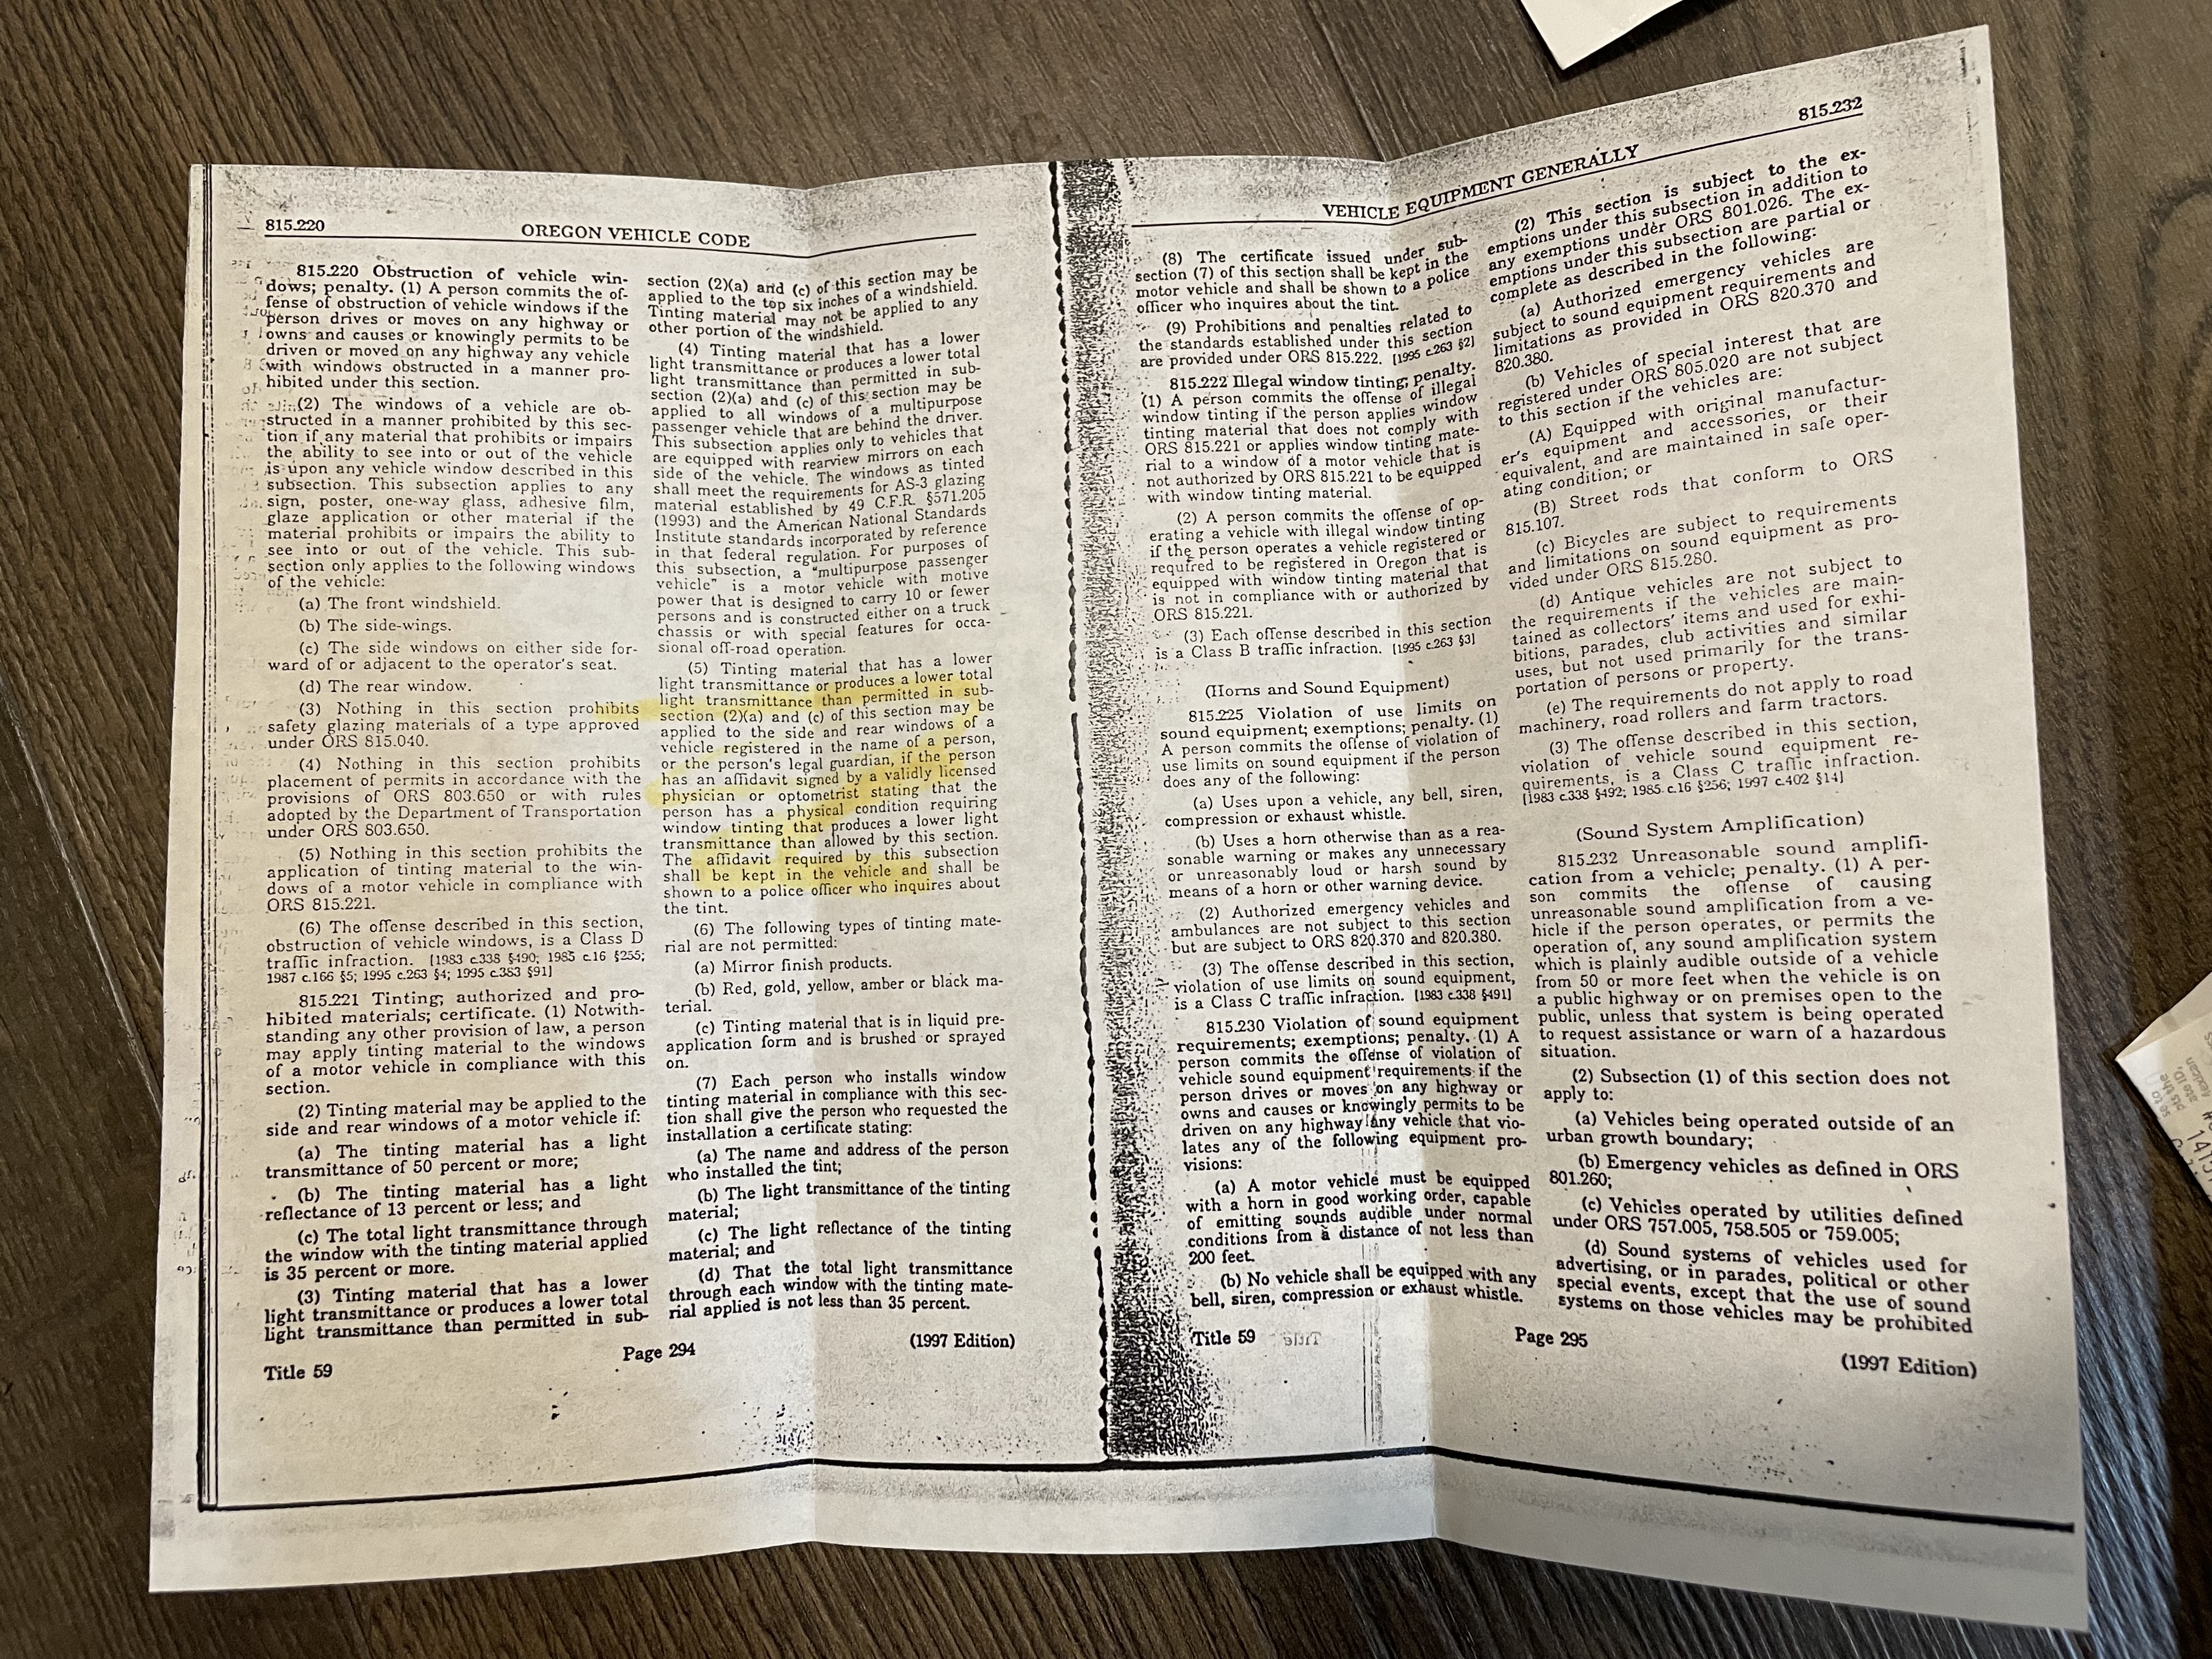
I removed the window tint. The original owner installed the tint in 2000. Oregon has restrictions around window tint, so he’d managed to get a doctor’s prescription for it.
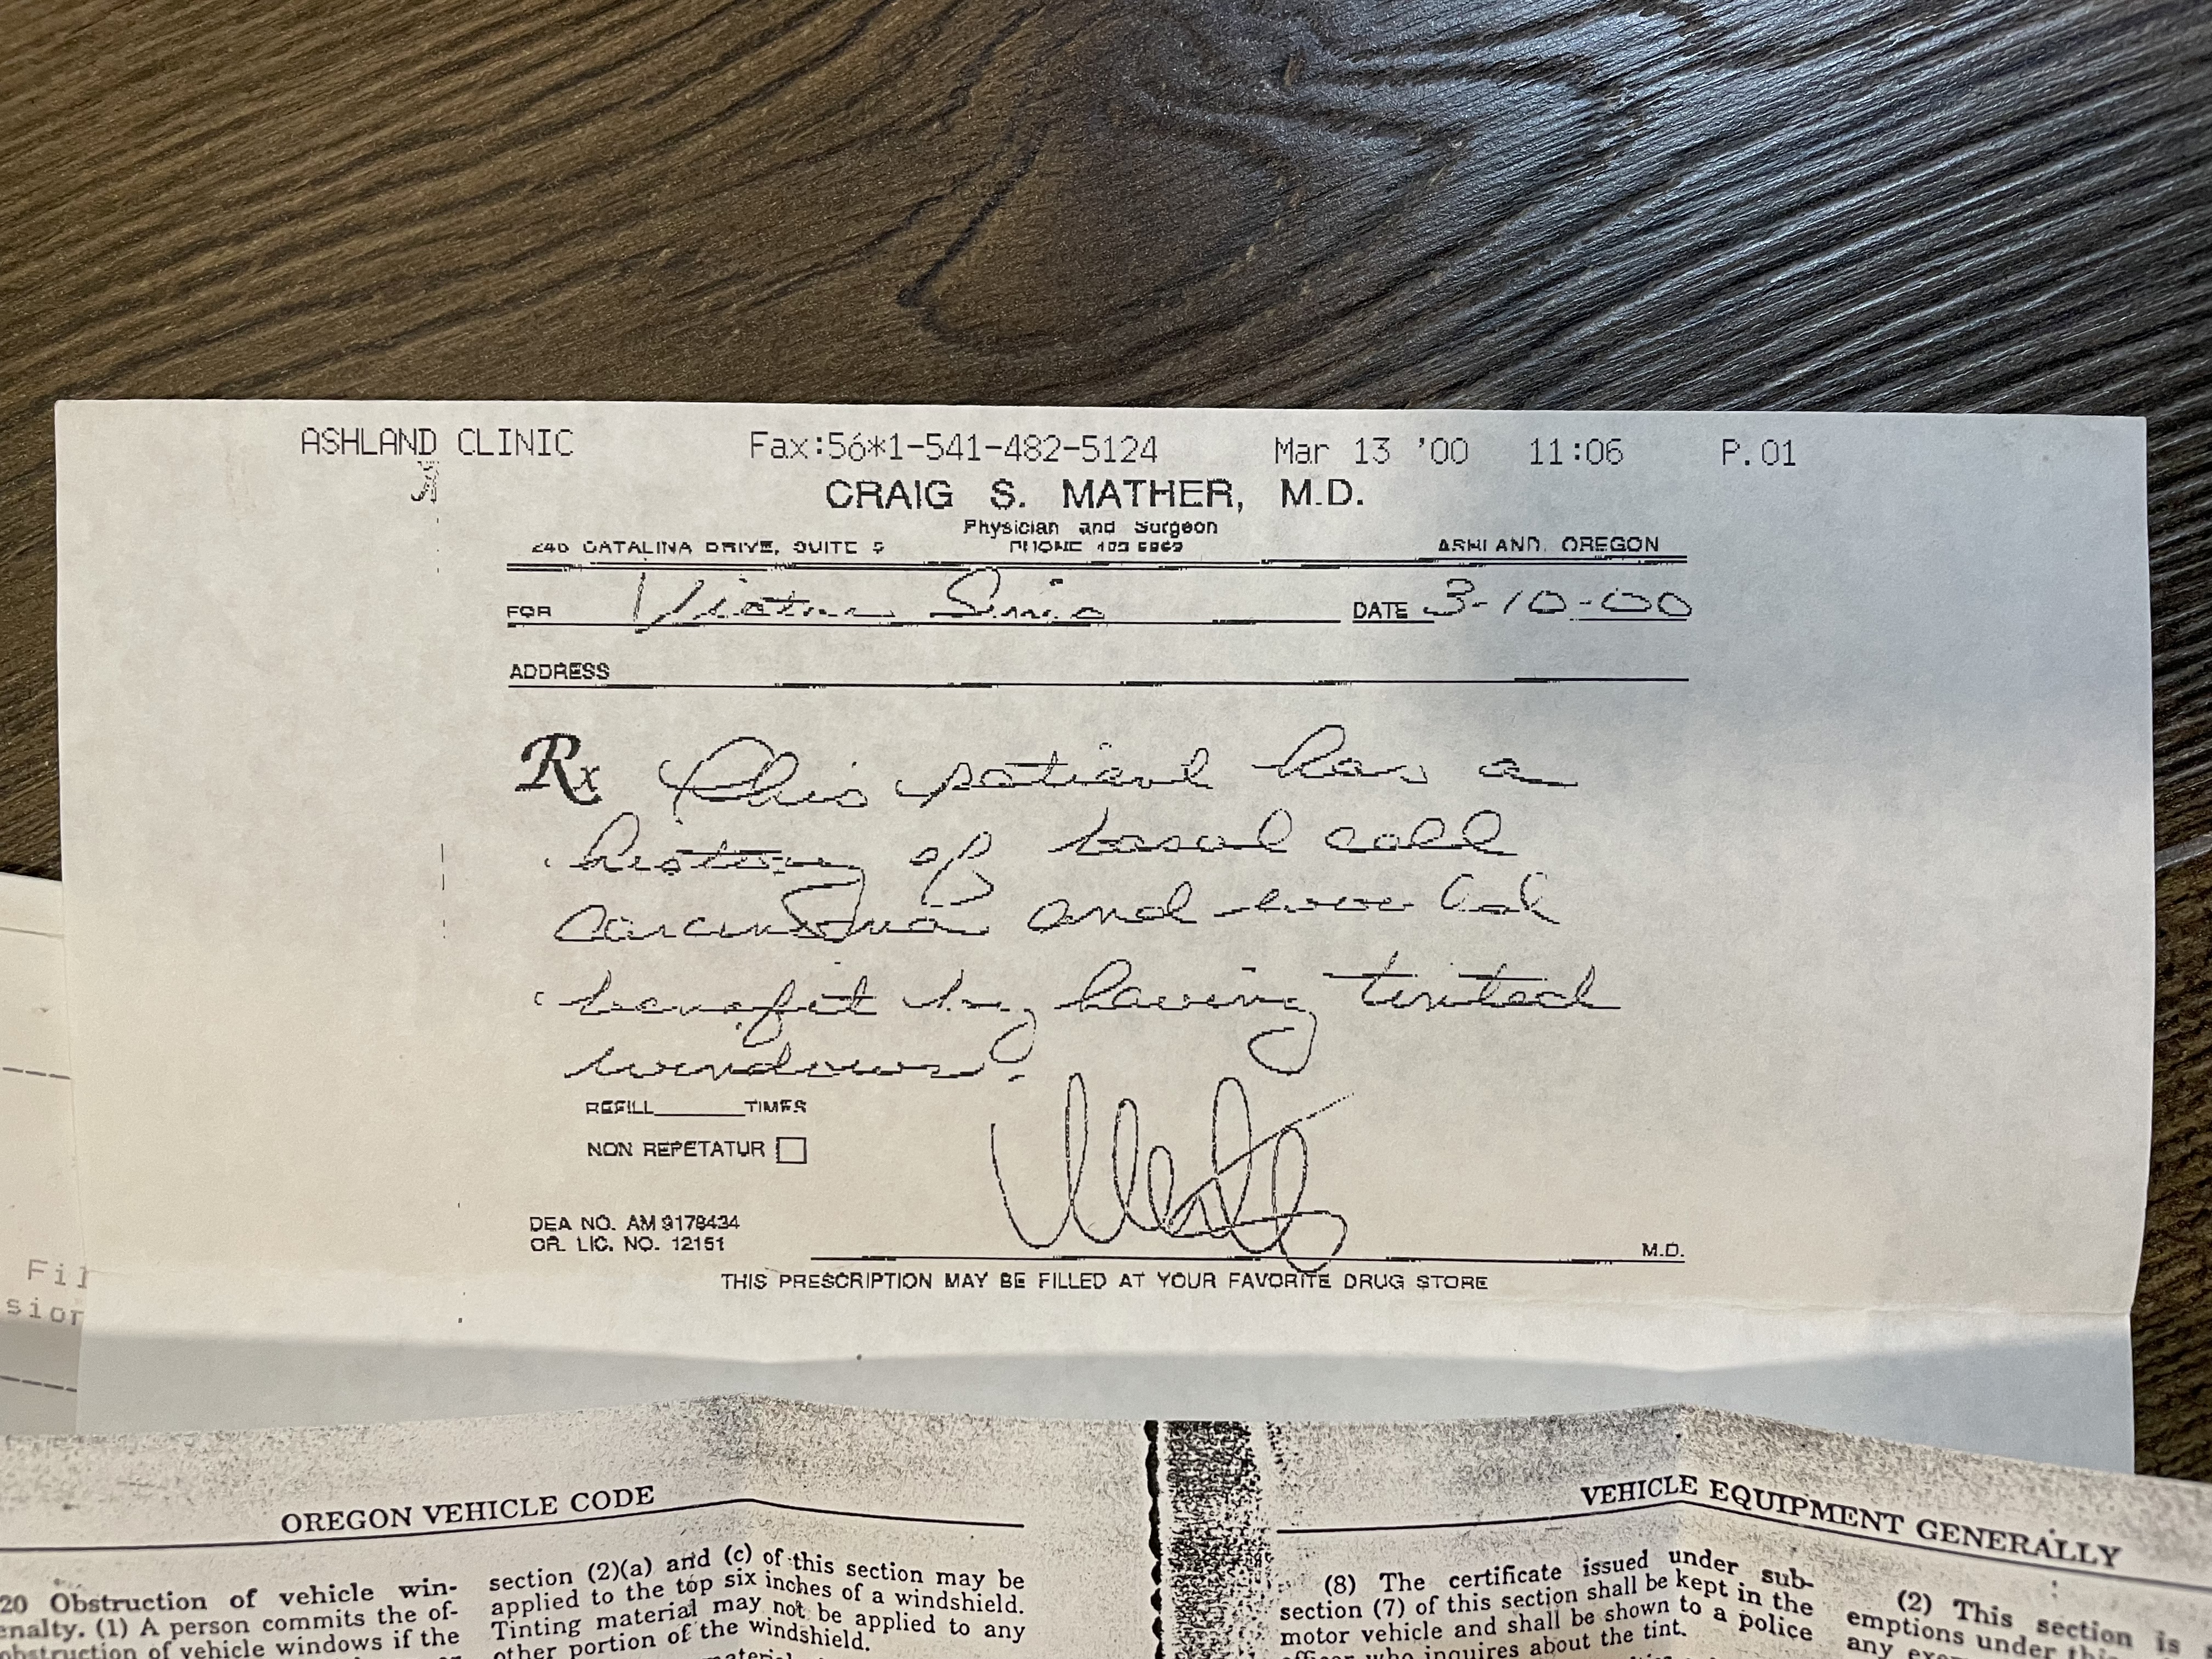
I don’t know why someone with basal cell carcinoma would buy a convertible, but who am I to judge?
I replaced the windshield wipers with some fancy Rain-X silicone wipers. I kept the original frames in case I ever wanted to go back to normal wiper blades.
The ash tray had been replaced with a cup holder that had a broken tab. I replaced that.
After wiping down the interior, I took some Meguiar’s Ultimate Insane Shine Protectant to all exposed plastic. What a difference that made.
I washed the car, then polished and waxed the exterior.
Before:
After: 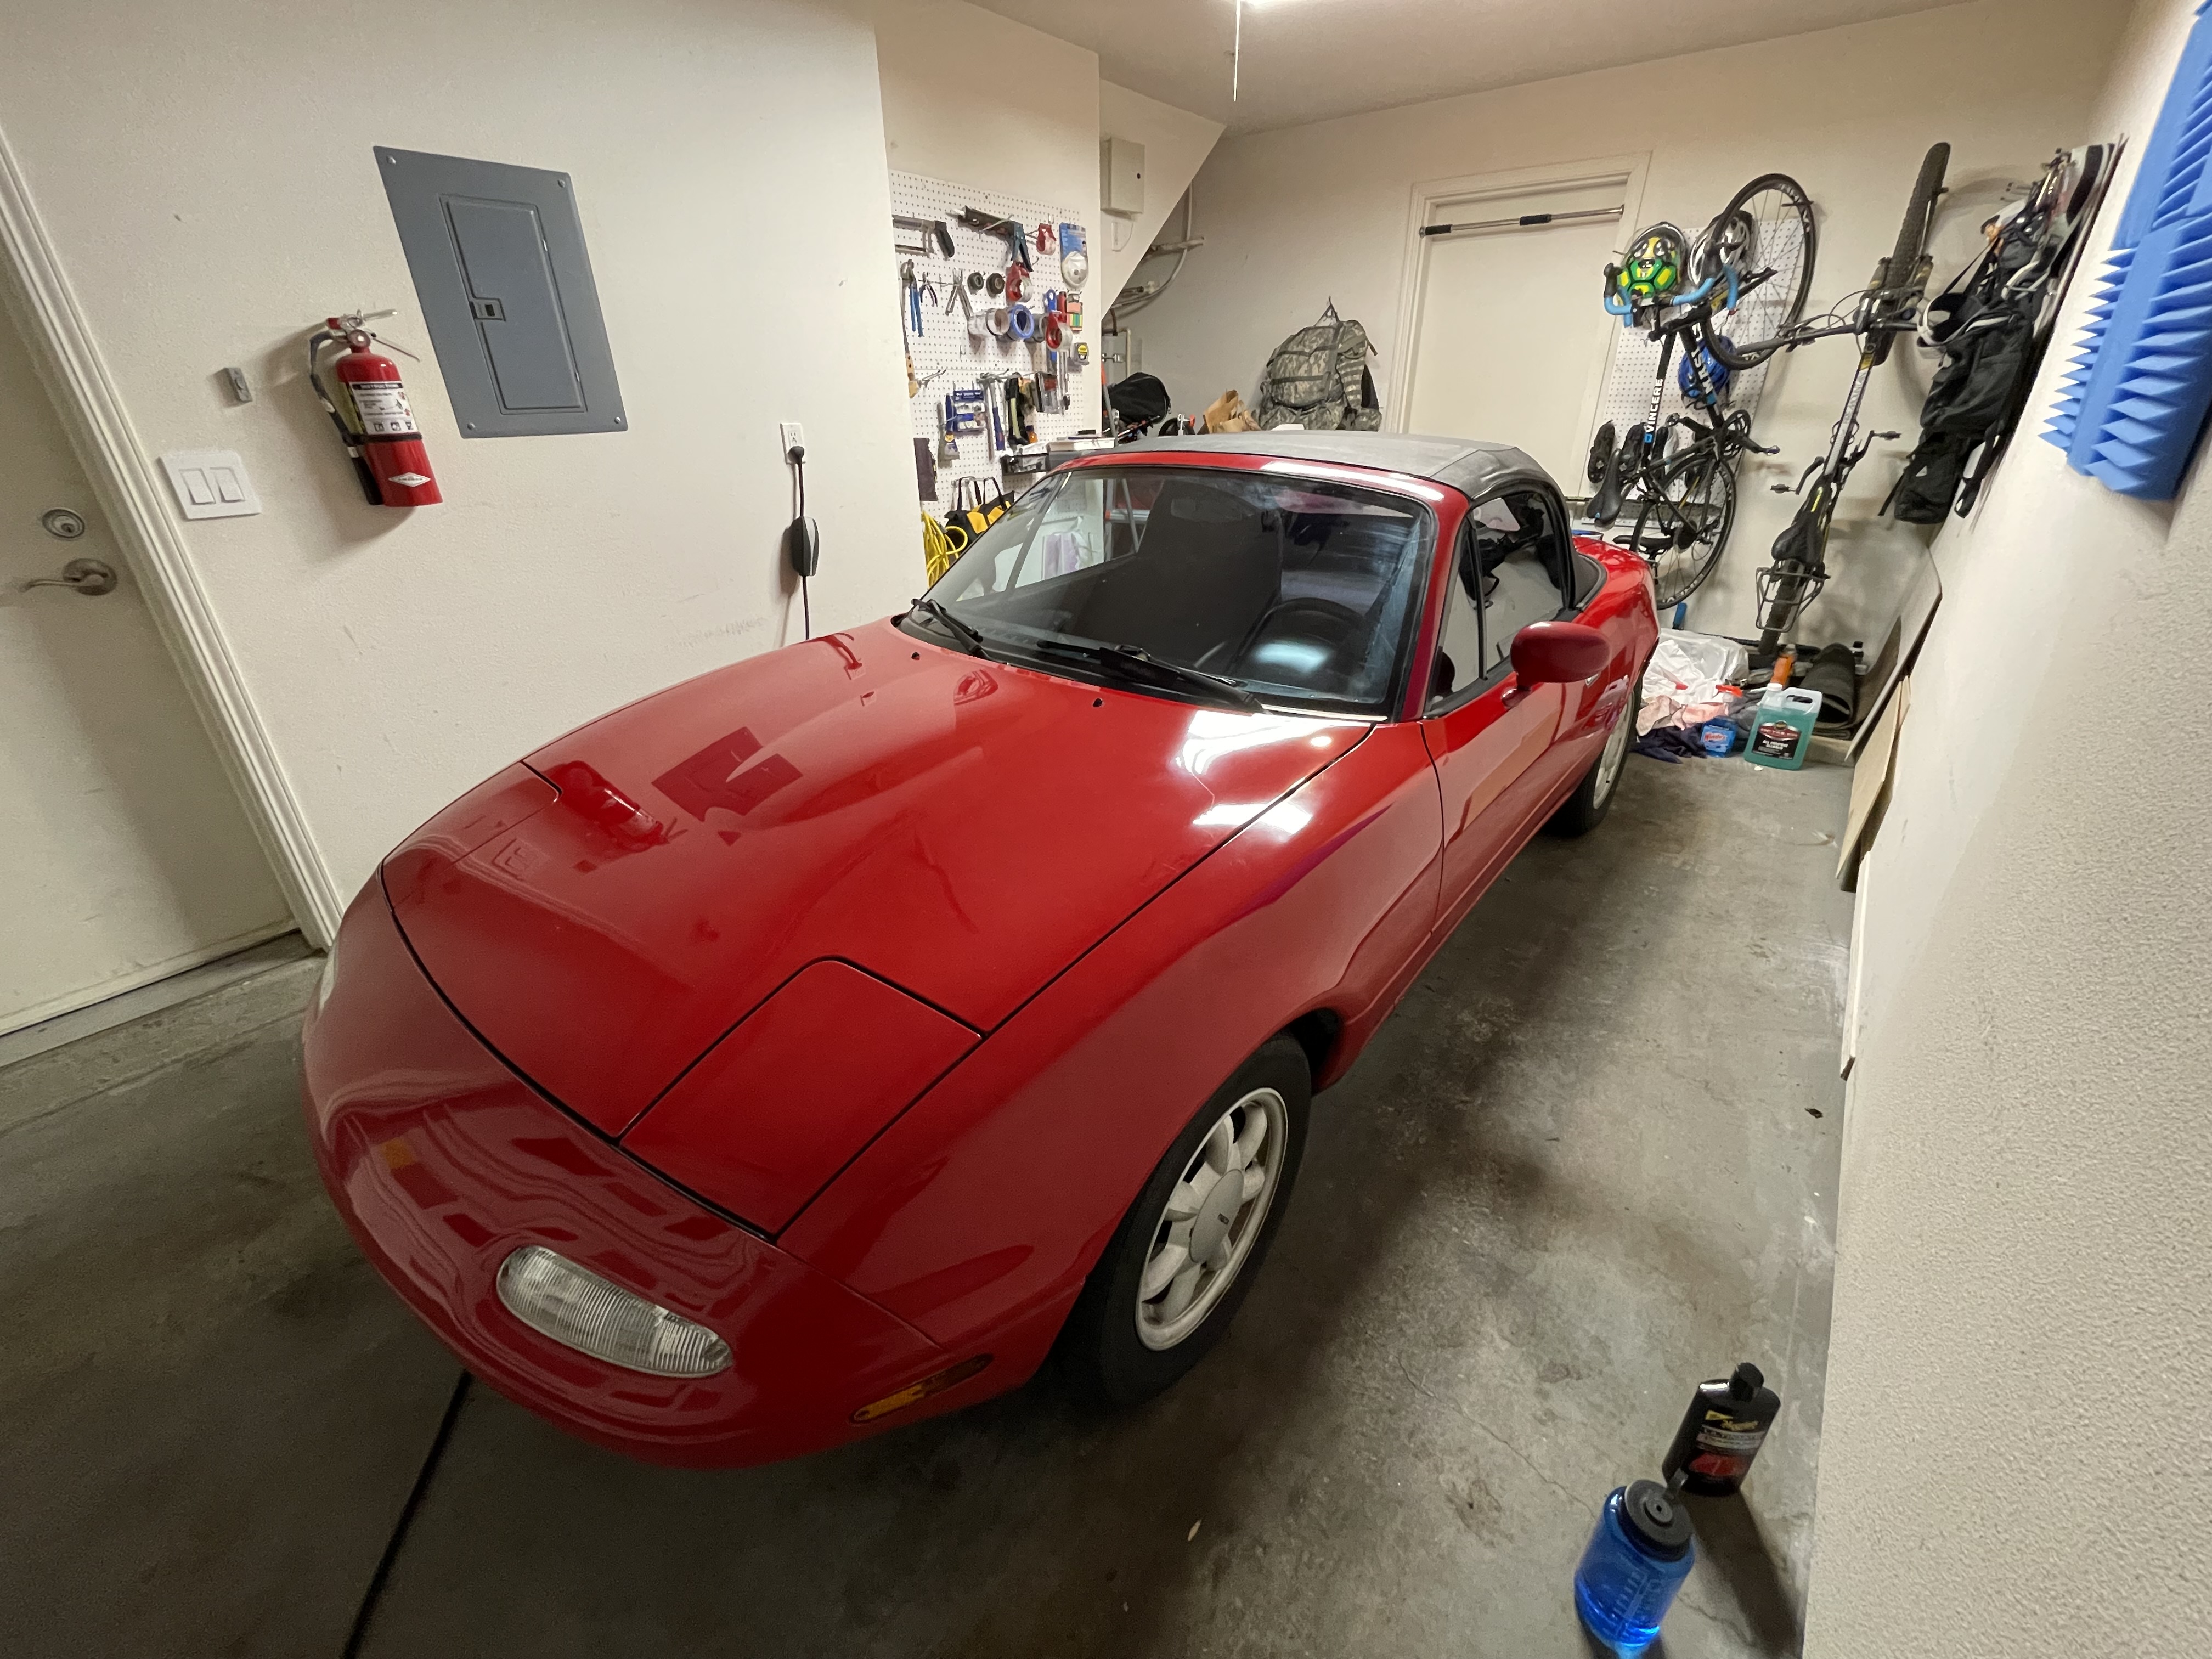
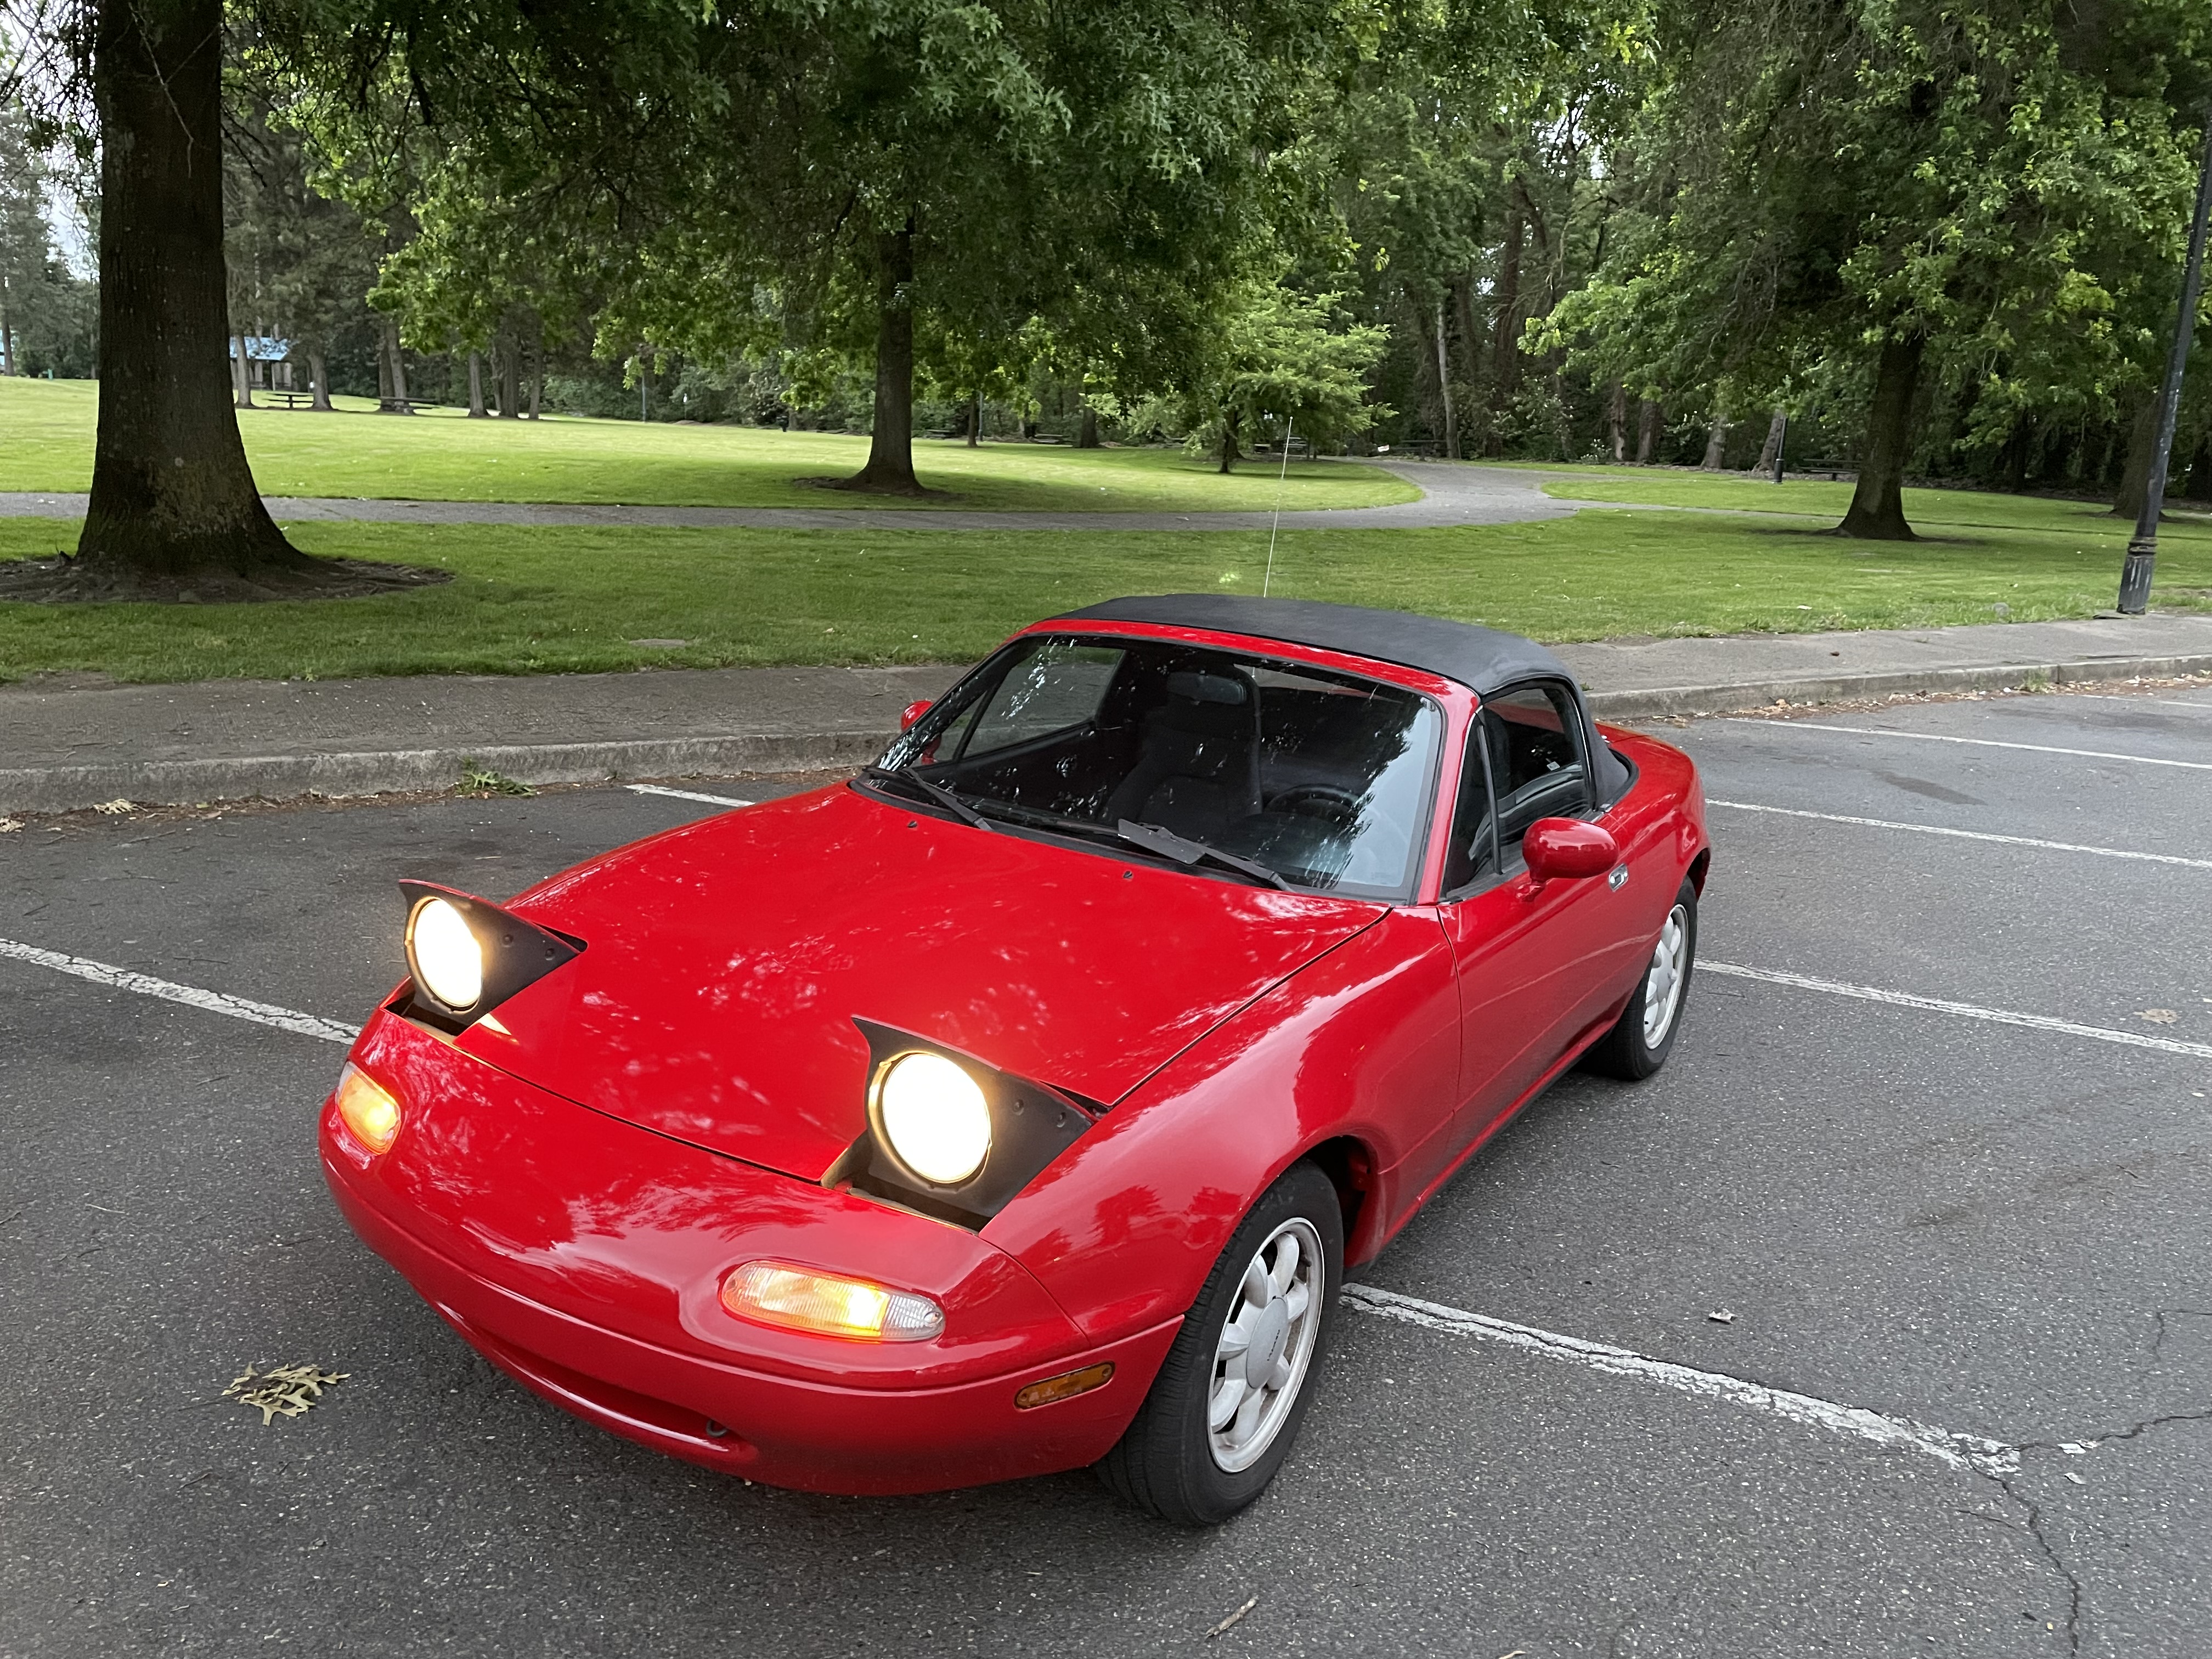
While waxing and polishing, I noticed the headlights were a little low, so I pulled them up to fix the panel gaps.
I removed the aftermarket LED interior light. I didn’t know until afterwards, but that part had caused an annoying rattling at 3,700-3,900rpm.
The pedal pads were worn, so I replaced those.
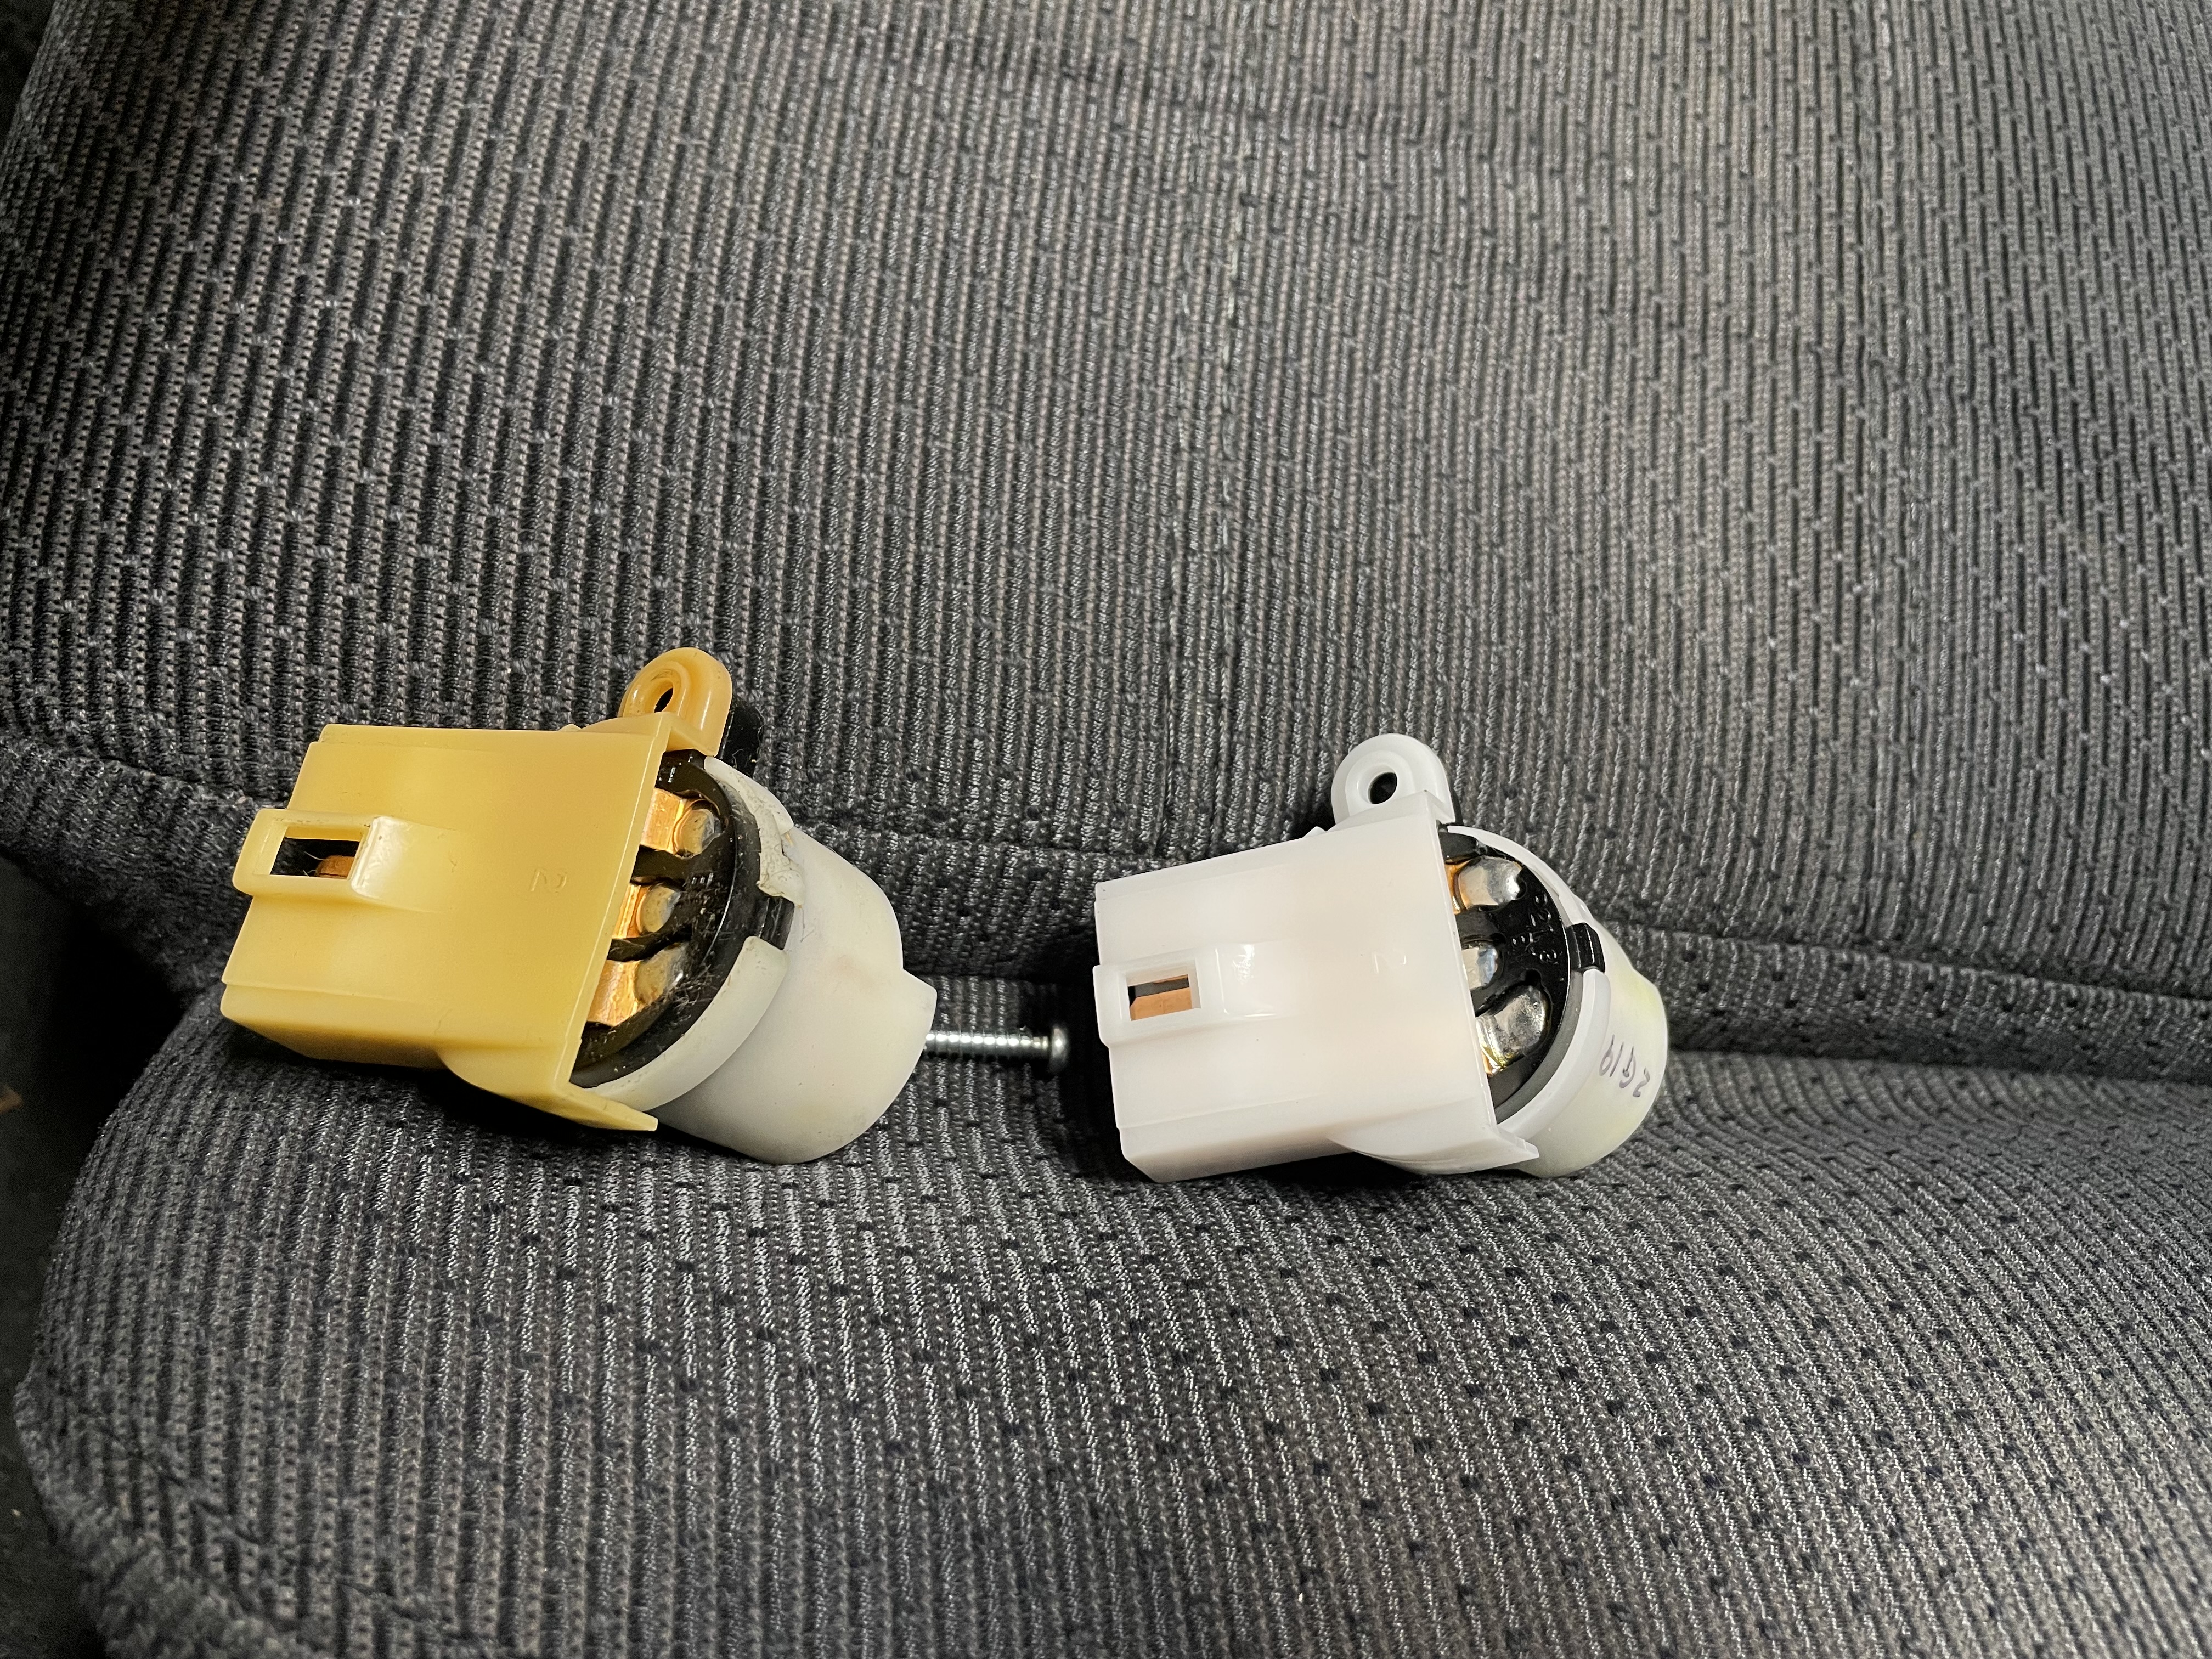
I replaced the ignition switch which fixed the intermittent starting issue.
The old and new switches side by side: 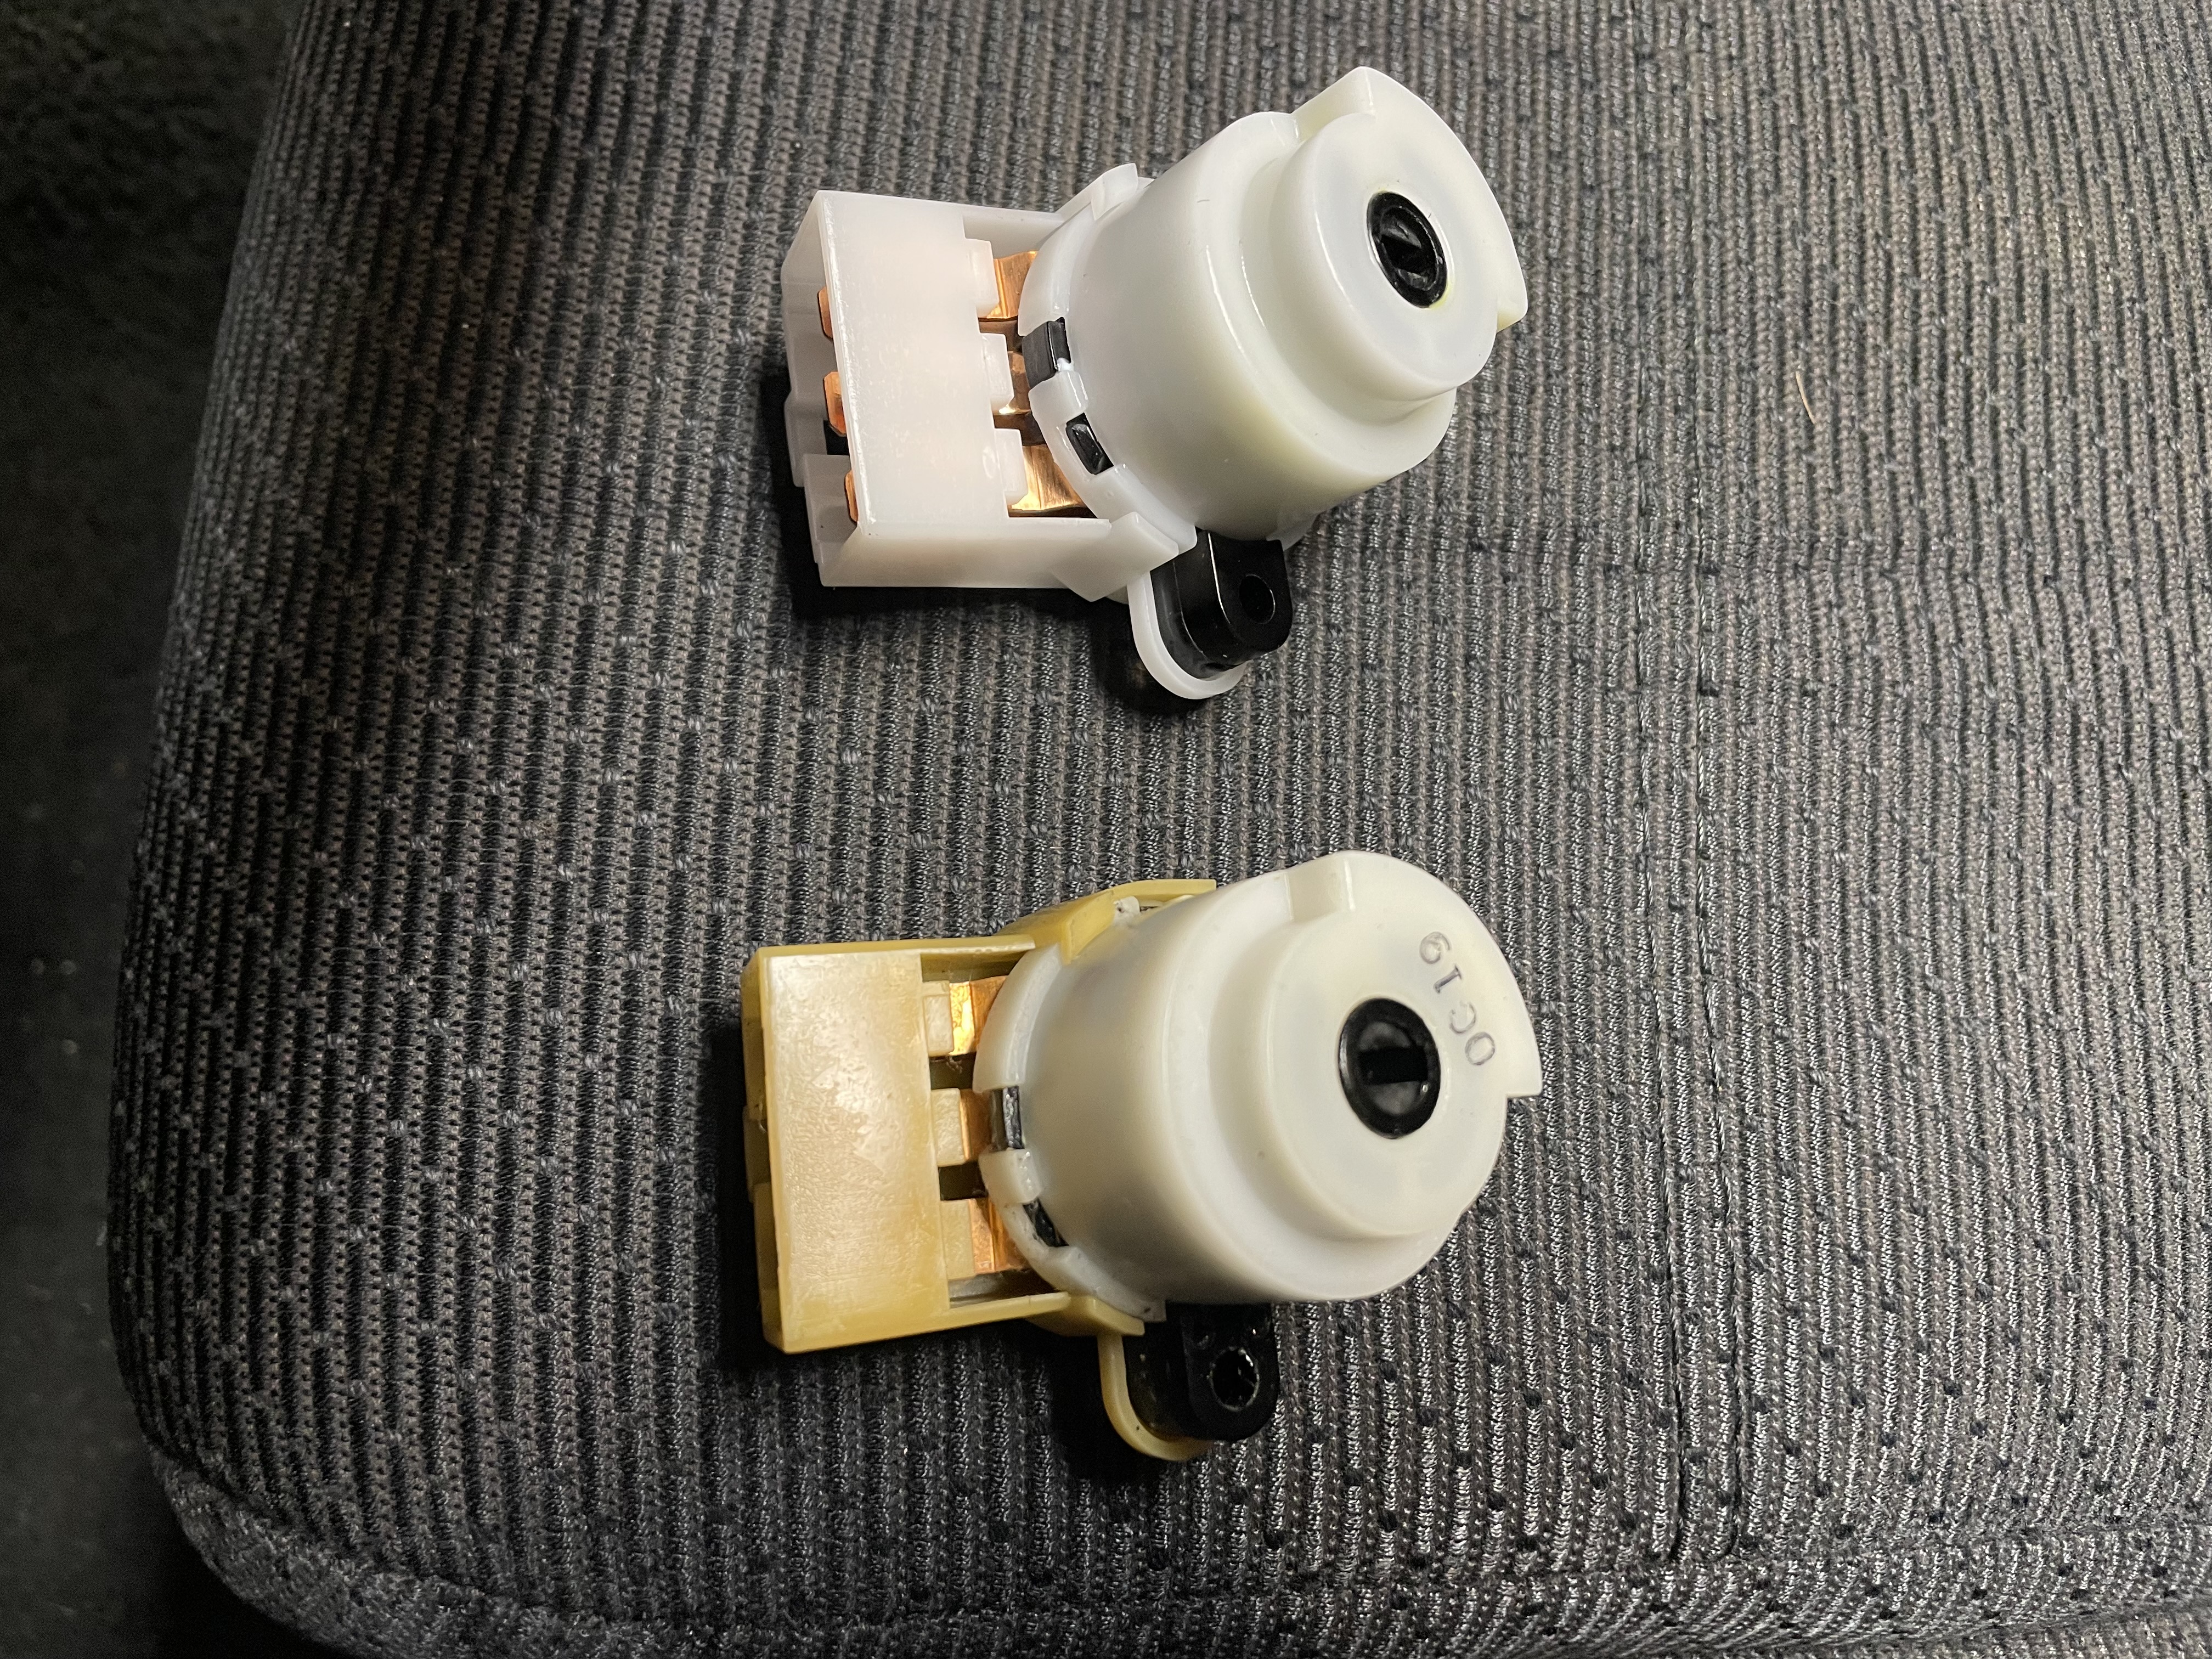
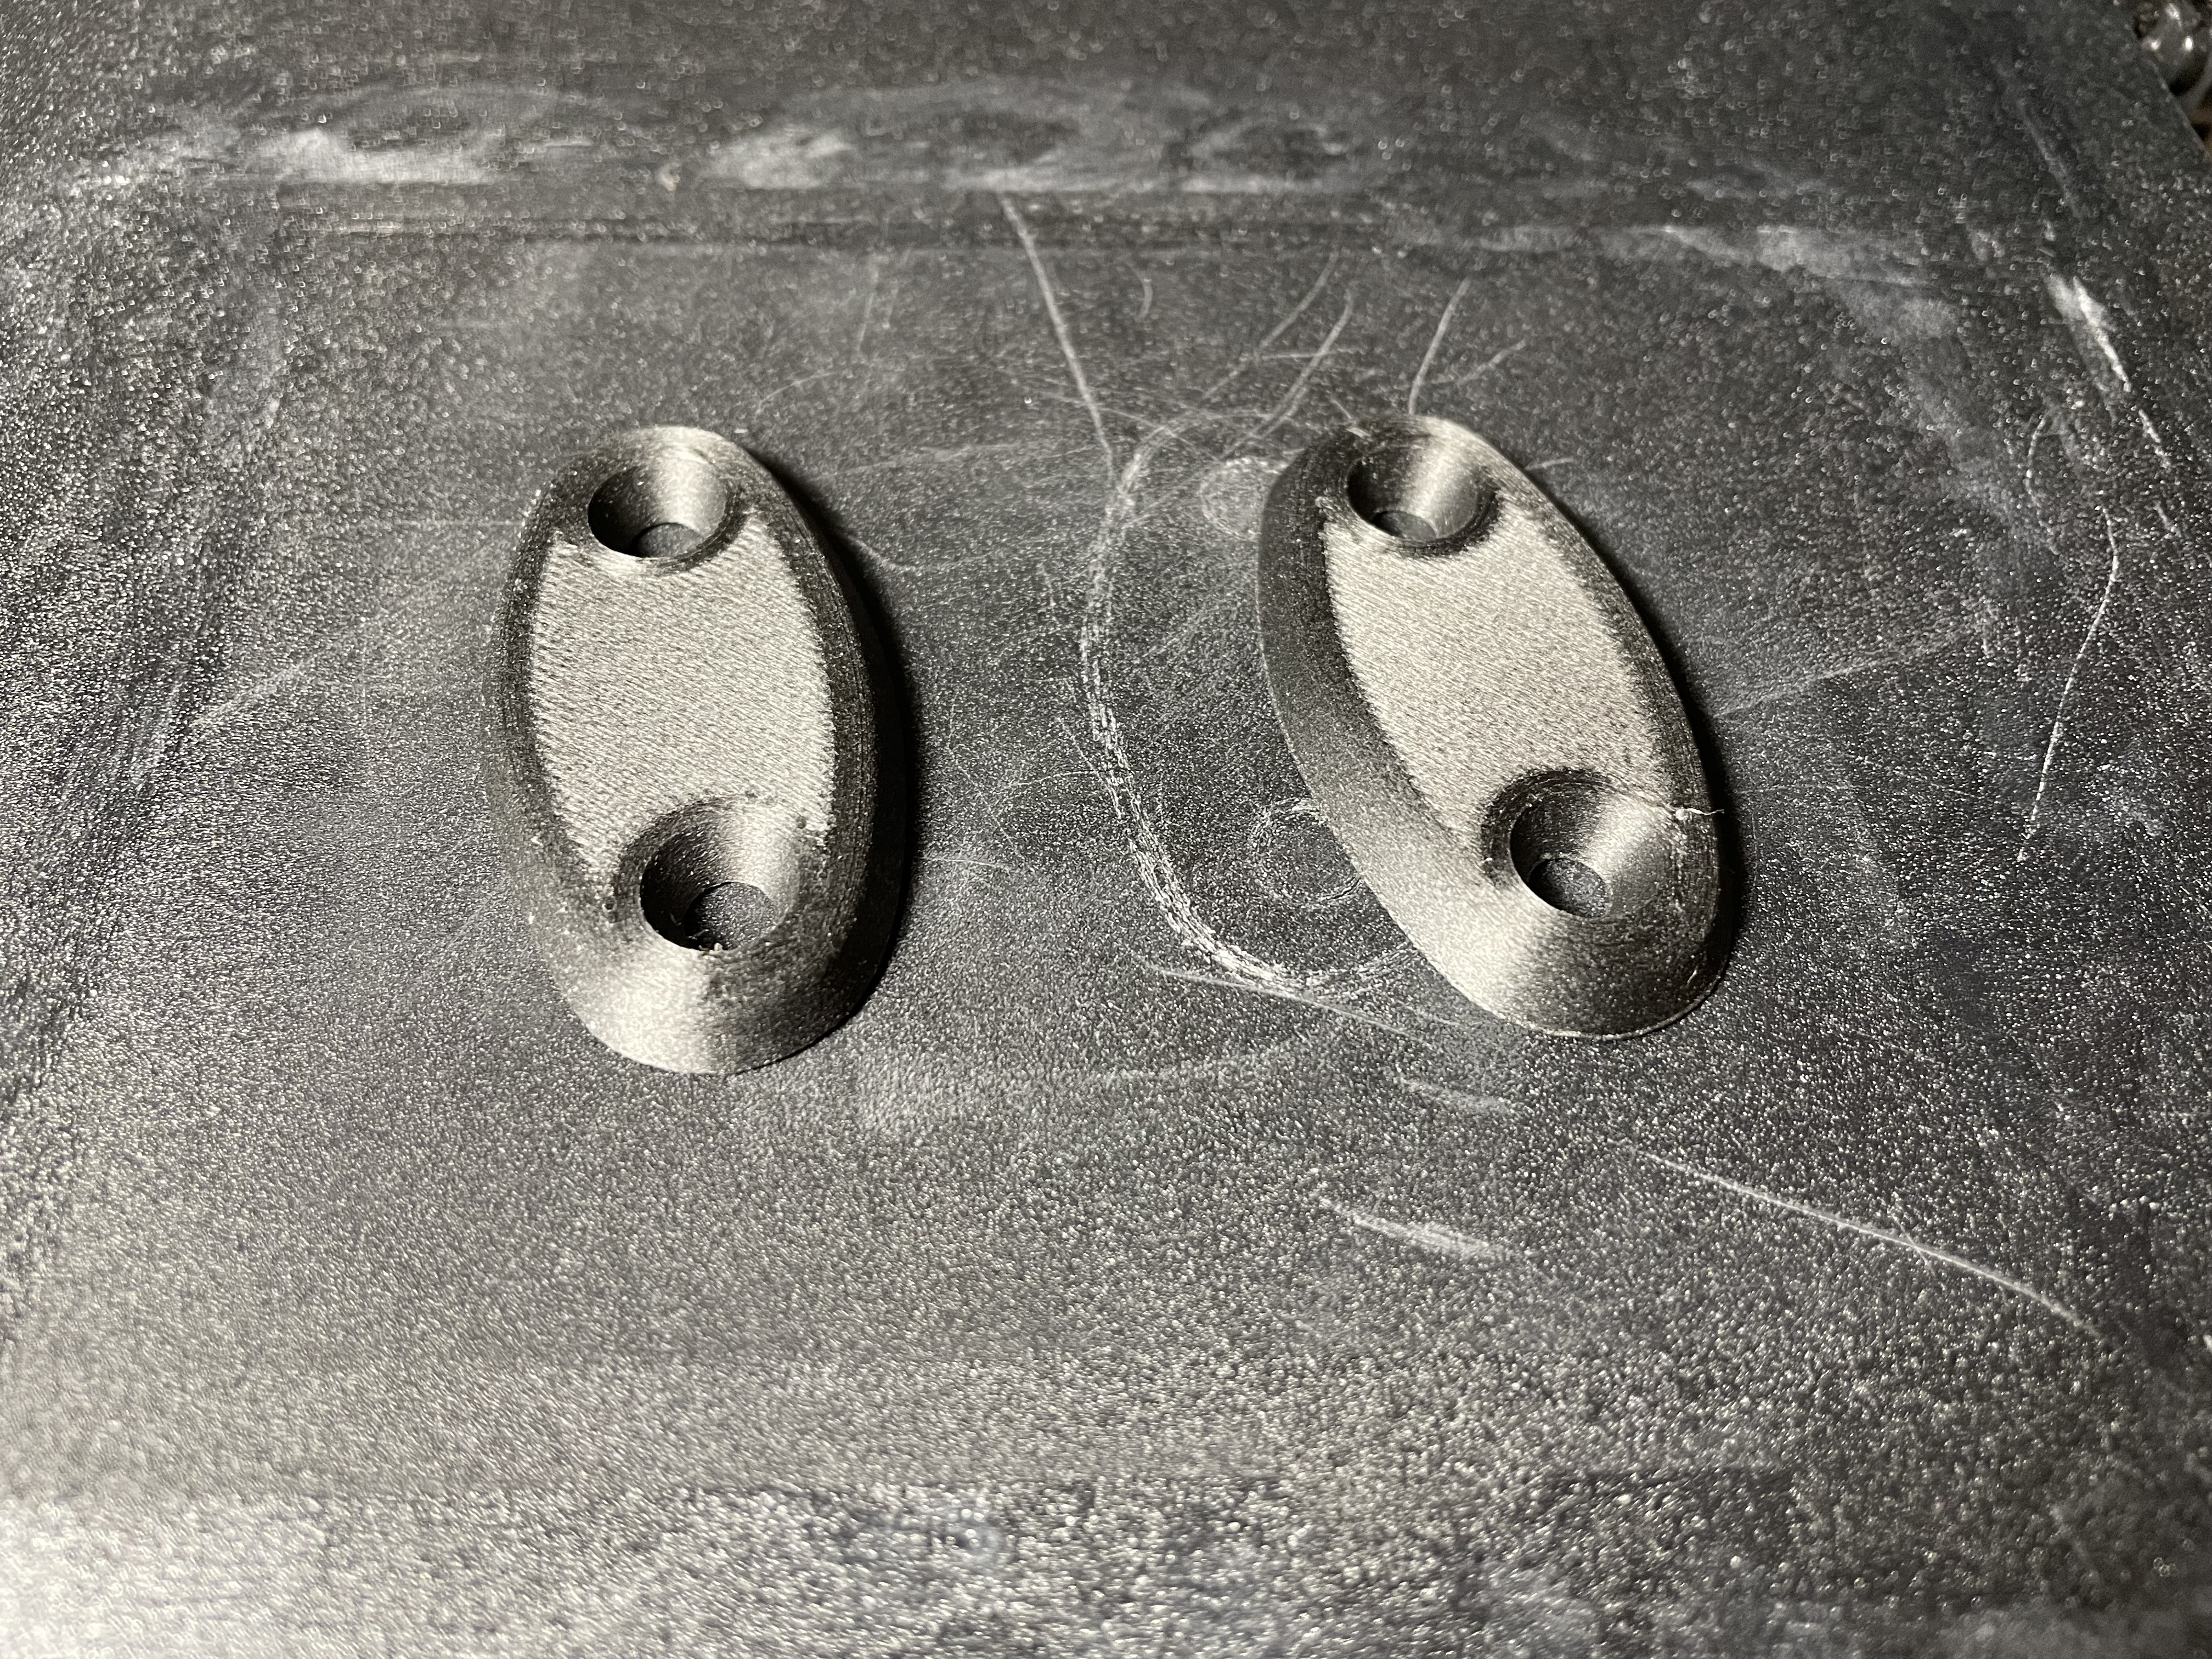
I printed some visor delete plates, keeping the original sun visors in case I ever changed my mind. Note: If you live in a hot area, you want to print these with something other than PLA filament. PLA’s glass transition temperature is 60–65°C, meaning it can soften or become tacky in the hot sun. I used carbon fiber nylon since it’s a similar black as the rest of the interior.
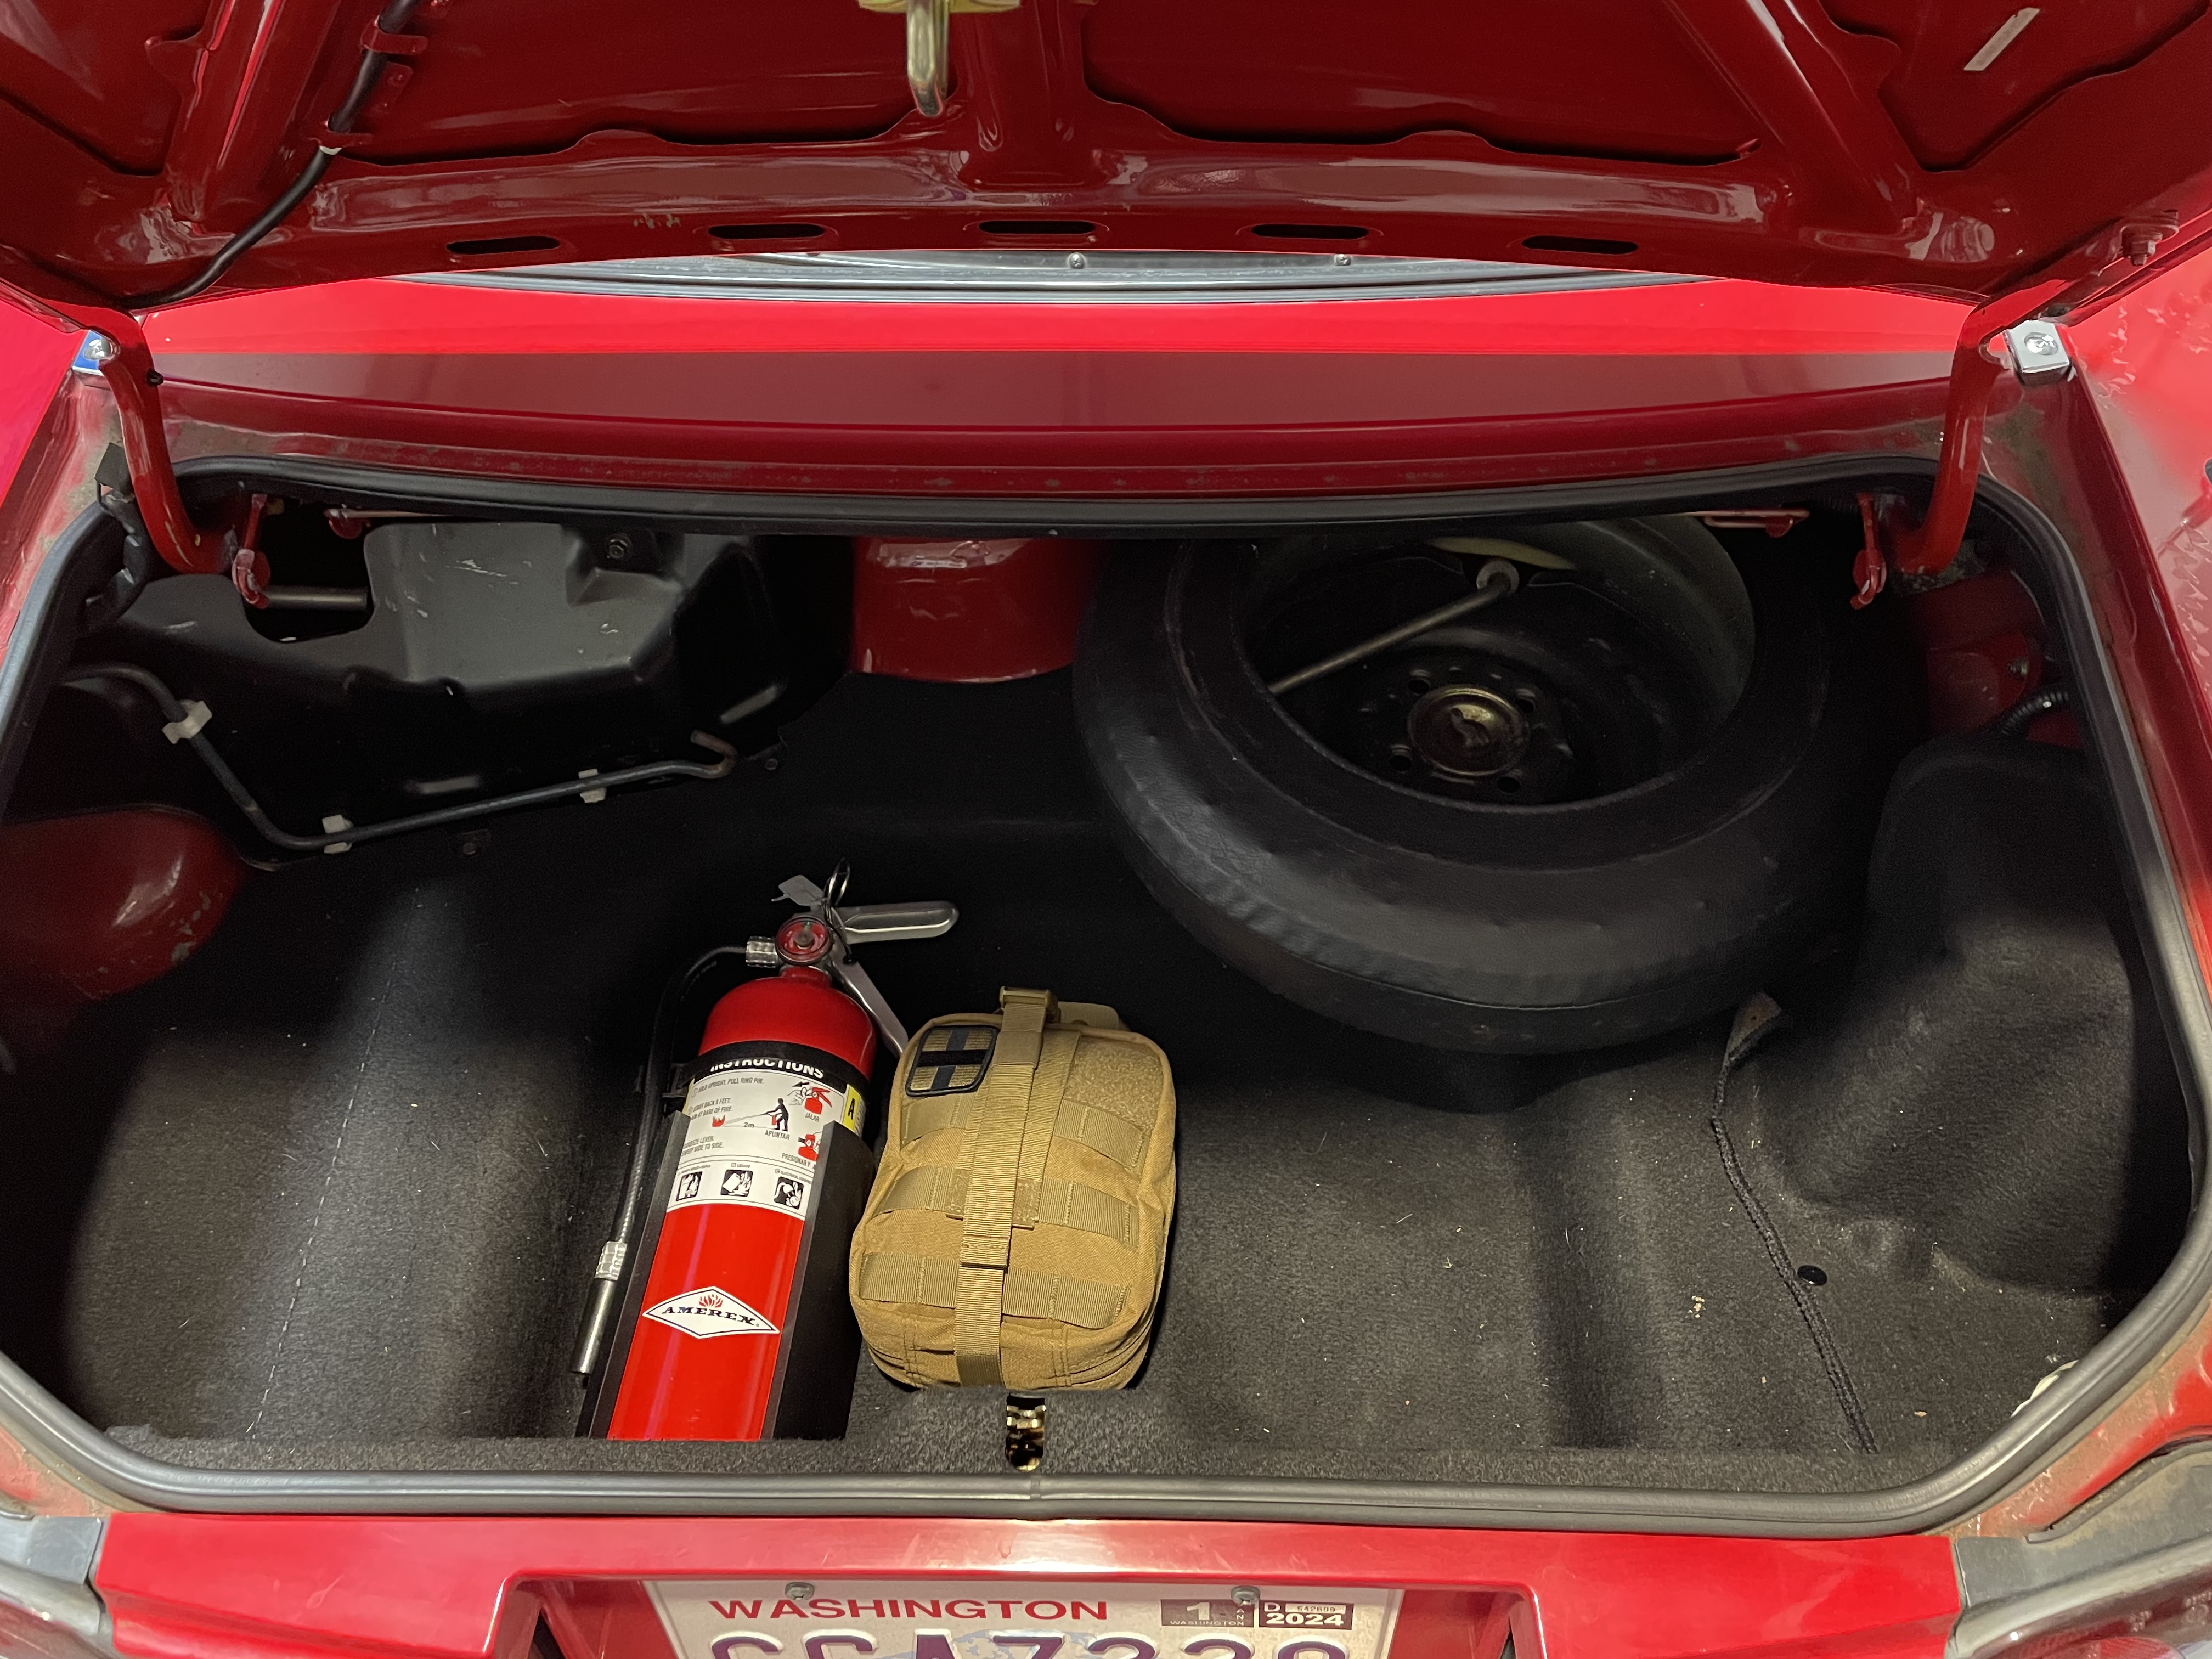
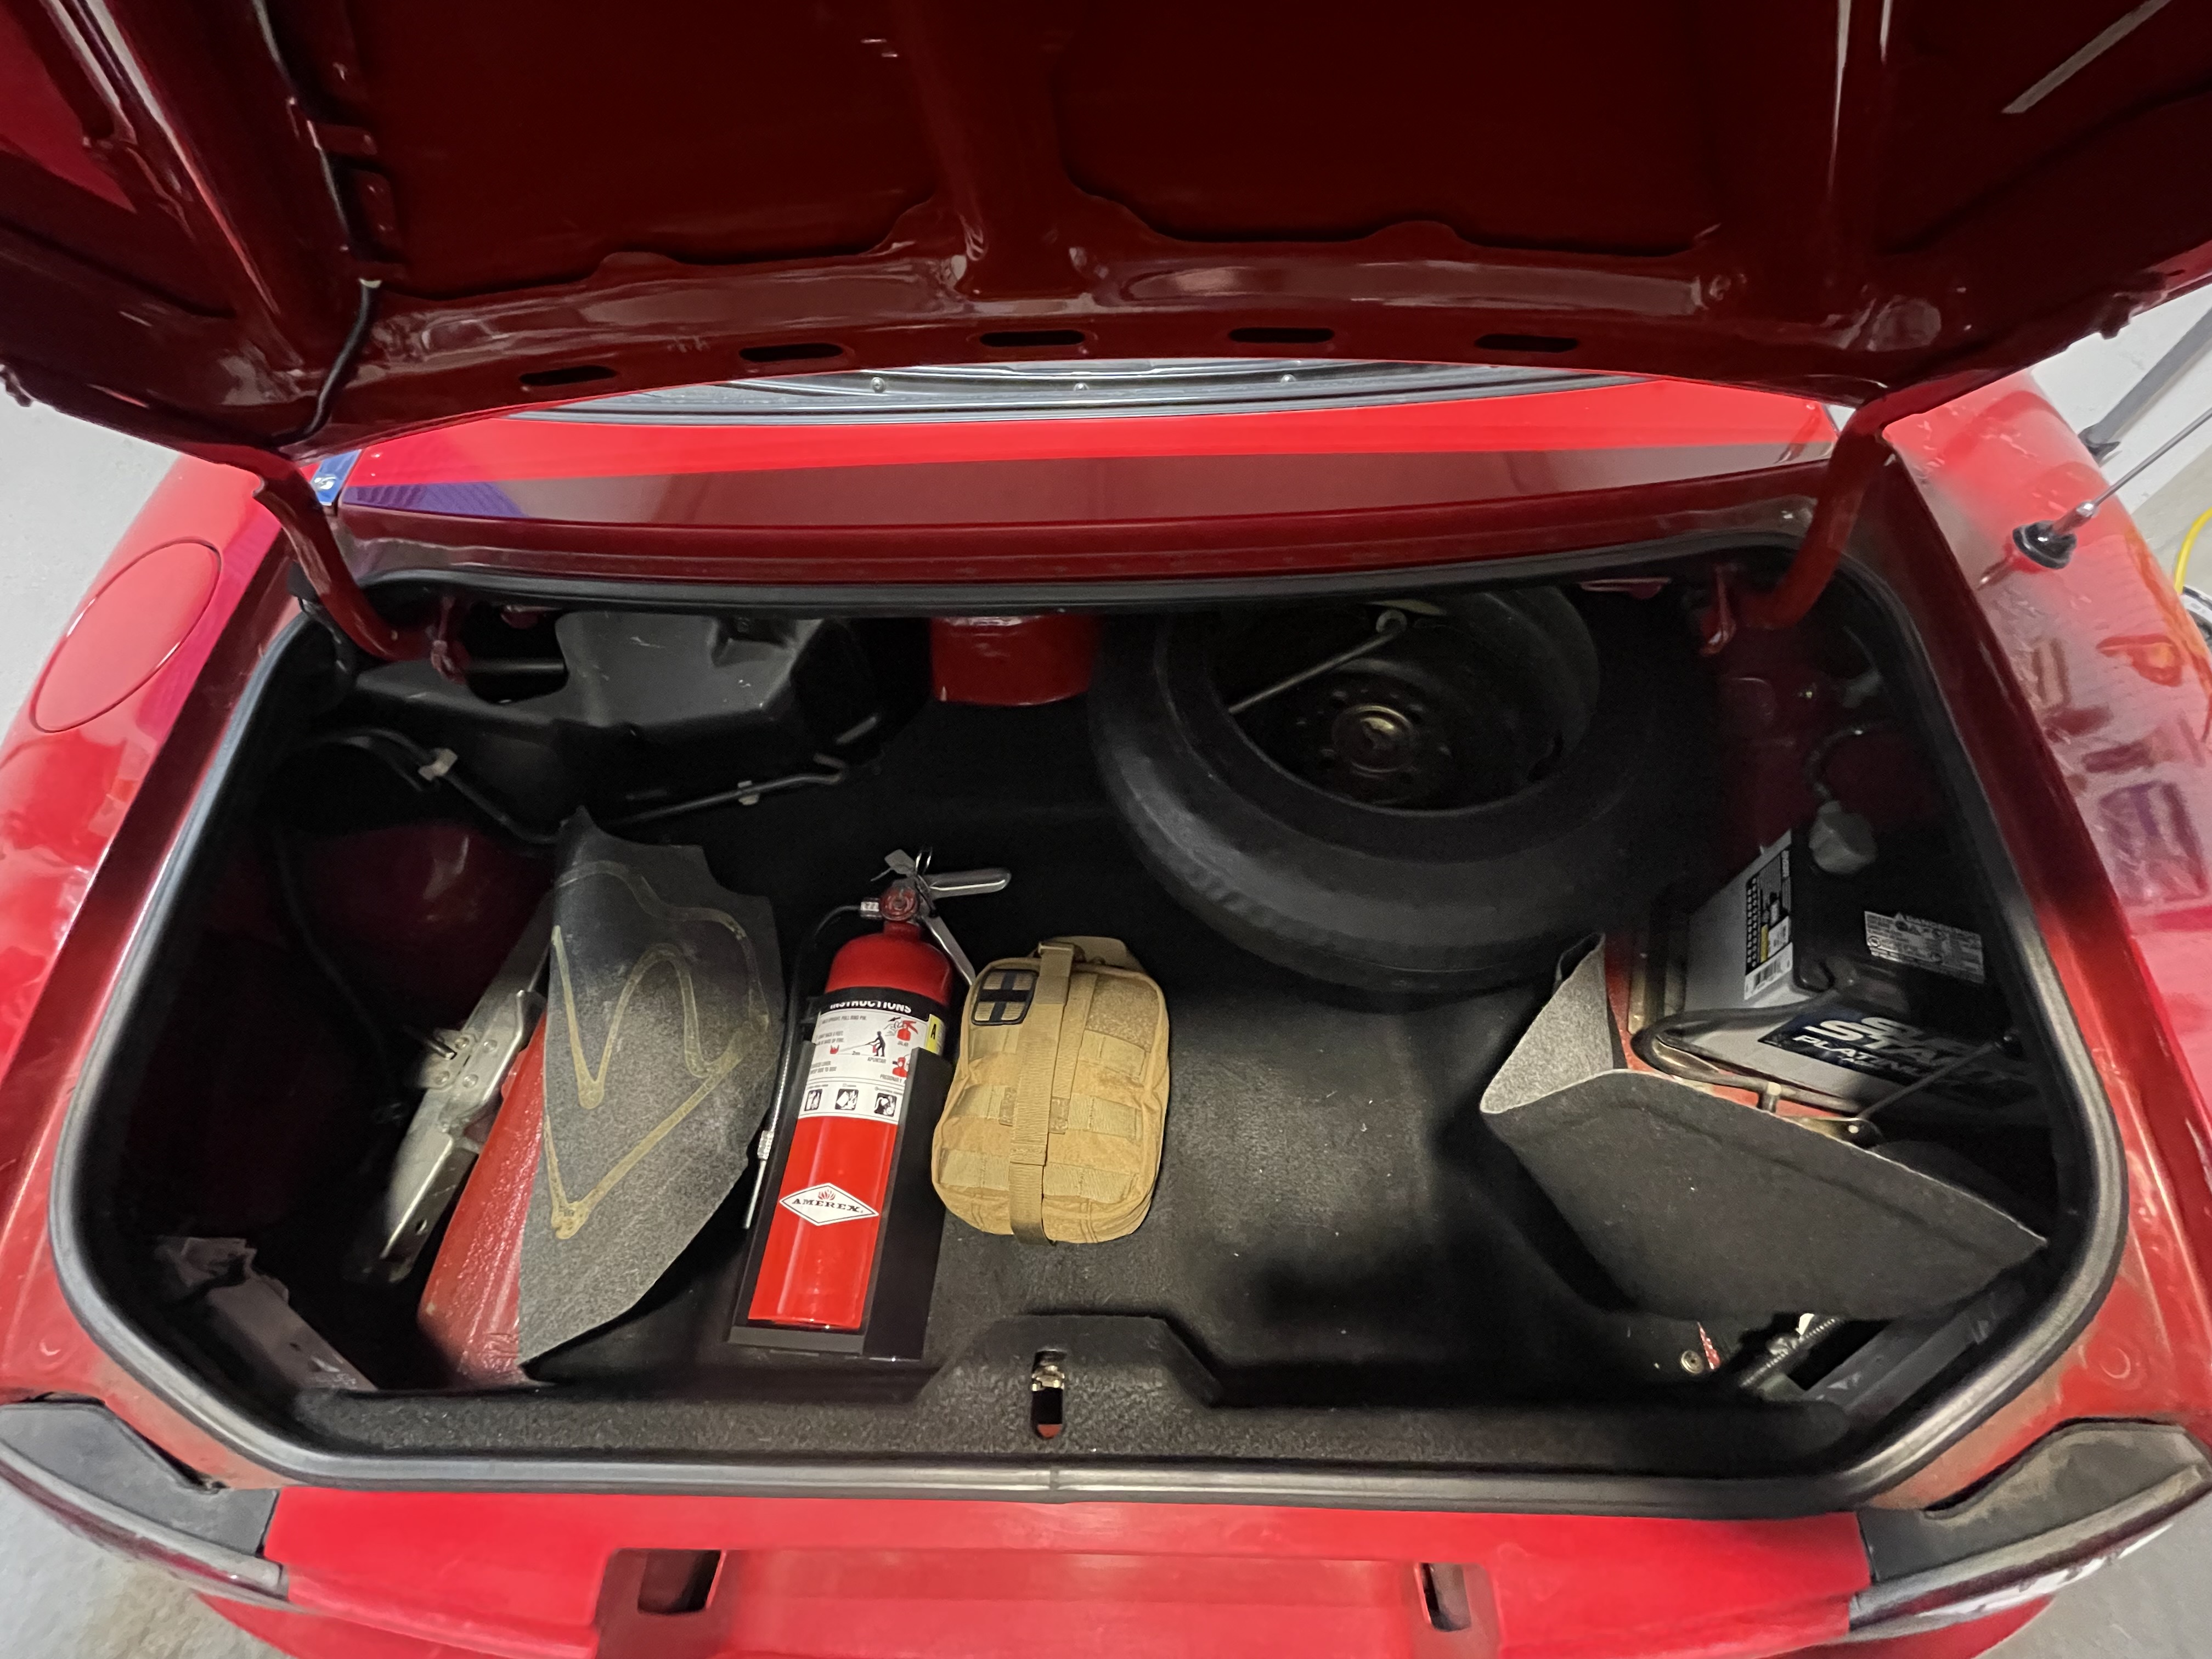
I ordered a battery hold down clamp (new), hardware to hold down the spare tire (used), and hardware to hold down the scissor jack (used). I also designed and printed a clamp to mount a fire extinguisher in the trunk. I don’t expect the car to catch fire. I just like having a fire extinguisher and a first aid kit in case I come across an emergency.
The doors and trunk creaked when opening/closing, so I greased the hinges.
The windows were rather difficult to roll up/down, so I lubricated the window tracks. It’s important to use a rubber-compatible lubricant on the front window channel. Silicone lubricant is probably best.
The latches on the soft top were a little loose, so I tightened them to ensure the top didn’t open while I was driving down the highway.
After driving the car for a week, I heard a belt squeak. I noticed that the tensioner for the water pump and alternator belt was very loose. I tightened it, but a few days later it was loose again. After closely examining the bolts, I noticed that the locking bolt that went through the alternator was installed backwards. It wasn’t actually locking the tensioner in place. It was just… bolted to the alternator. I switched it around and the belt tension has been fine ever since.
I managed to find a replacement antenna, greatly improving the sound quality of the radio. I also cleaned the tape heads in the cassette deck, which fixed the issue of tapes sounding muffled and muddy compared to the radio. I know that Miatas aren’t known for their audio systems, but the speakers still sounded worse than I expected. I popped the panels in front of the speakers (noticing some missing/worn panel clips, which I got replacements for), revealing some very tired-looking speakers. I replaced them with some random 6.5” Walmart speakers. The audio quality was night and day.
It rains a lot in Vancouver, so I got some floor mats to protect the carpet.
The driver’s side seatbelt sometimes had trouble clicking in, so I replaced both seat belt receptacles.
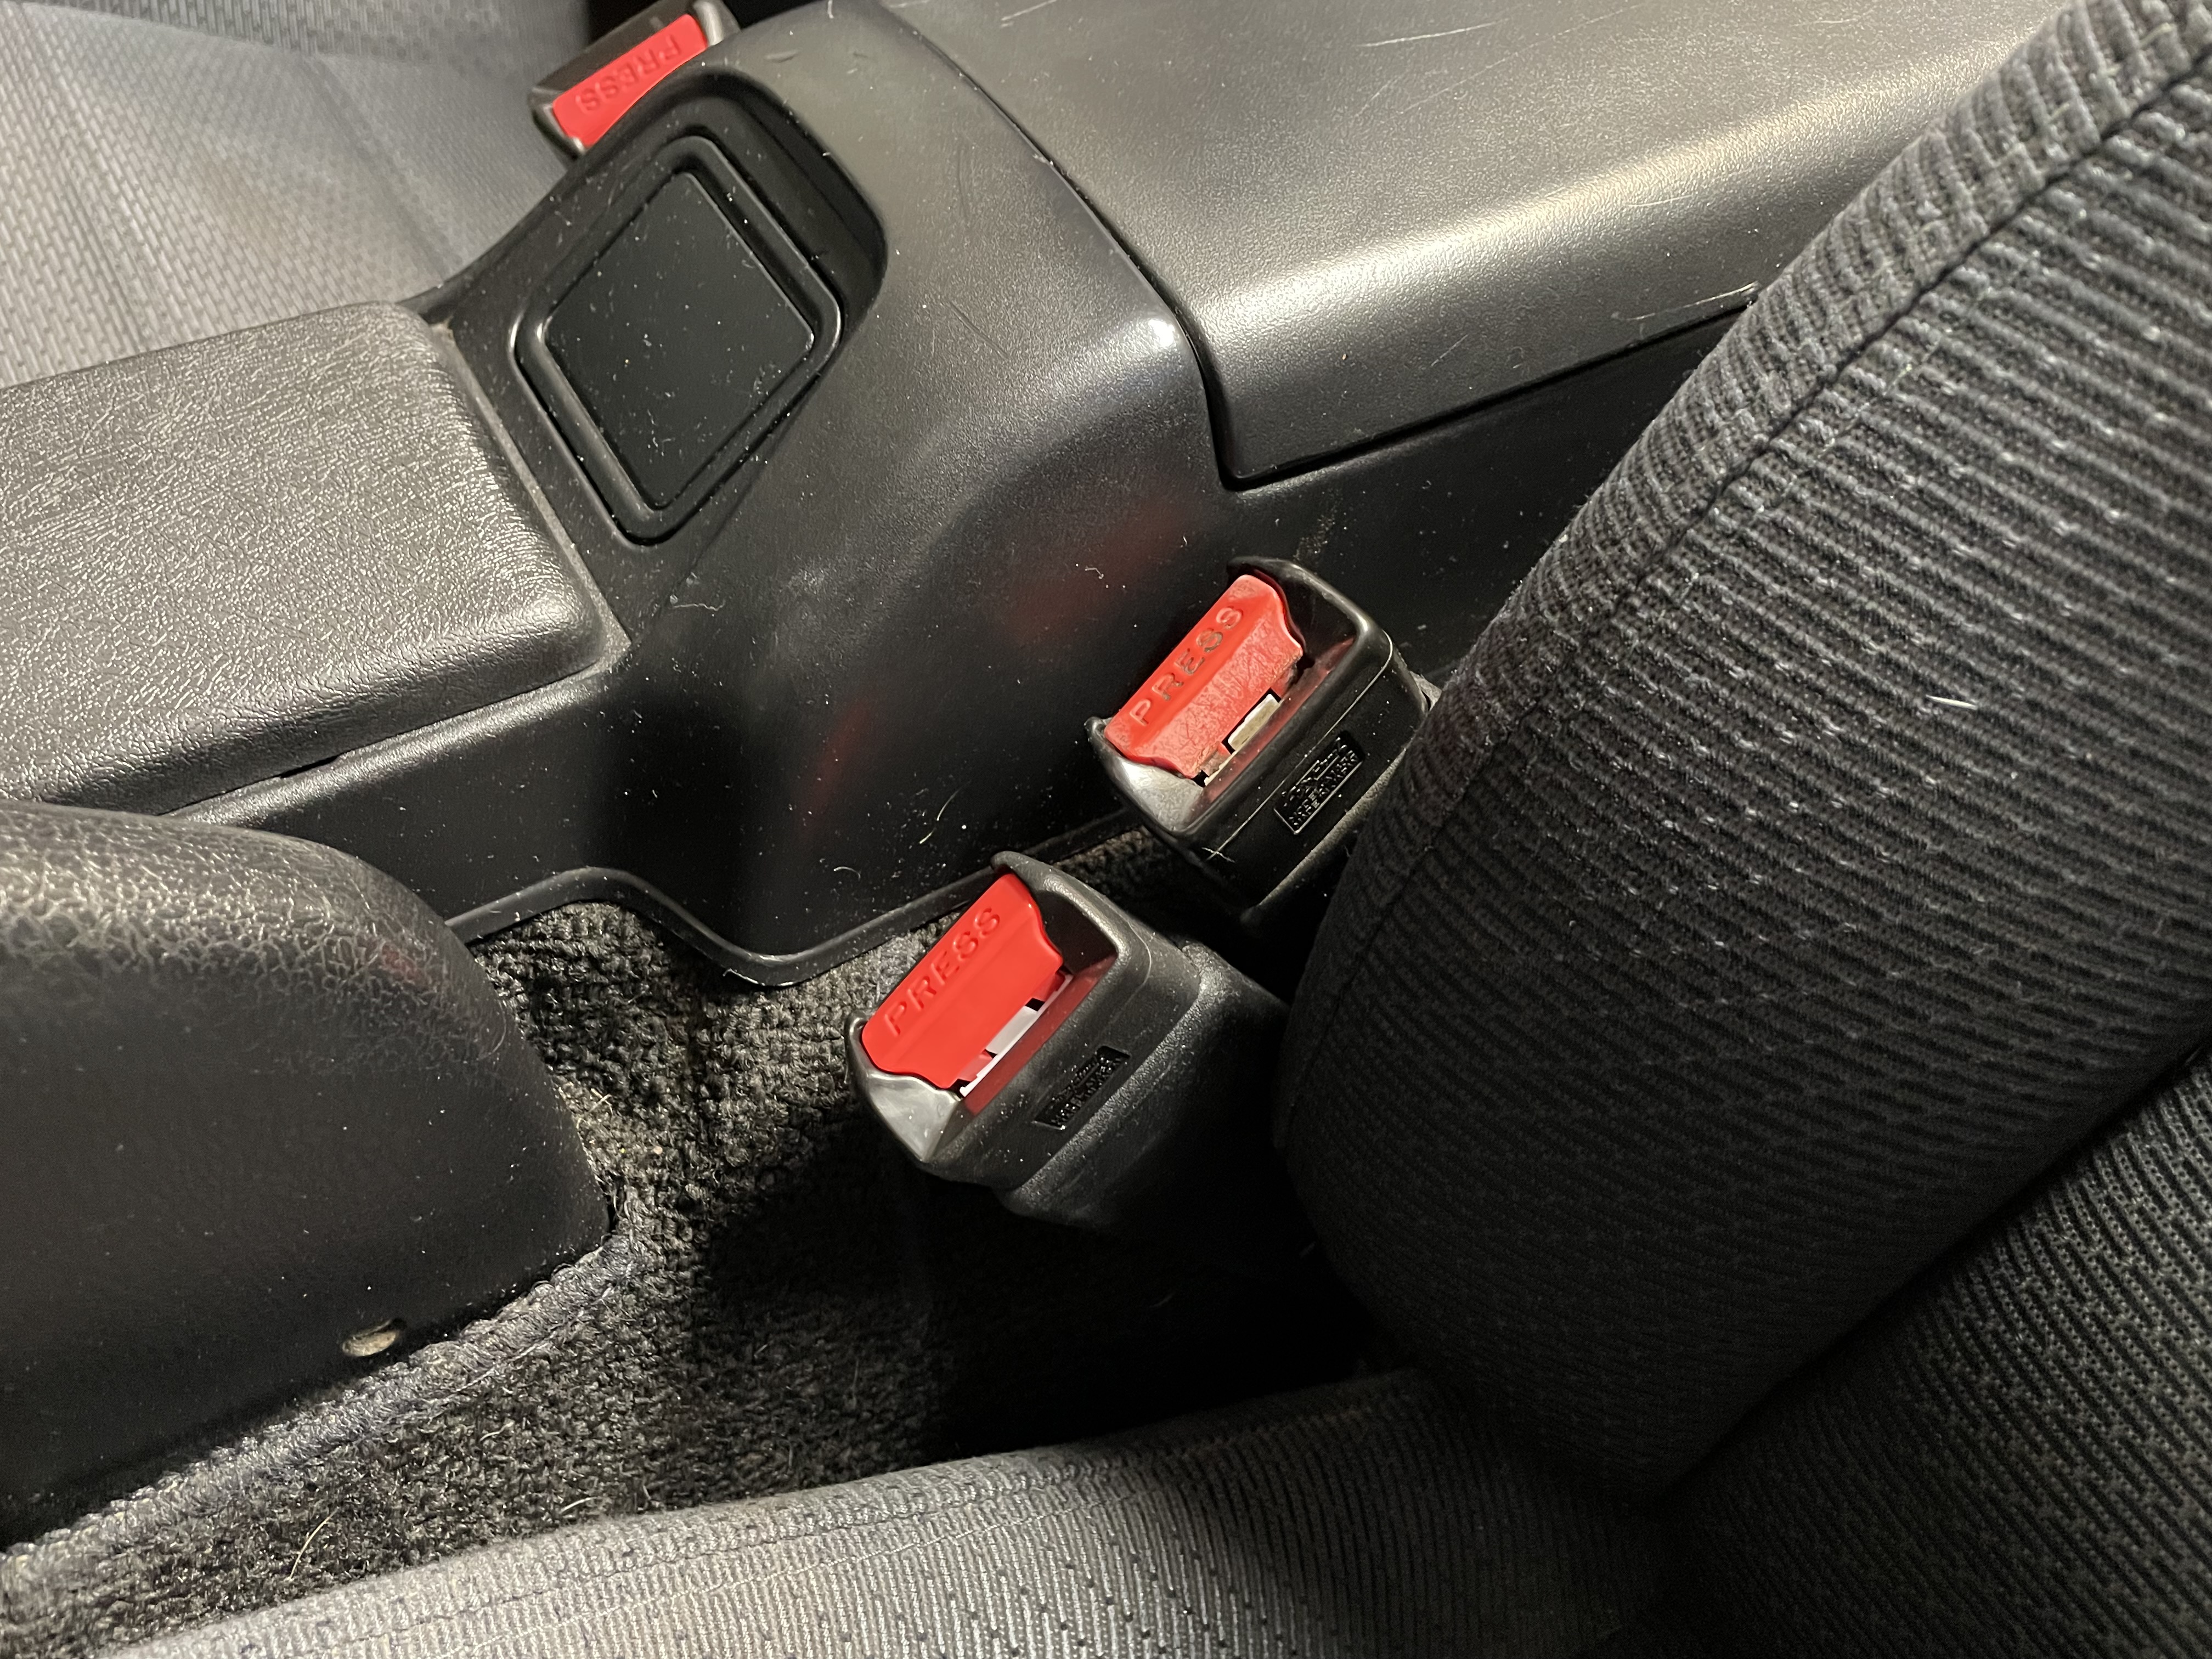
(No, you cannot attach two seat belts at once. I just set the old one next to the new one for comparison.)
The new receptacles were OEM, but they used 17mm bolts instead of the 16mm that came with the car. Fortunately the threads were the same so I had no issues replacing them.
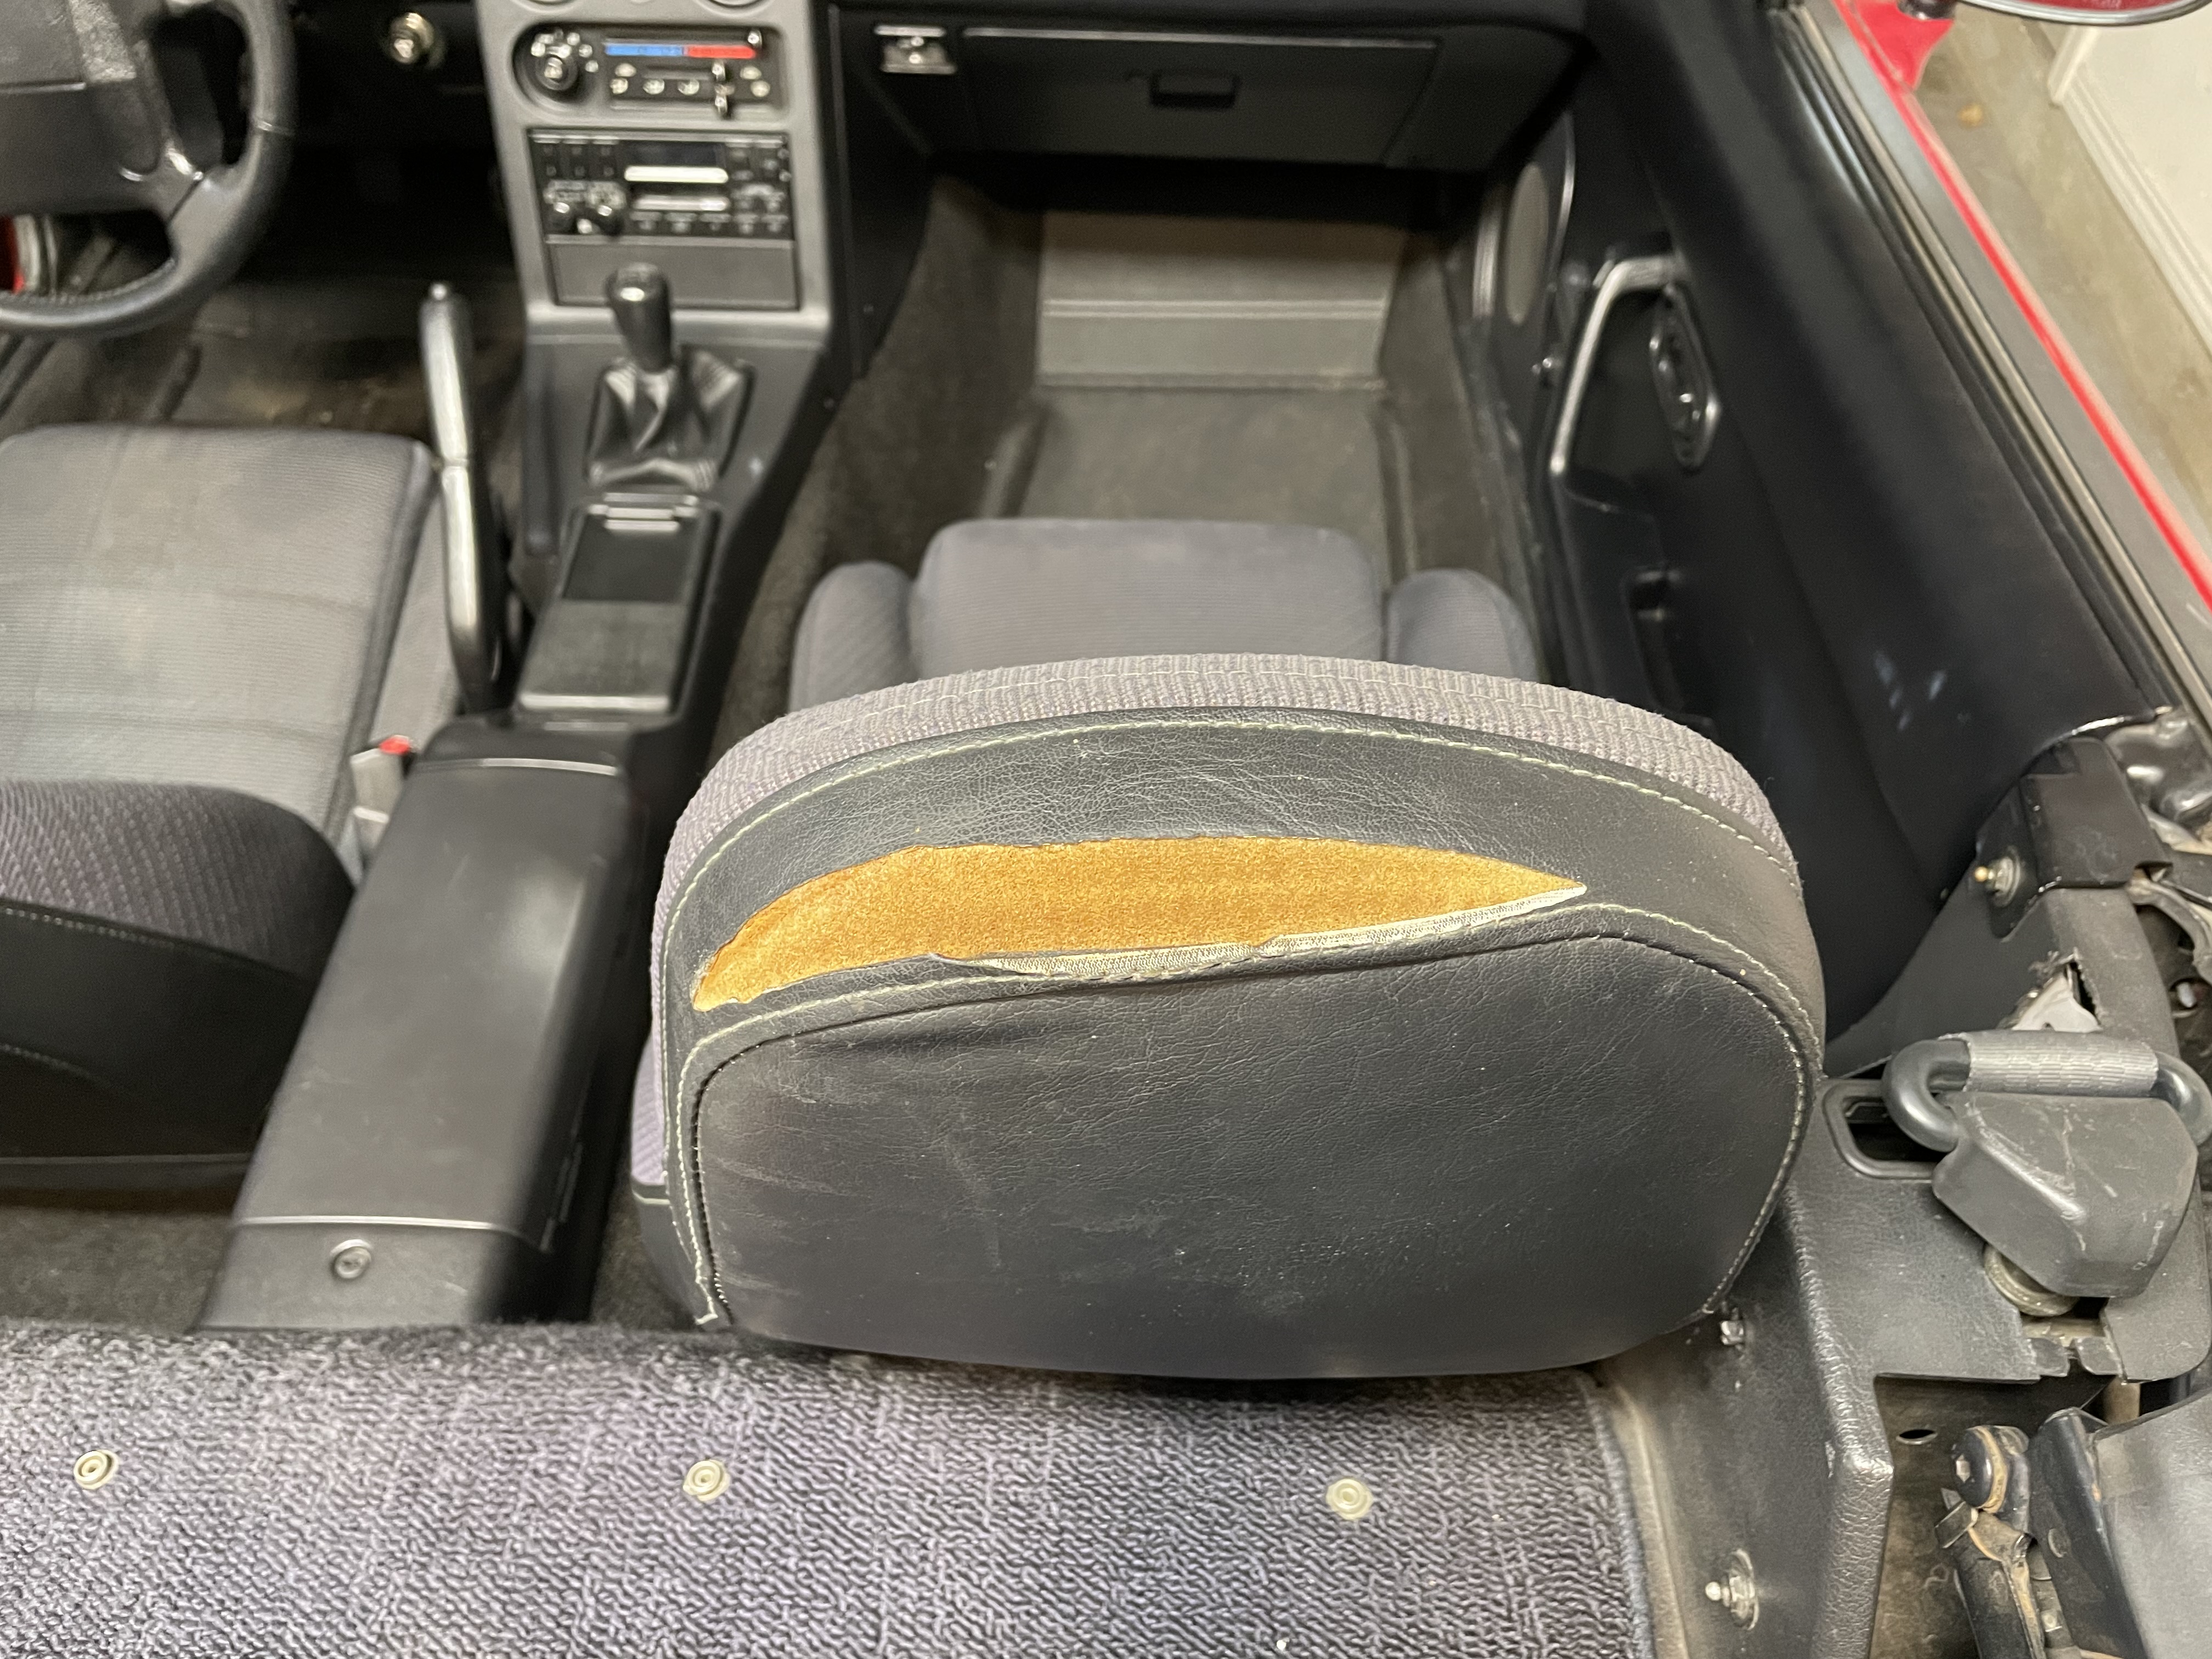
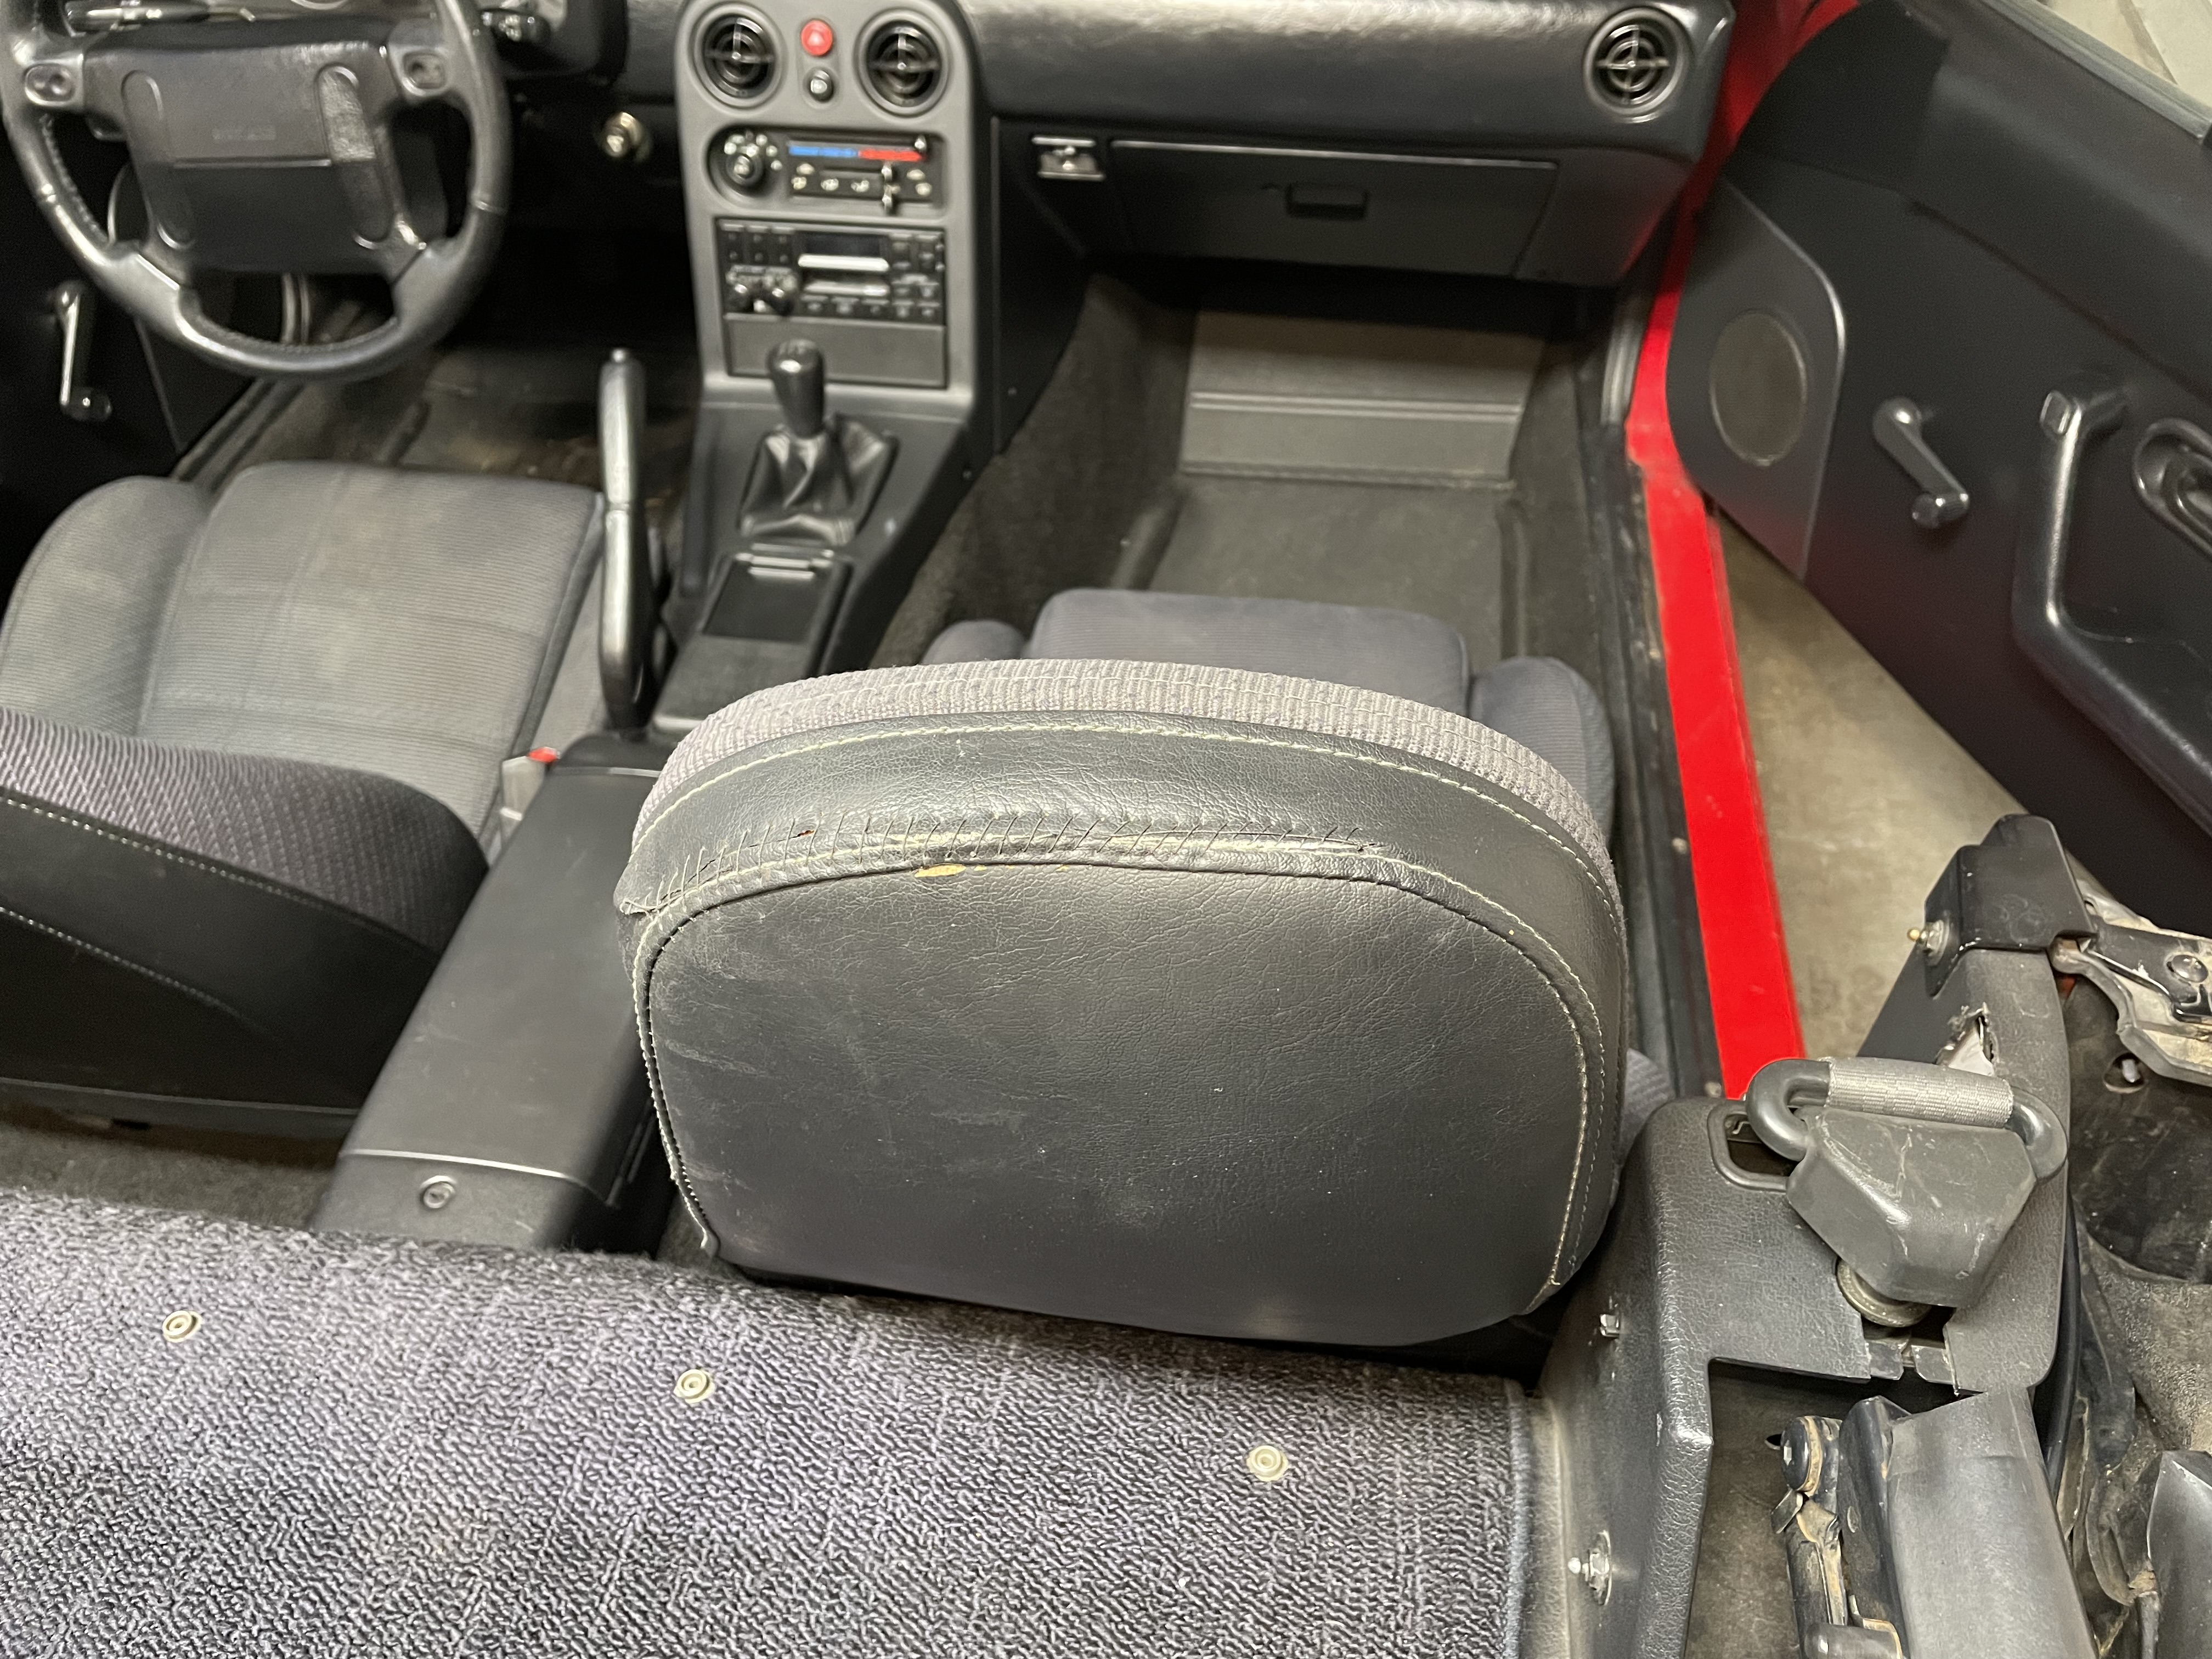
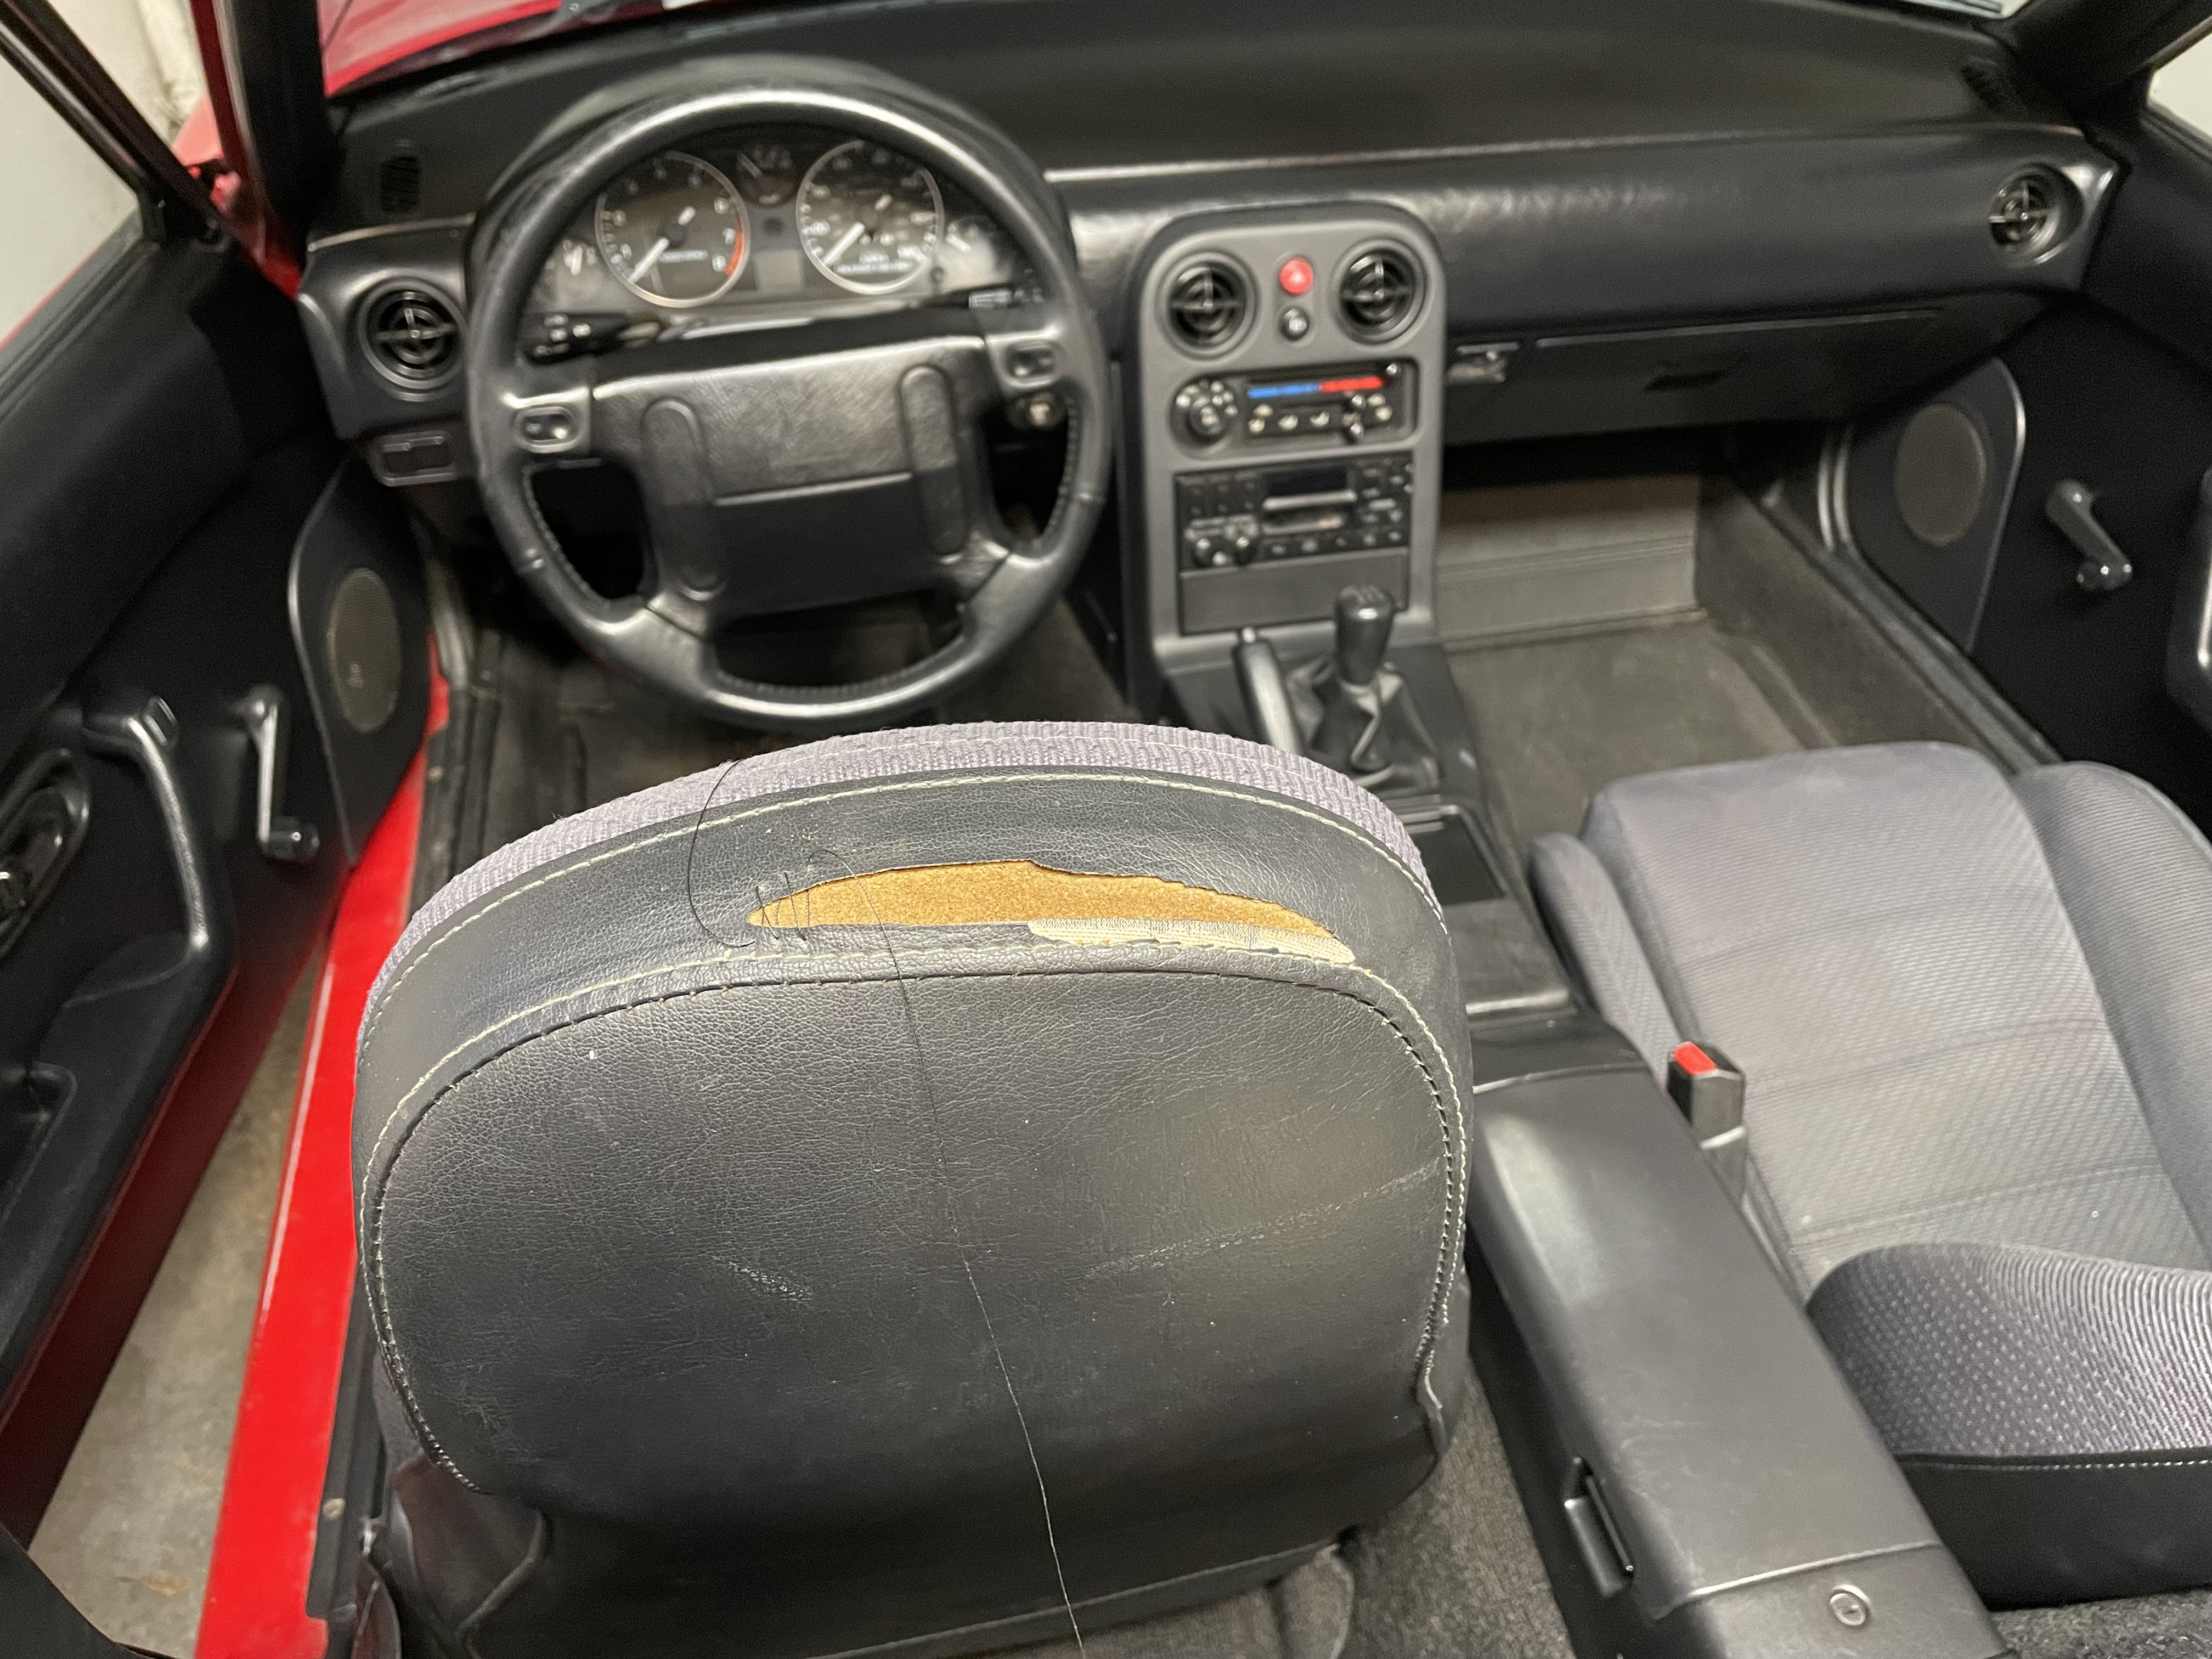
The headrests had some tears. I used some heavy thread and leather needles to sew them up. The result wasn’t perfect, but it was a lot better than before. It was also much cheaper than reupholstering the seats.
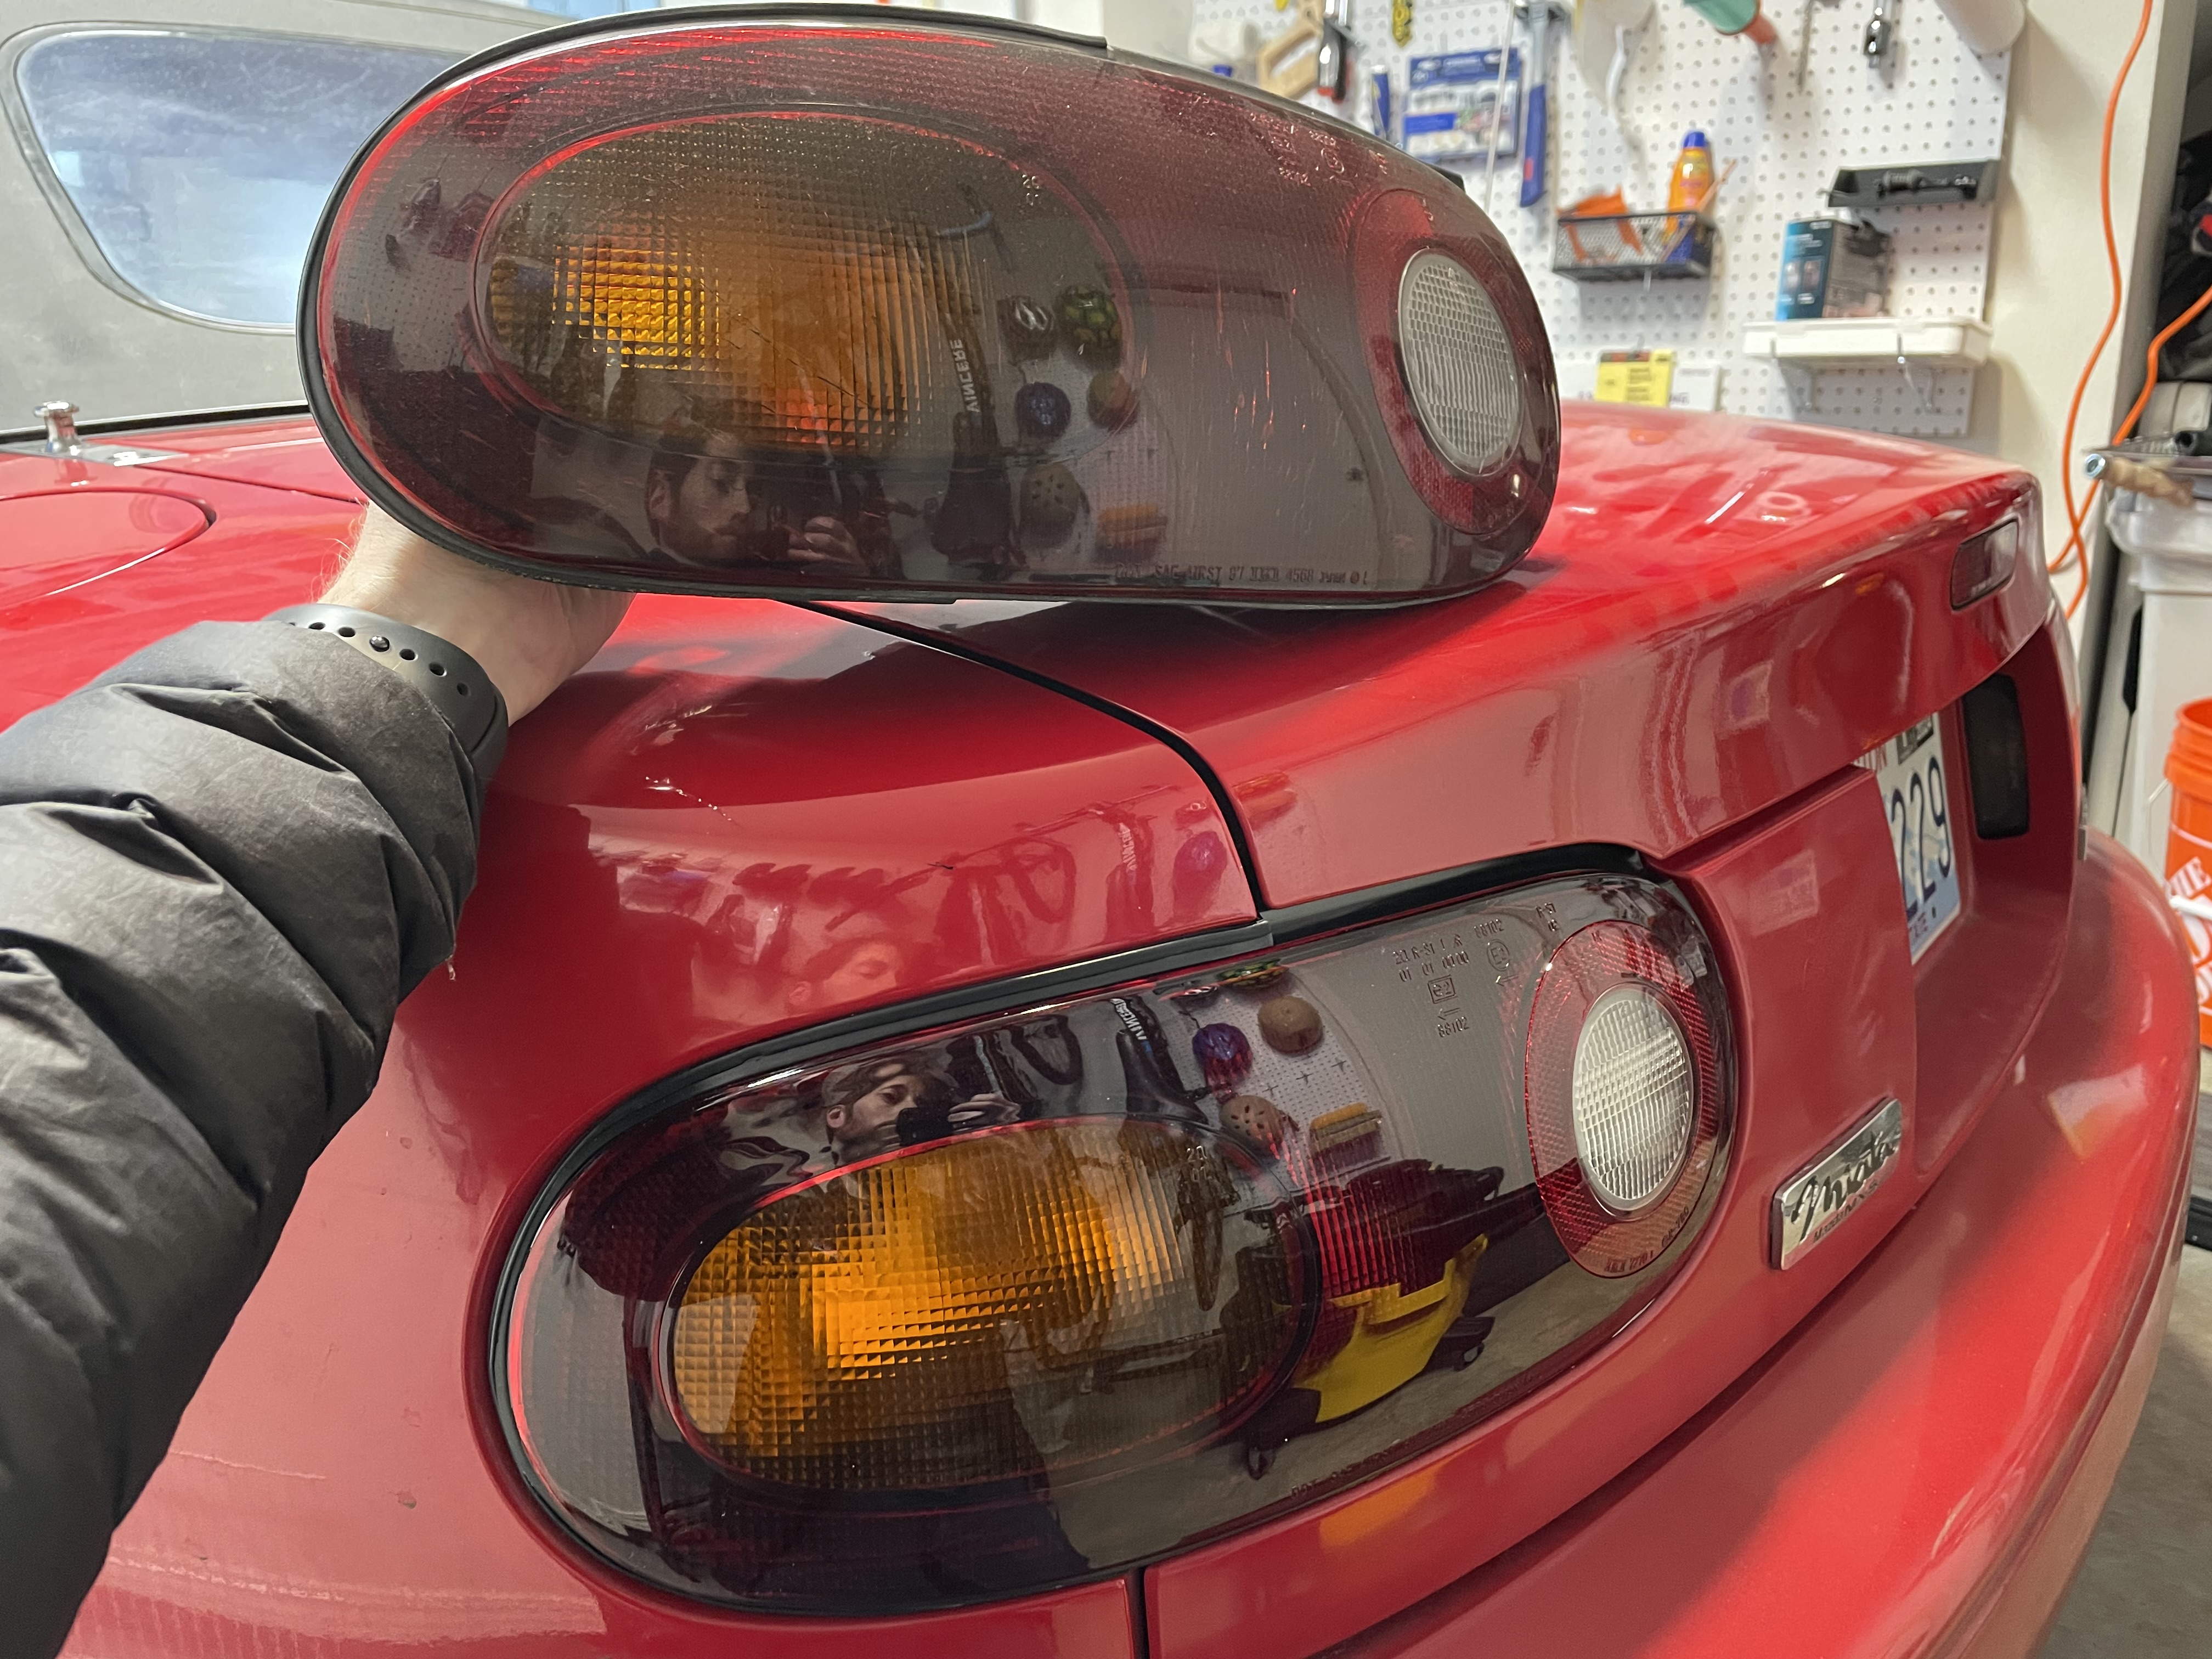
One of the tail lights had some cracks, so I ordered replacements and swapped them out.
Part of the the windshield cowling had broken off, so I ordered a replacement and installed it. The plastic was aged from sunlight and time, so the new cowling improved the look of the car. The wiper frames could use some new paint, but I haven’t gotten around to that yet.
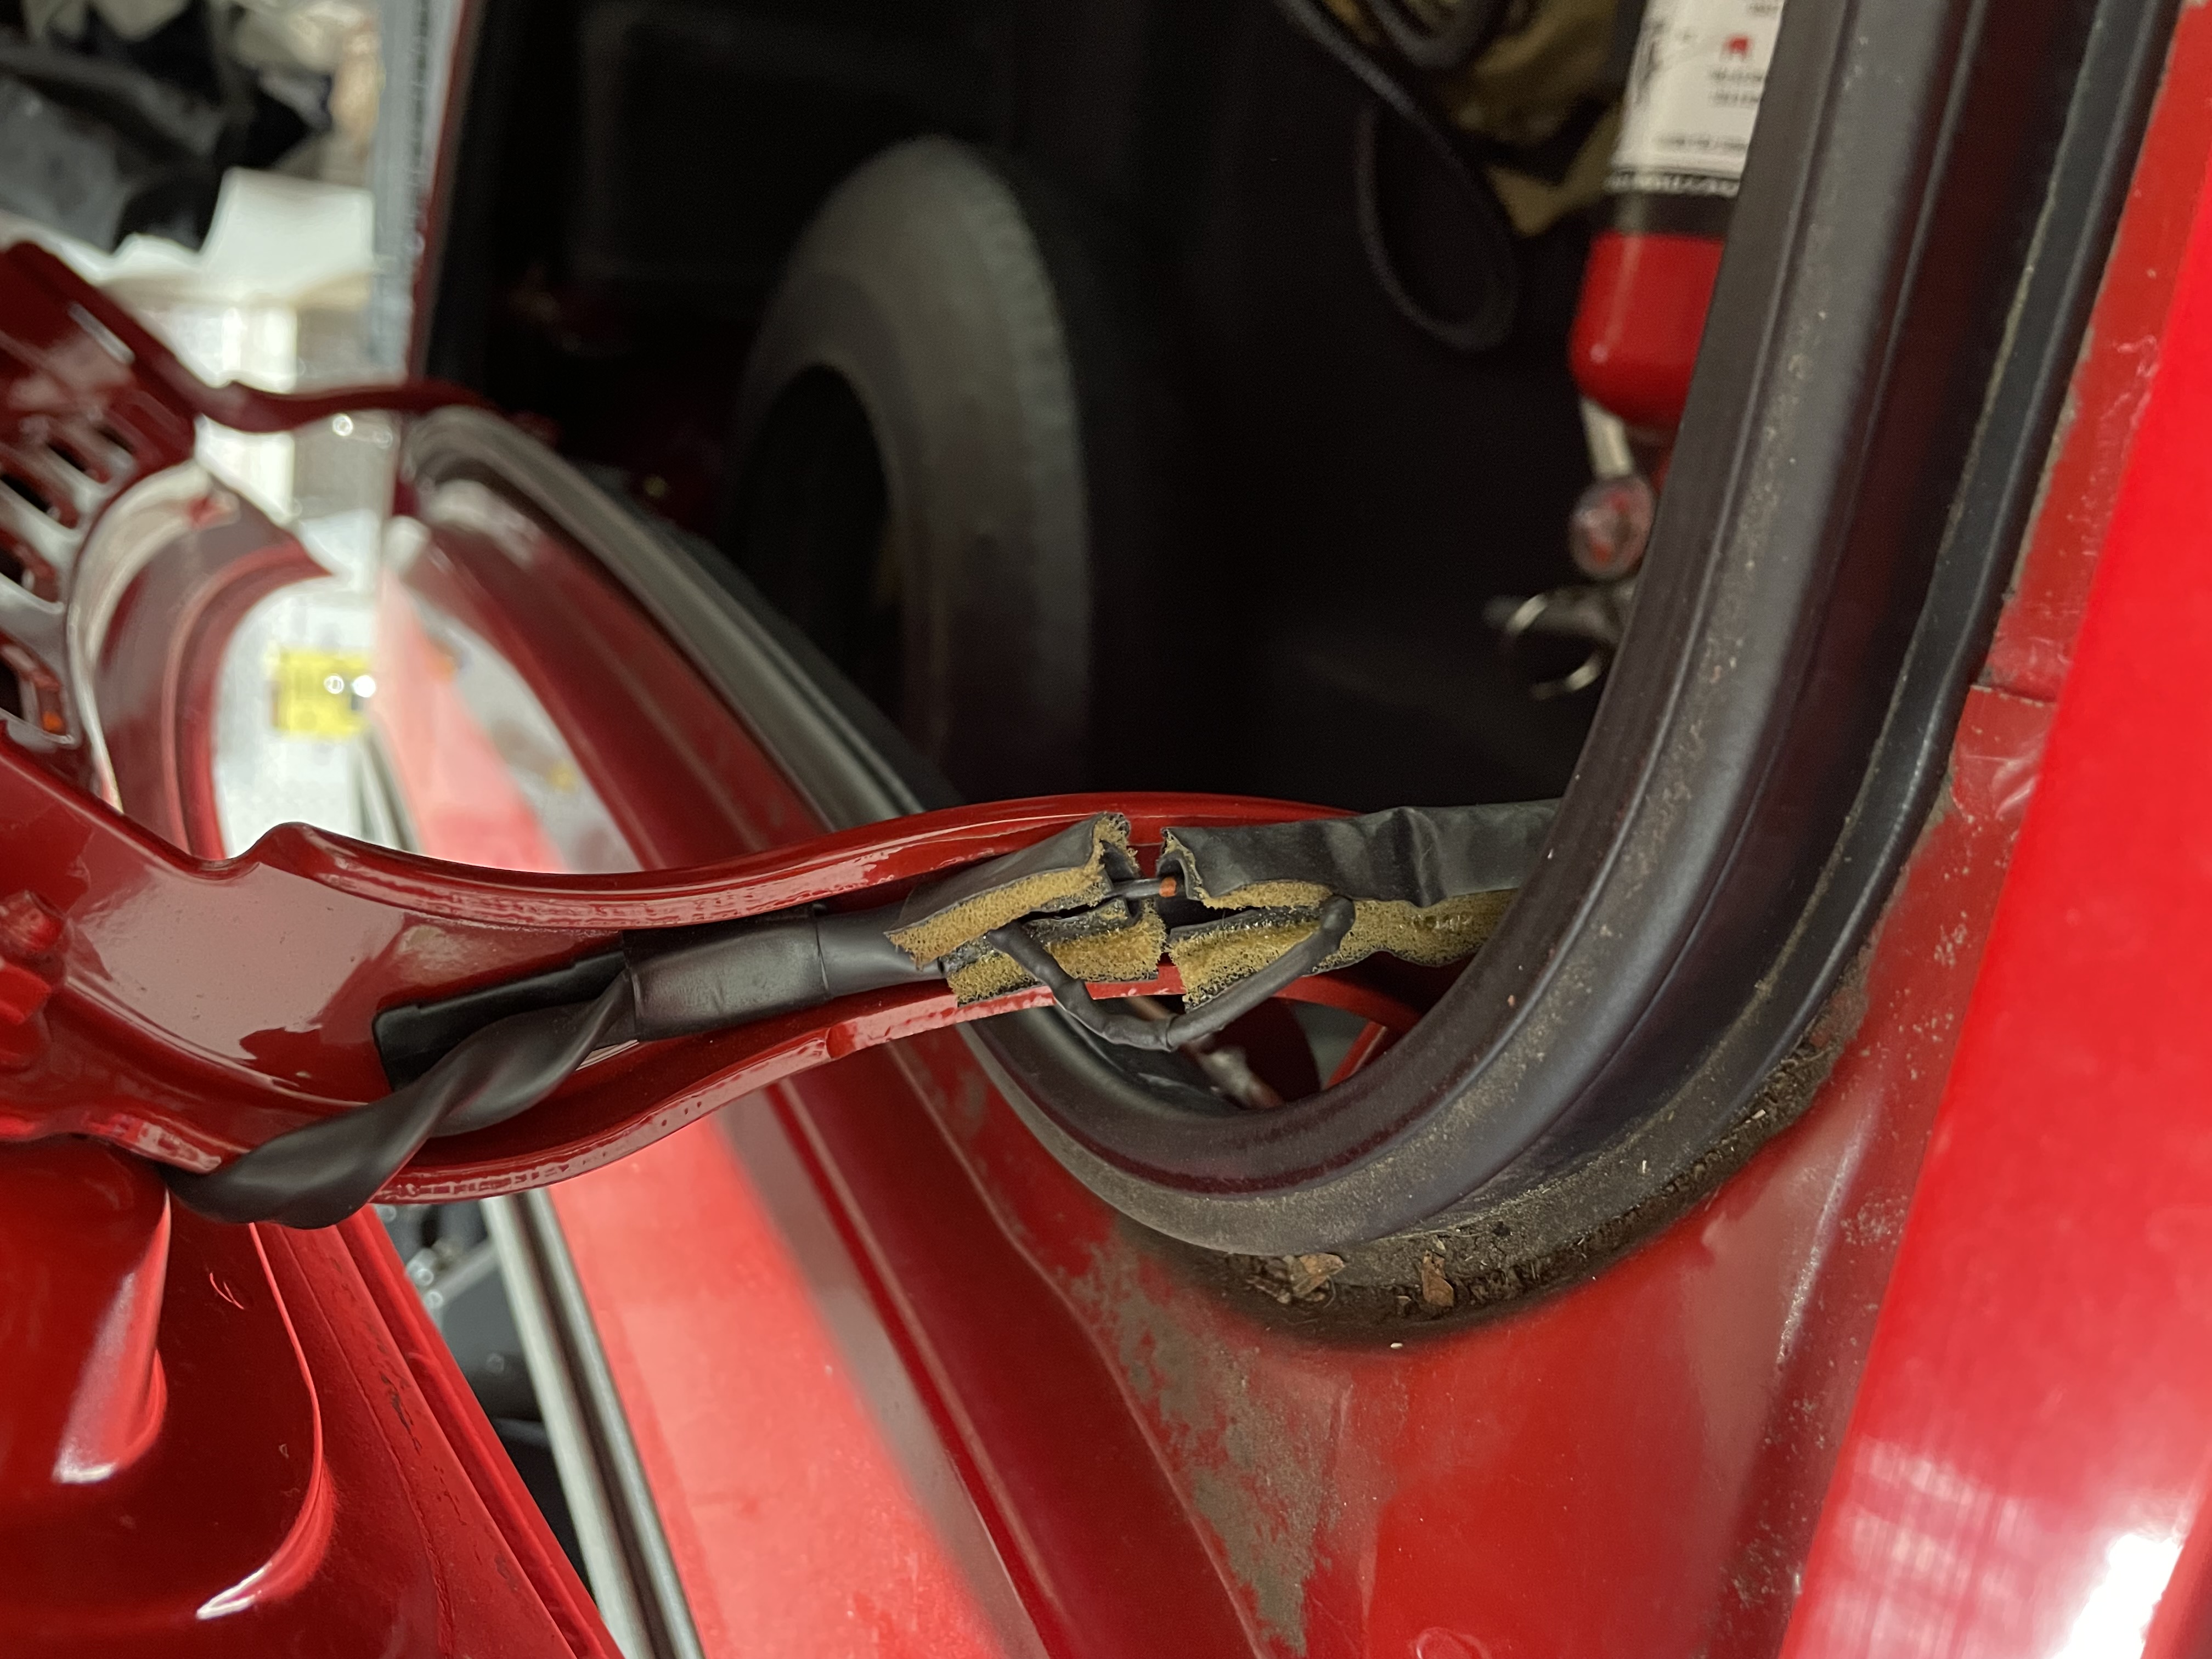
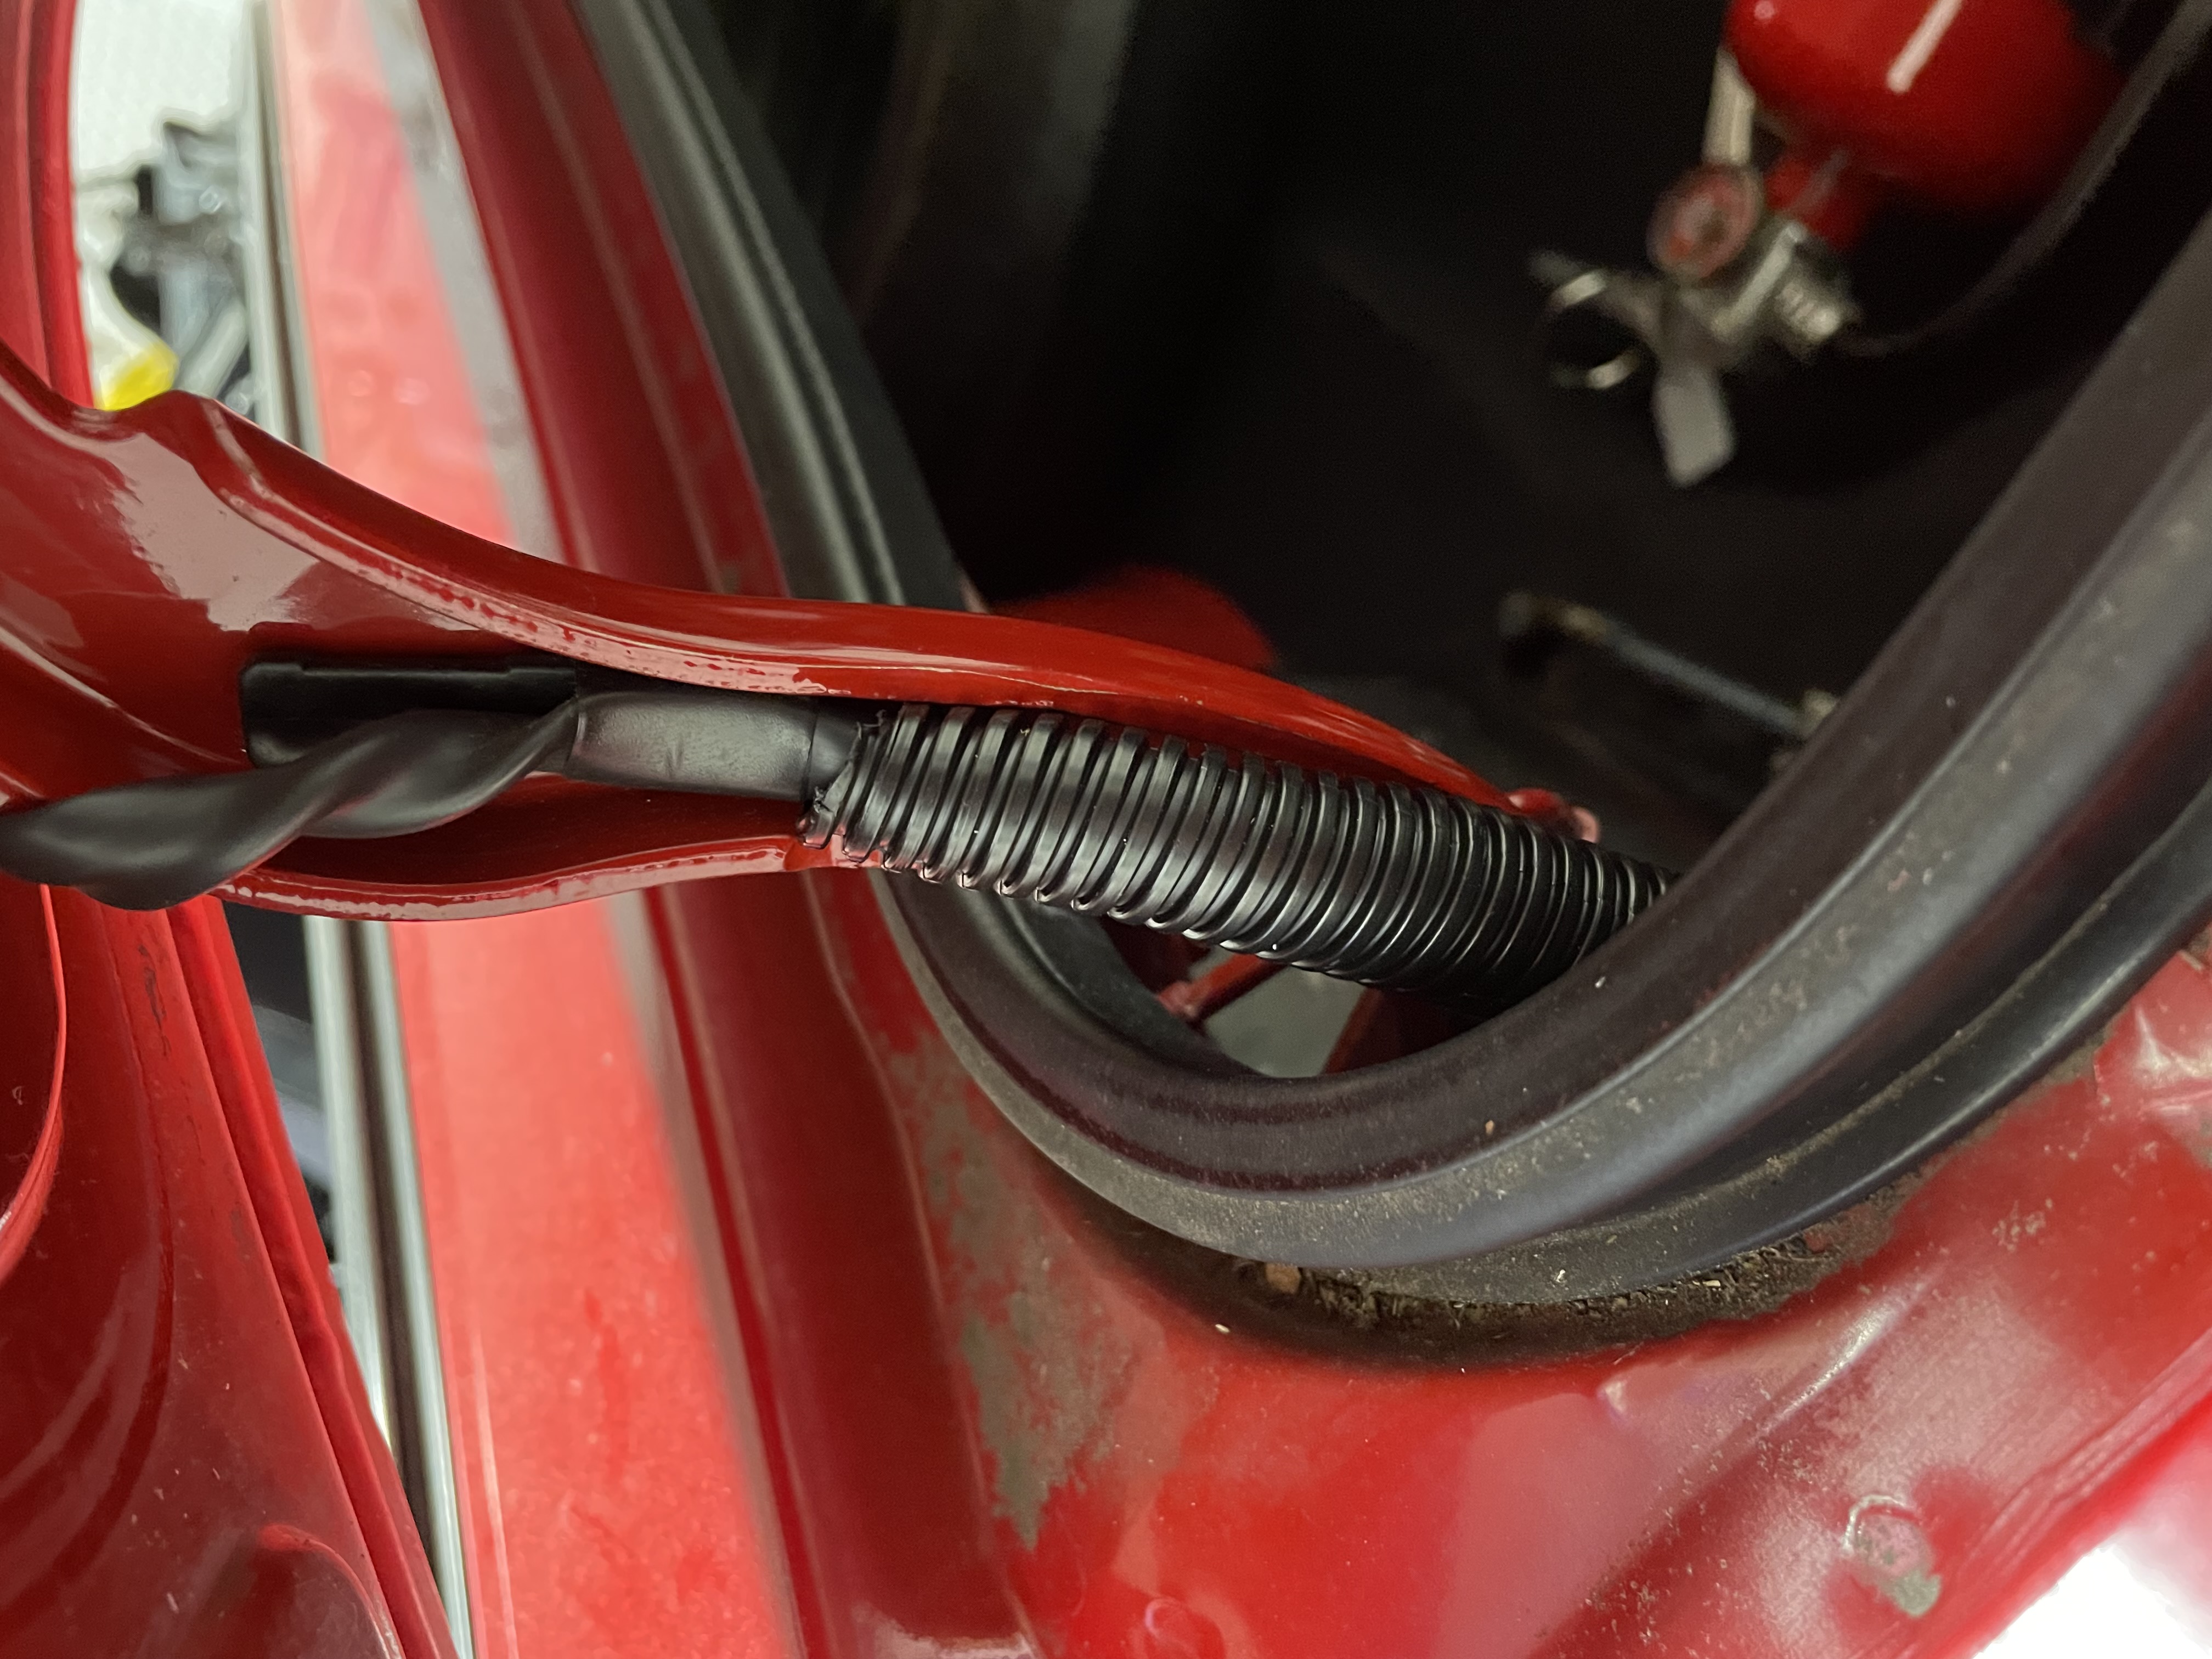
The top brake light didn’t work. The bulb seemed fine, but the wiring had a break. I soldered it back together, put some heatshrink around the bare wire, then put some plastic conduit around the padding. Hopefully that should prevent issues in the future.
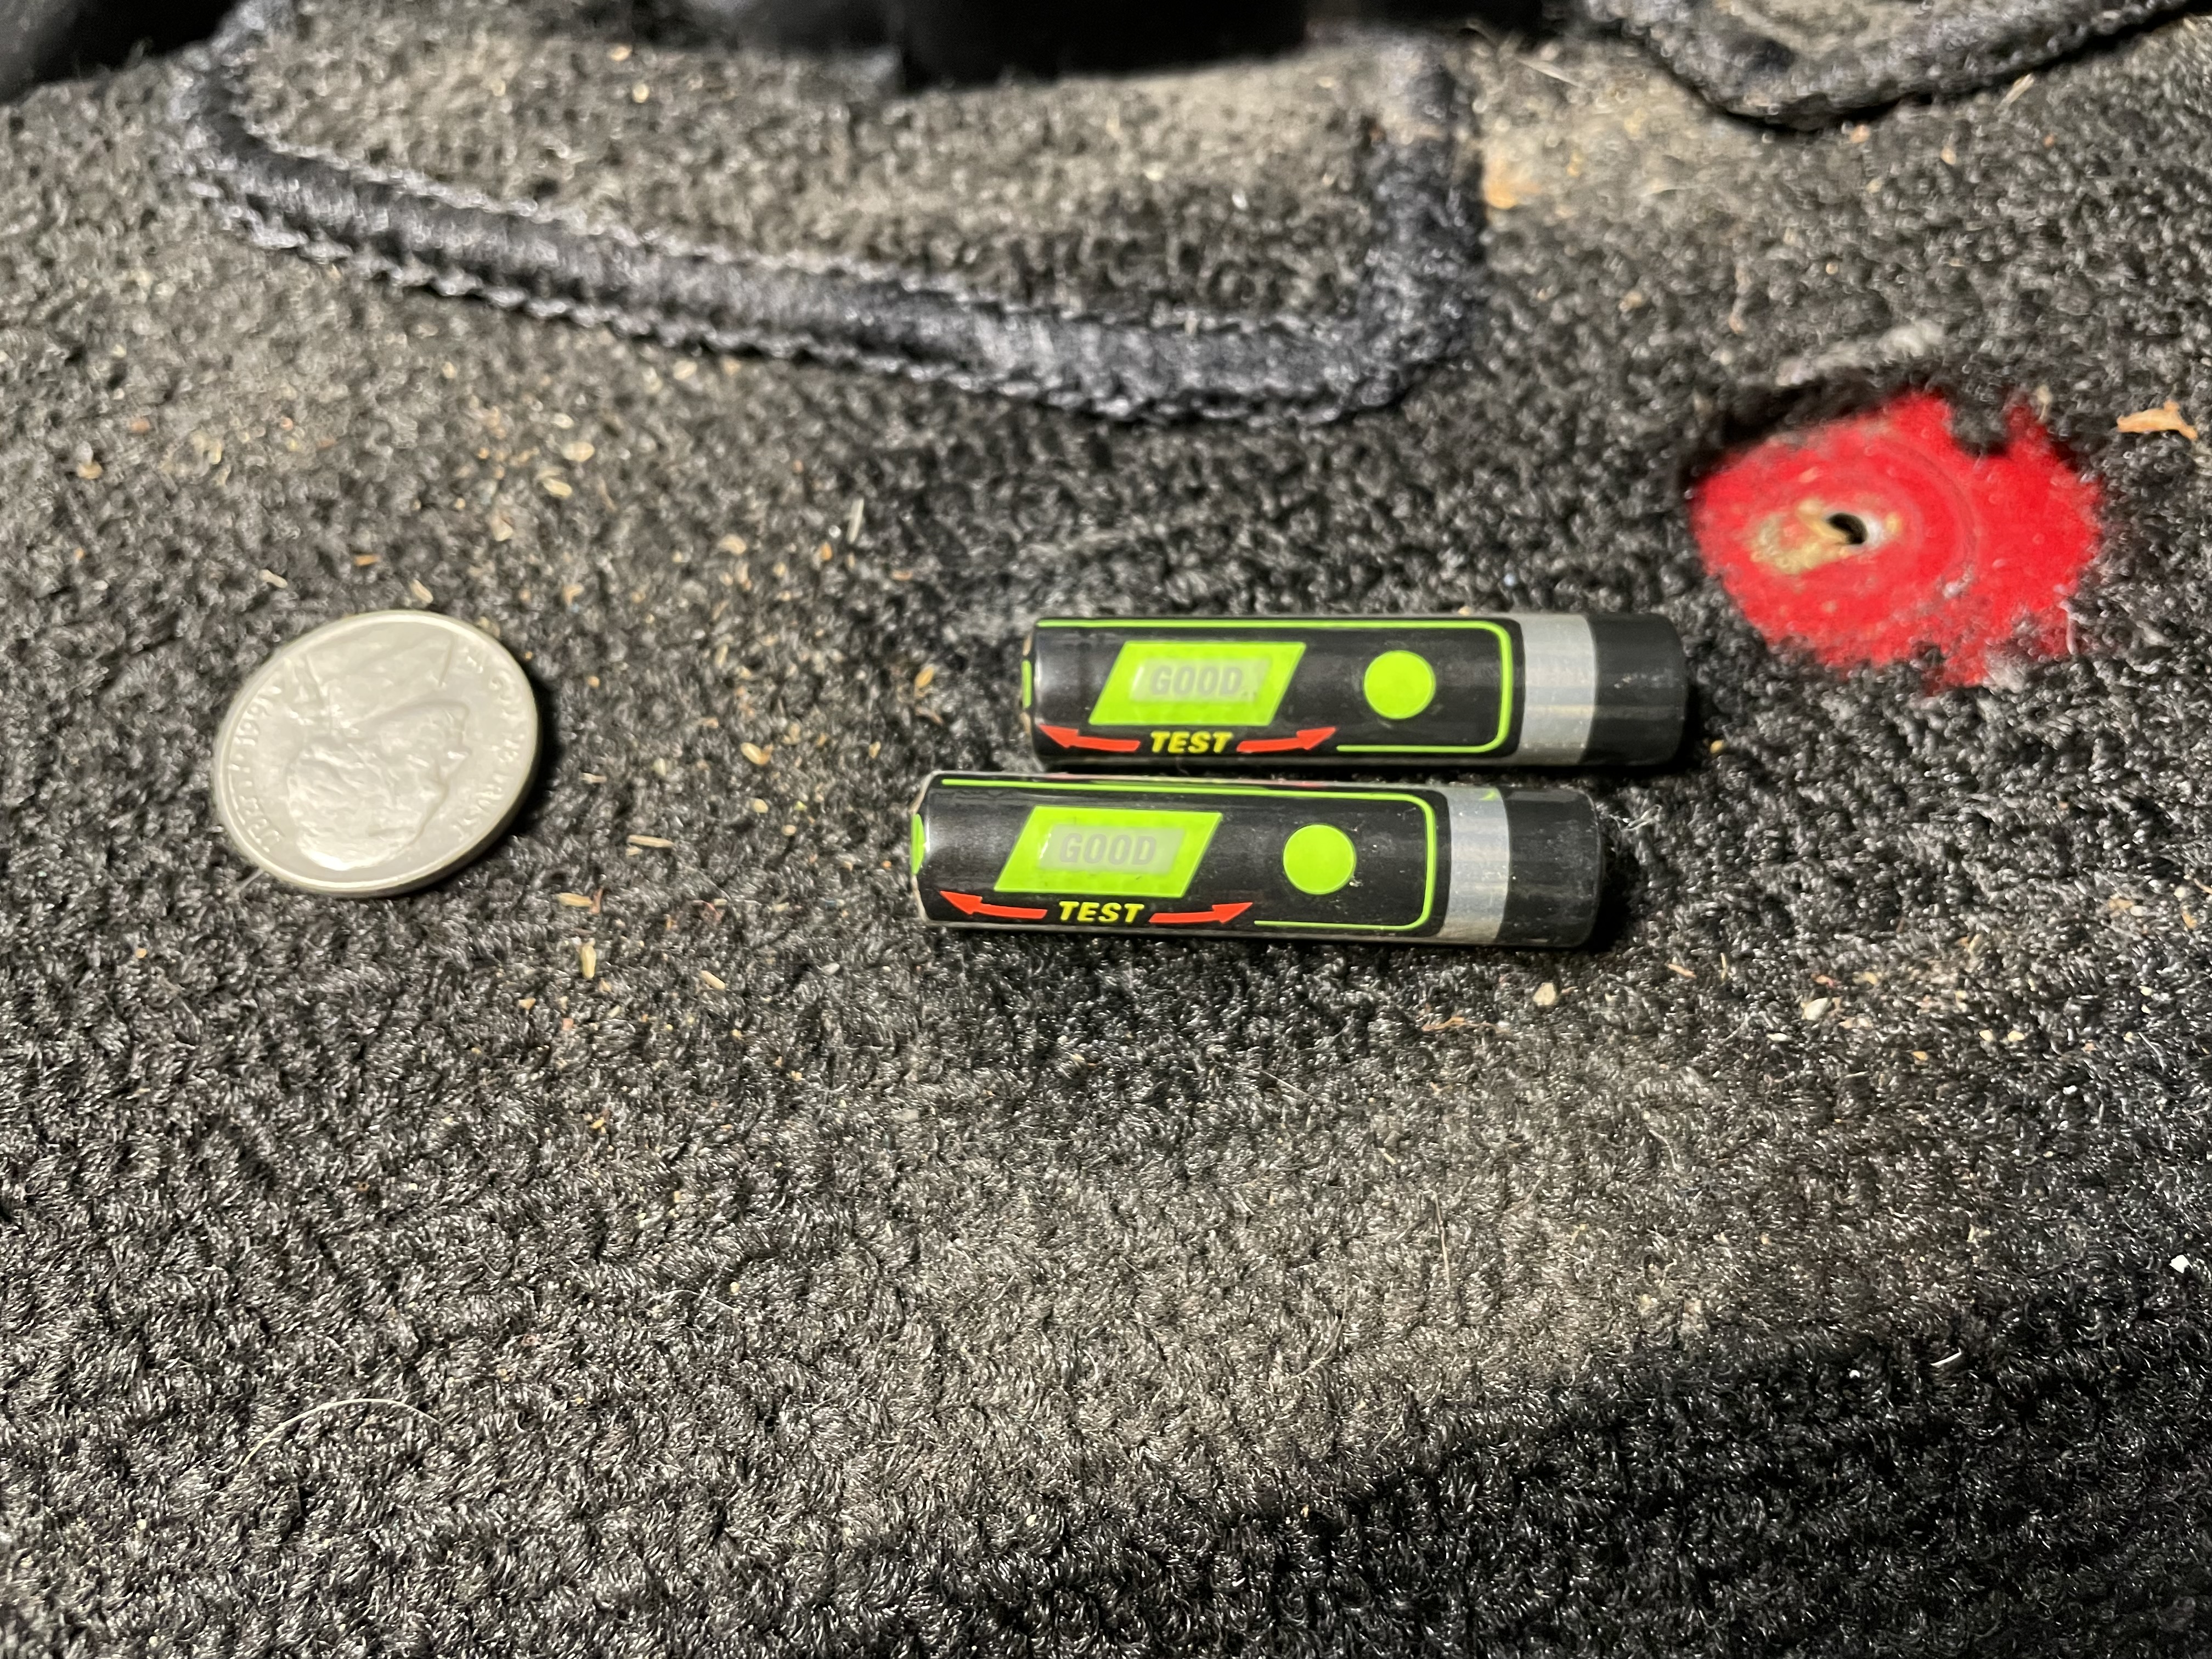
While replacing the torn shifter boot, I noticed two AAA batteries underneath the center console.
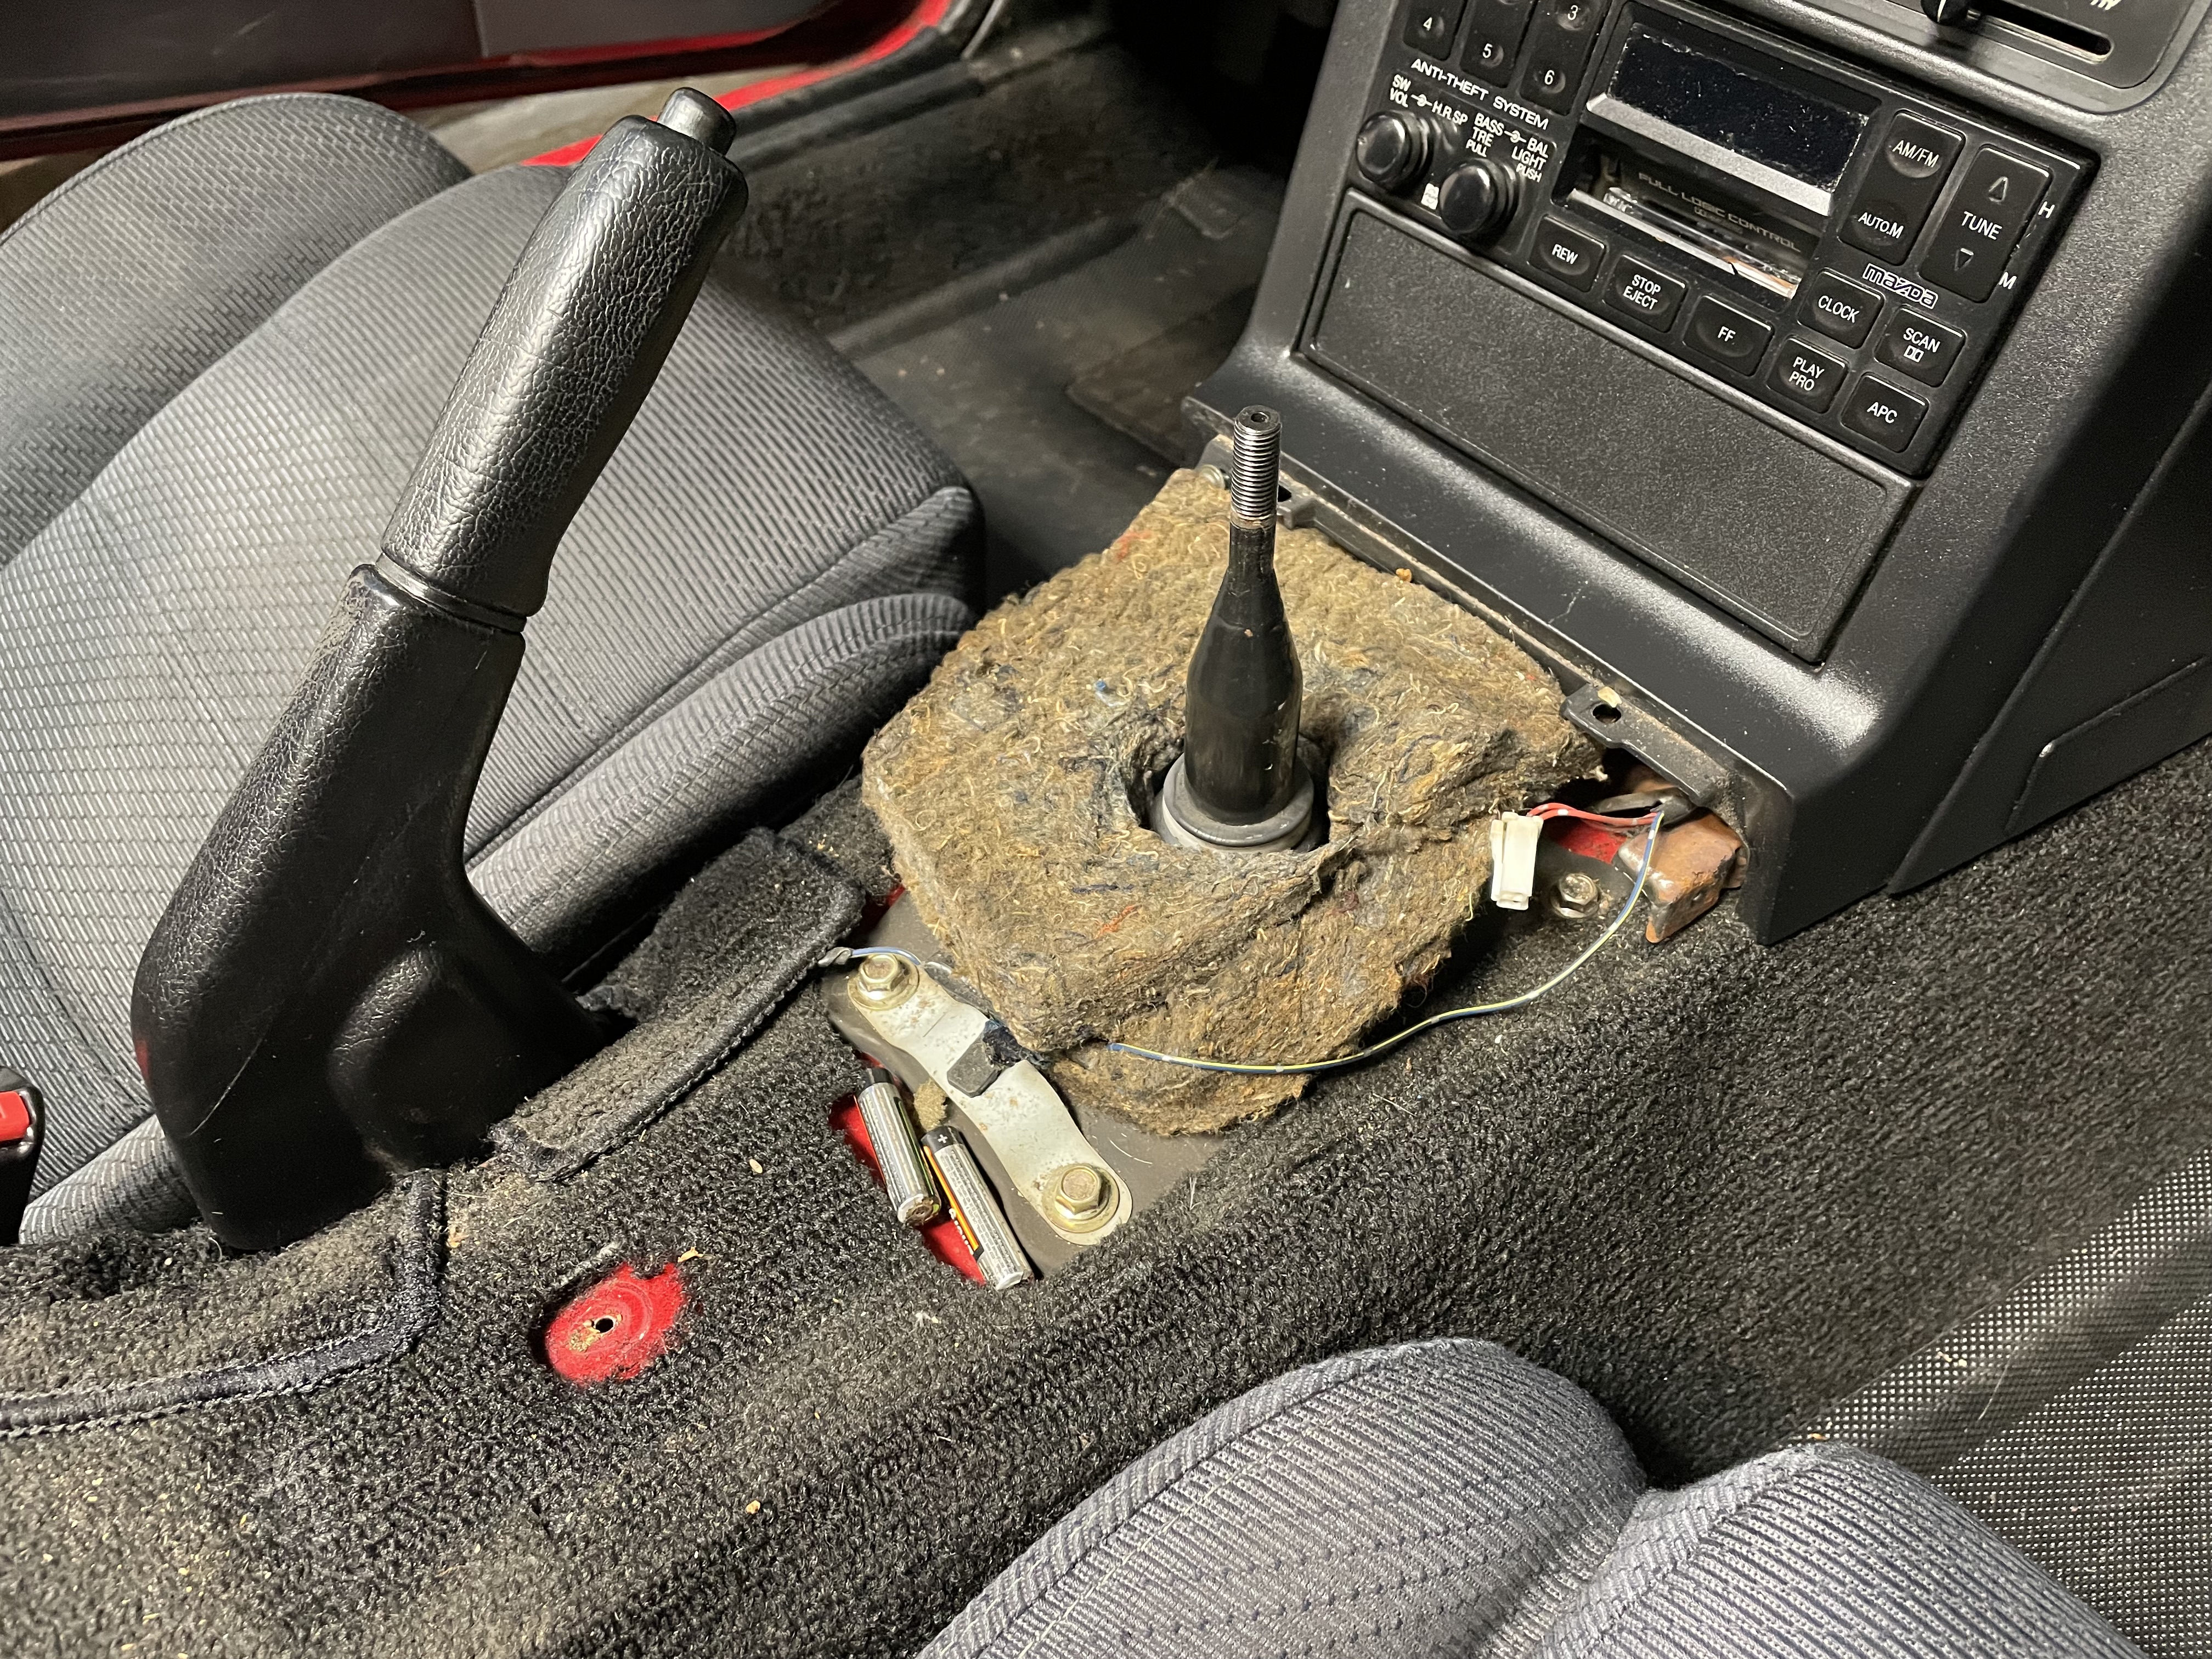
They’d been there, not connected to anything, for over 20 years. I’m surprised they didn’t leak. Also there was a nickel.
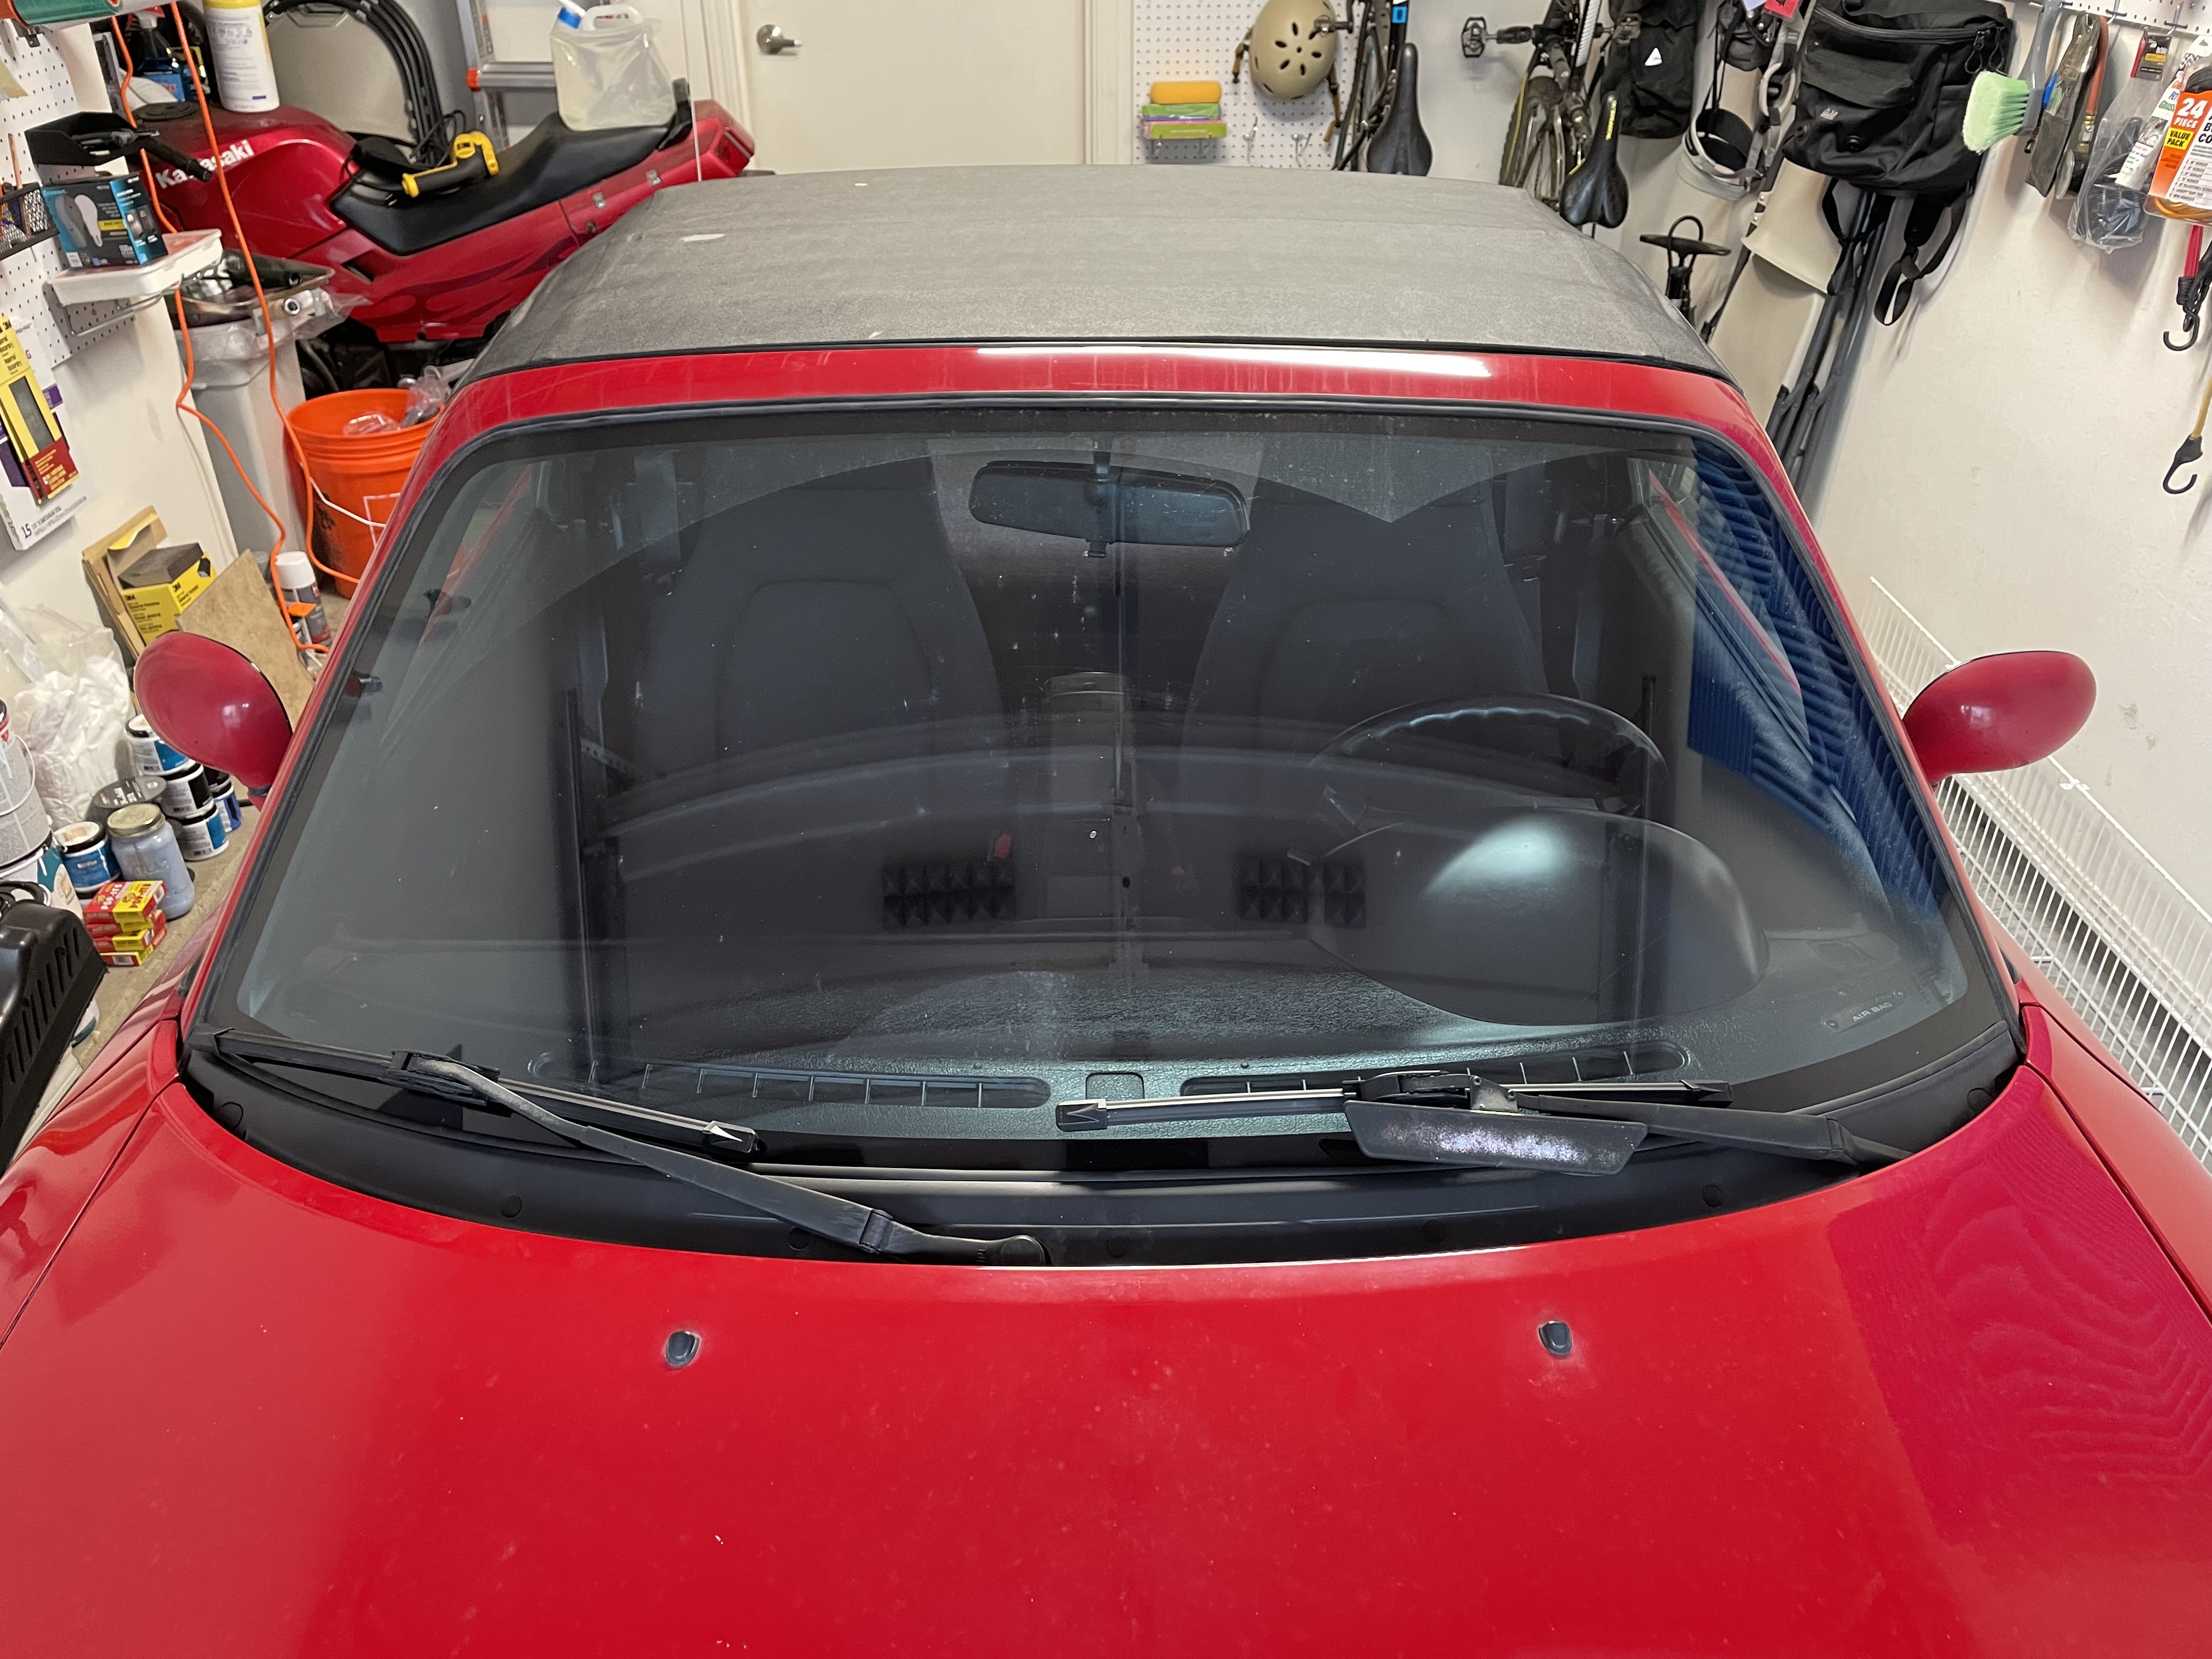
With the help of my friend Joseph, I replaced the soft top.
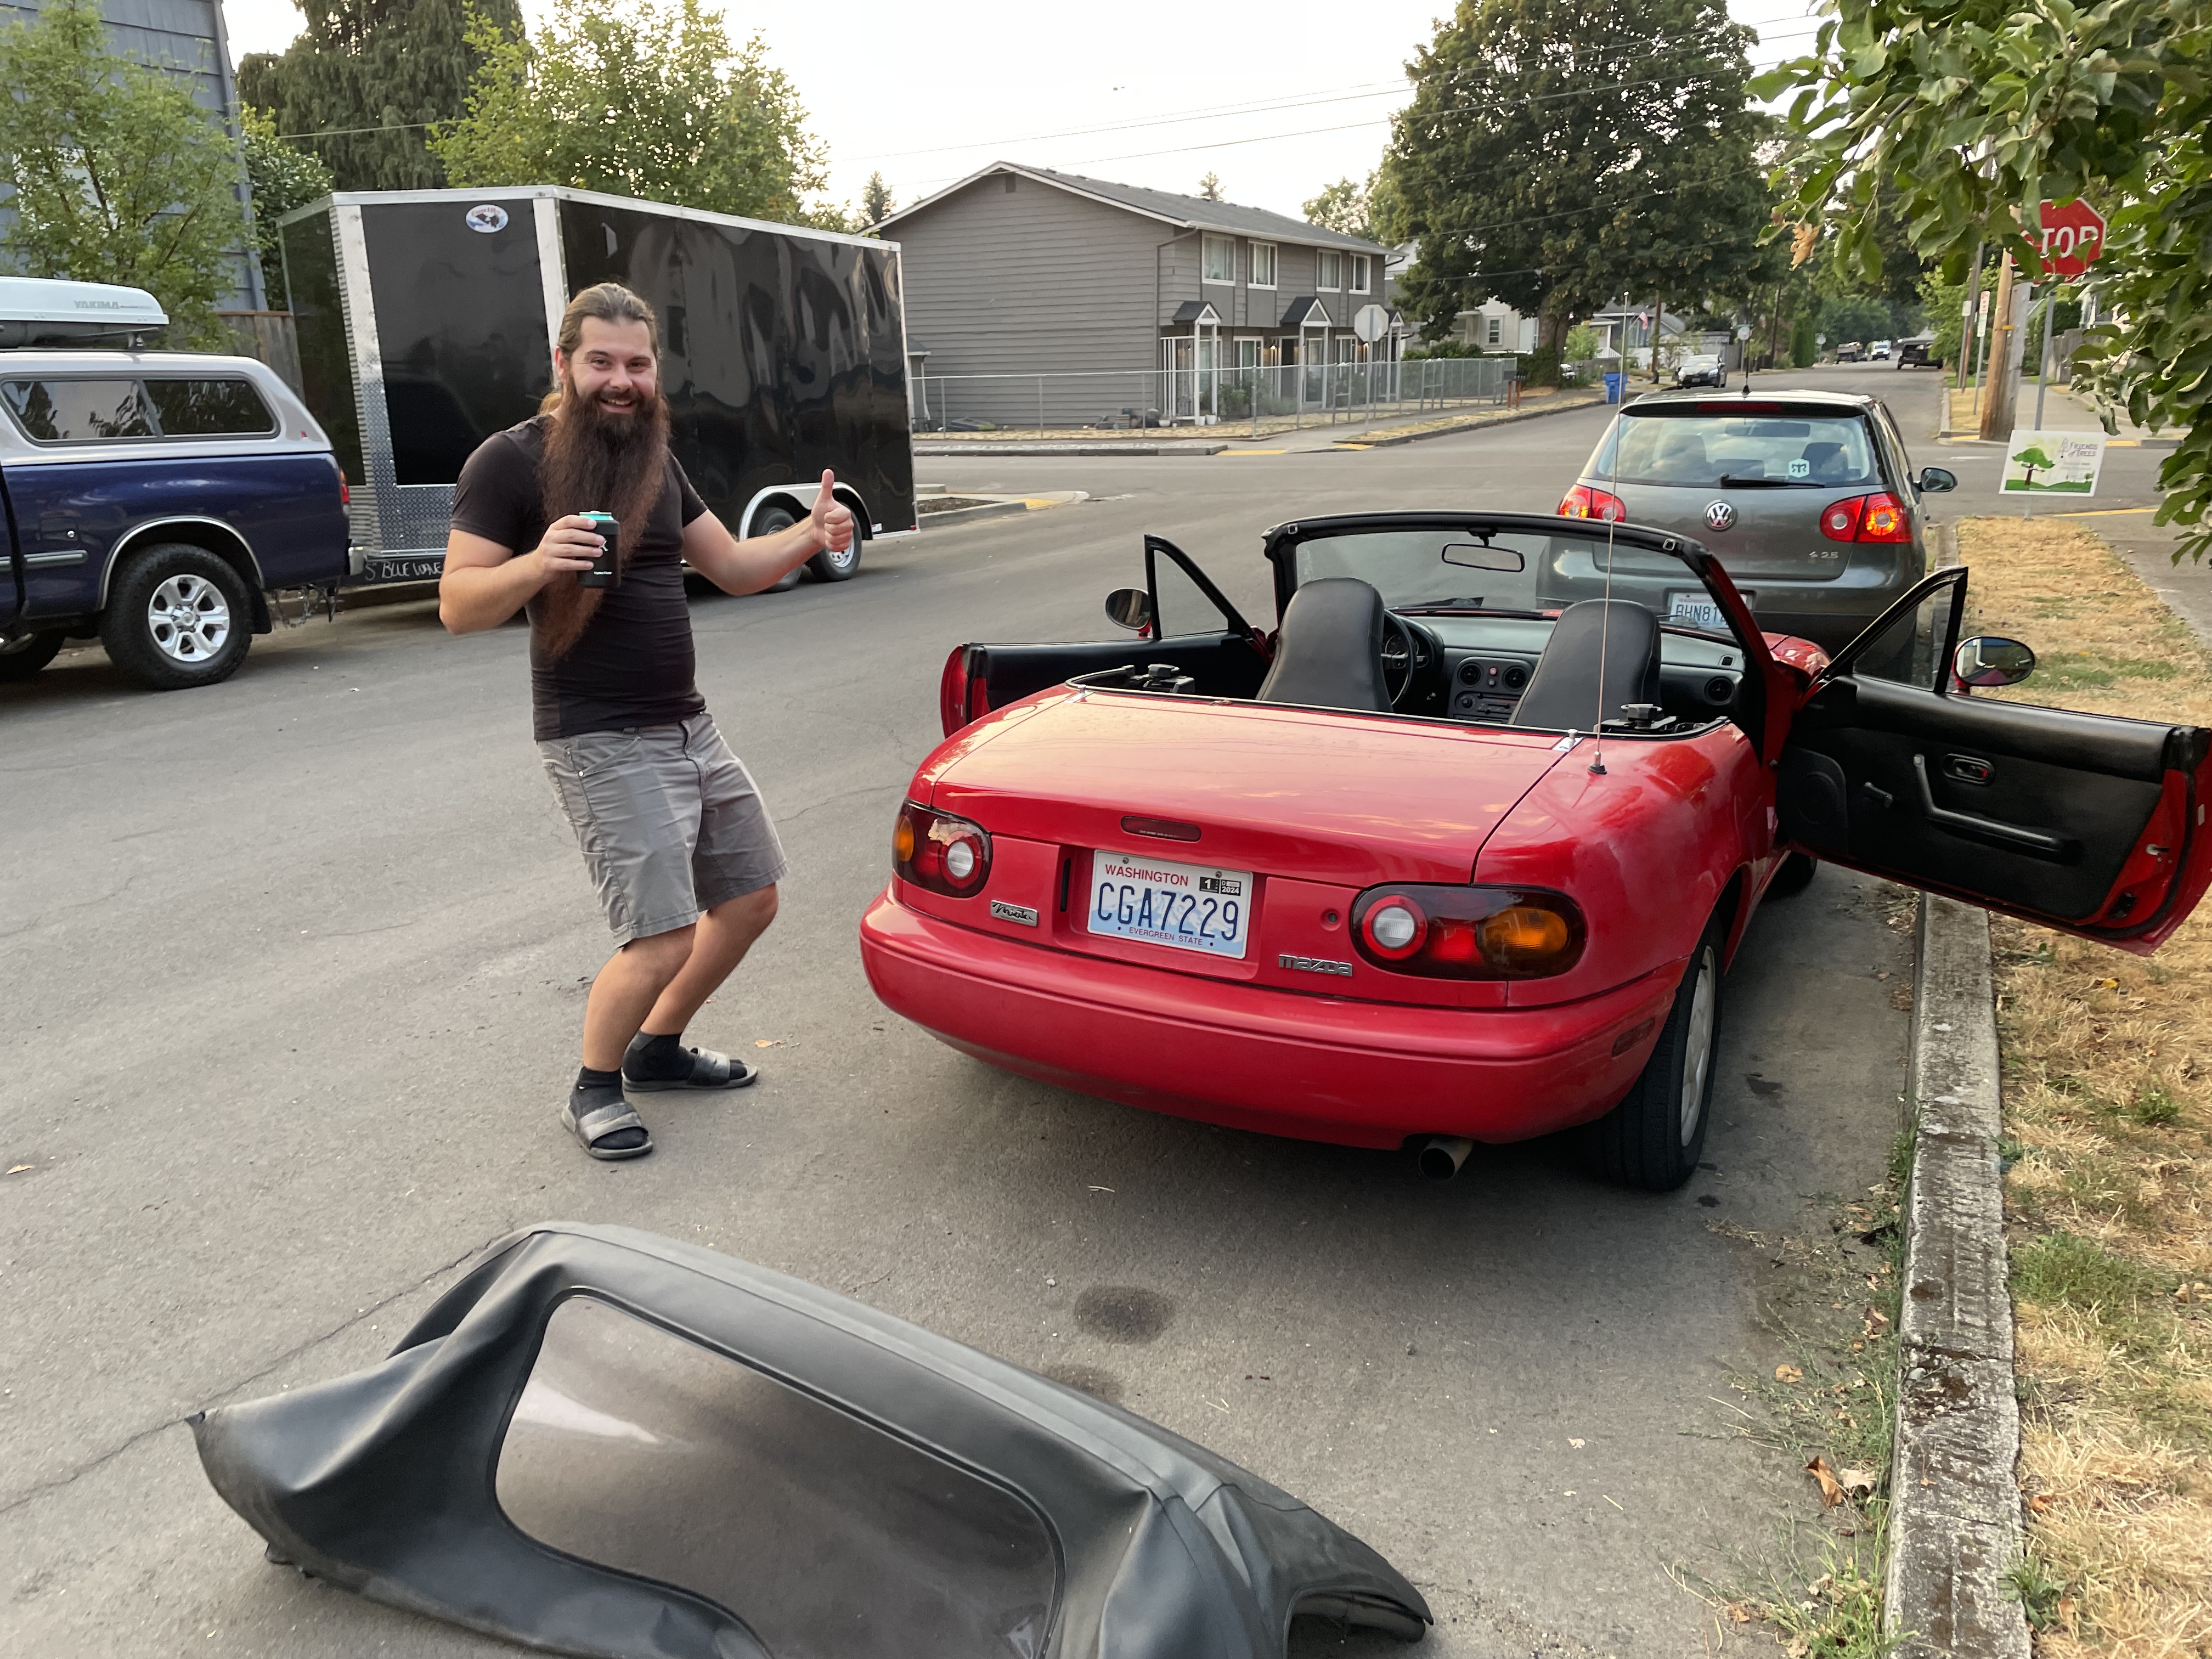
We removed the frame entirely, then removed the old soft top from it, installed the new one, and put the frame back onto the car.
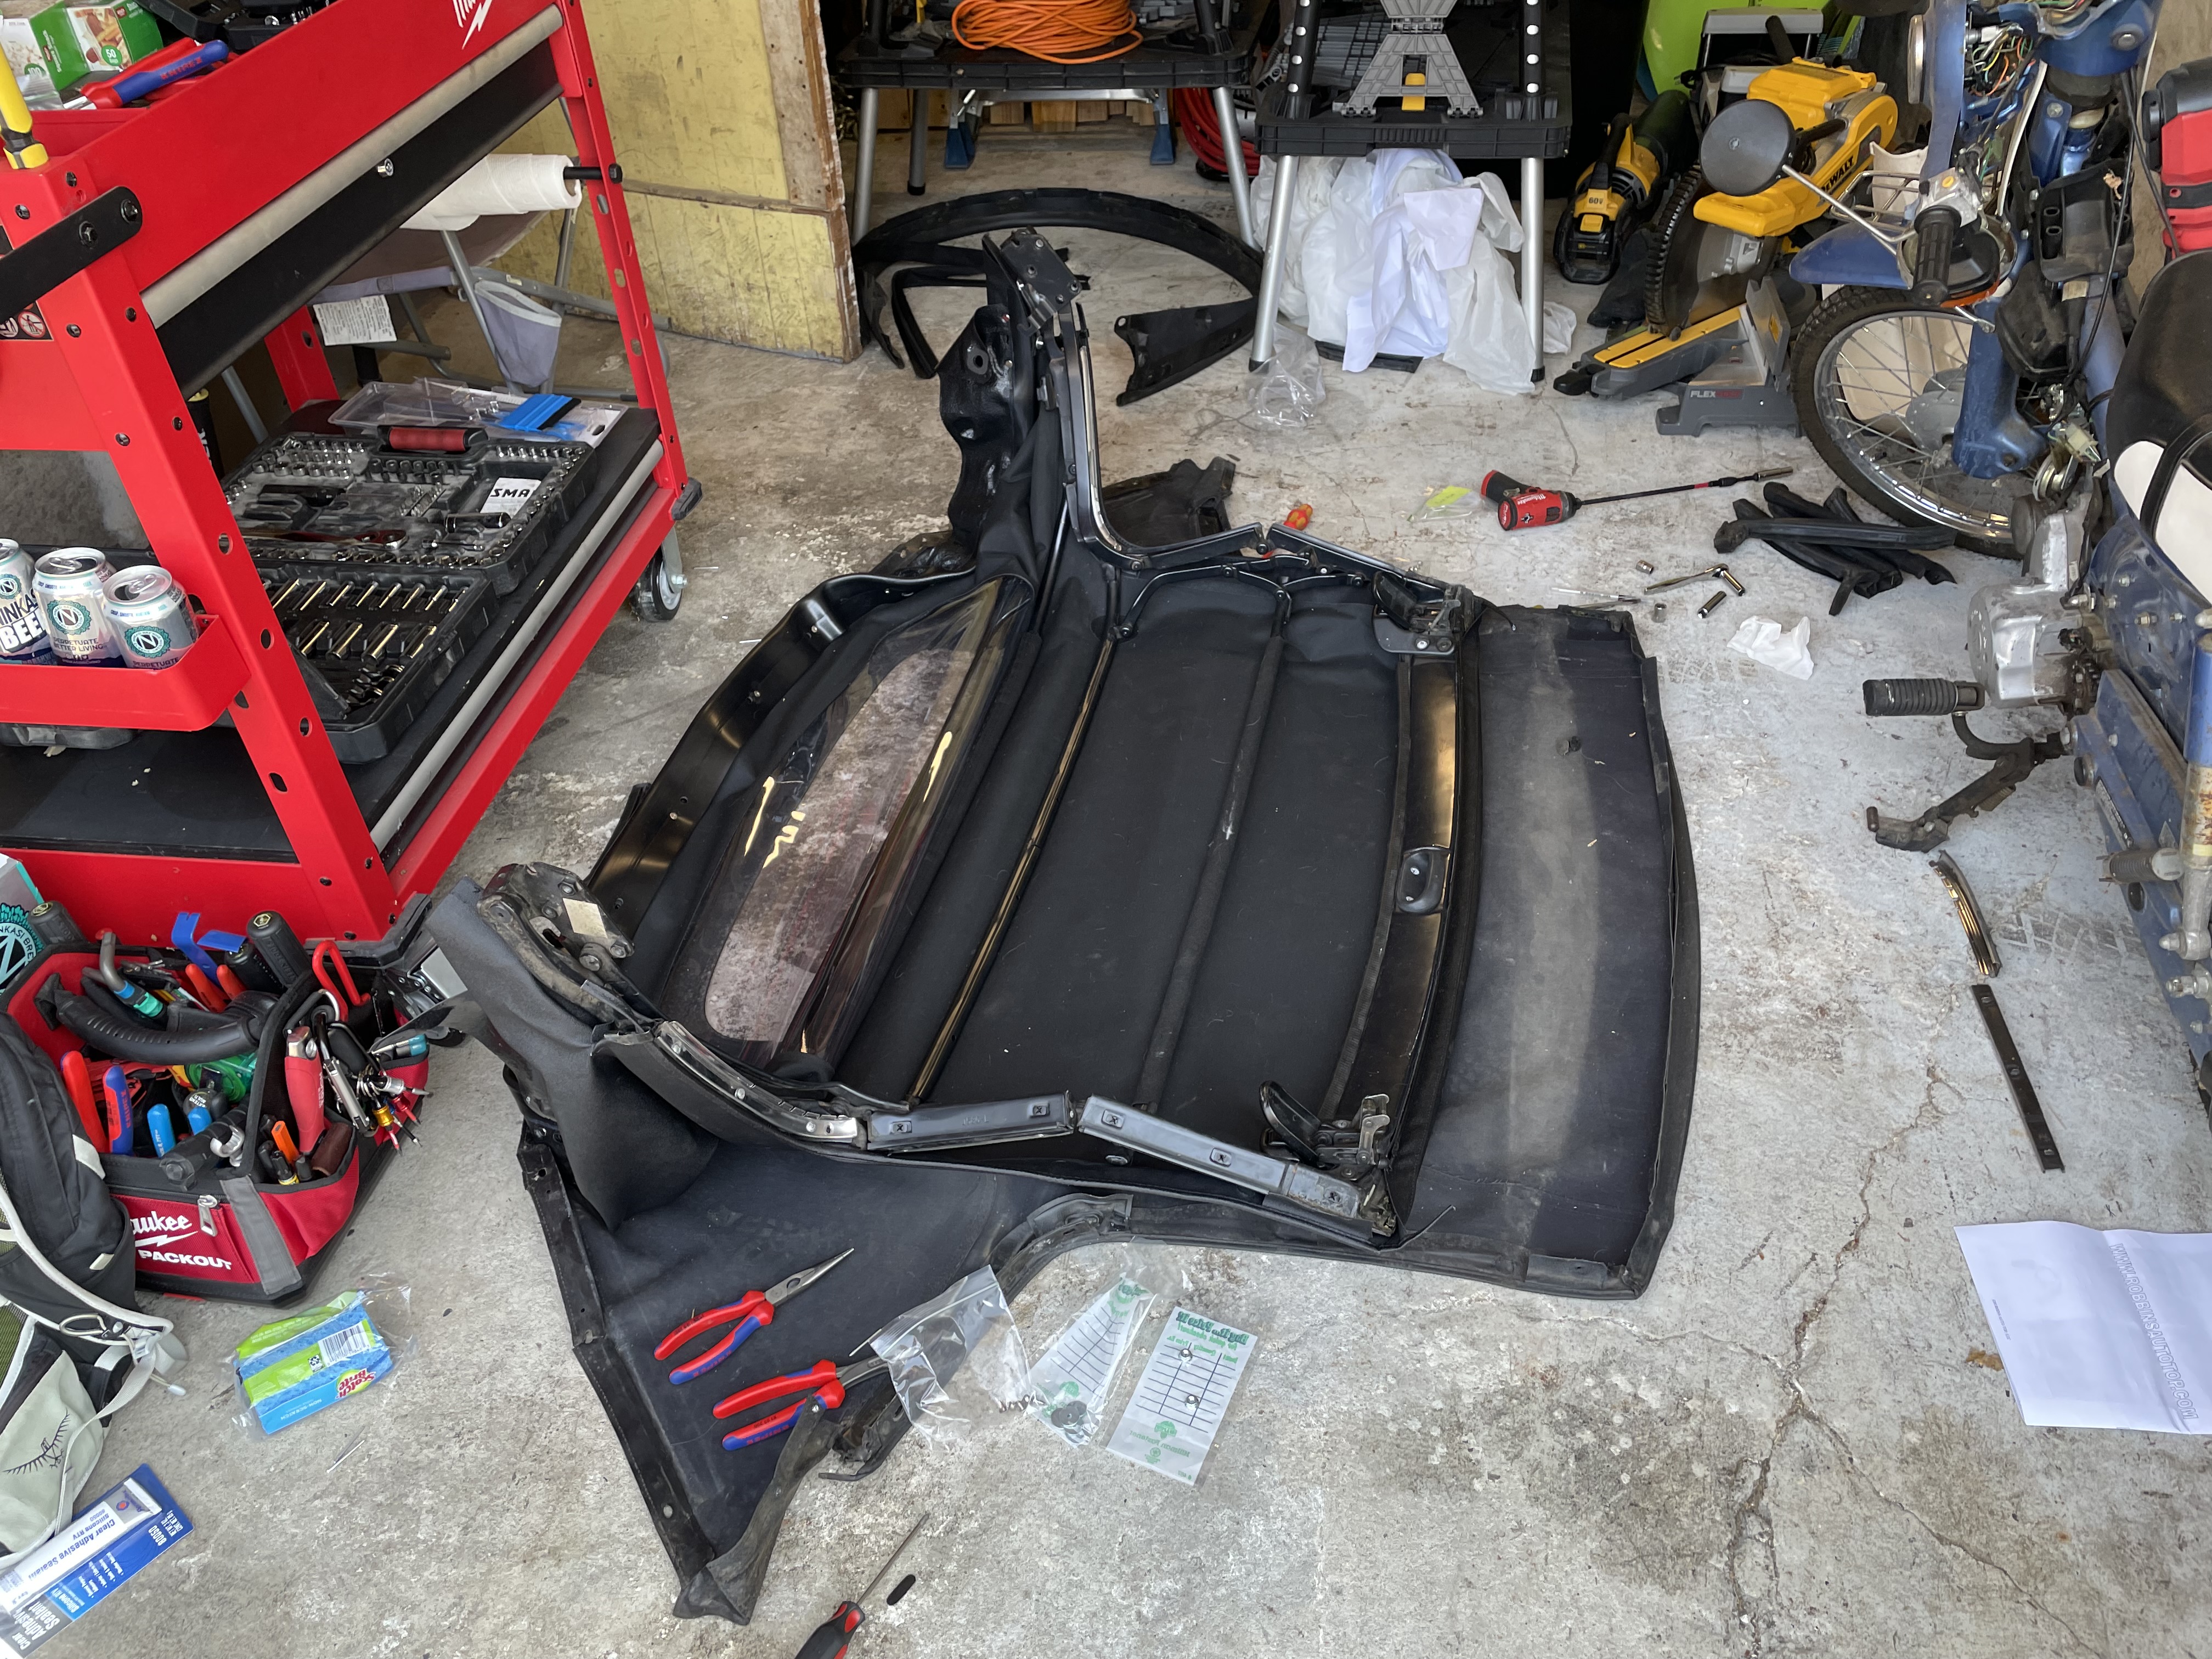
When installing the new top onto the frame, we put the old top below it to prevent the new top from being dirtied or damaged by the cement floor.
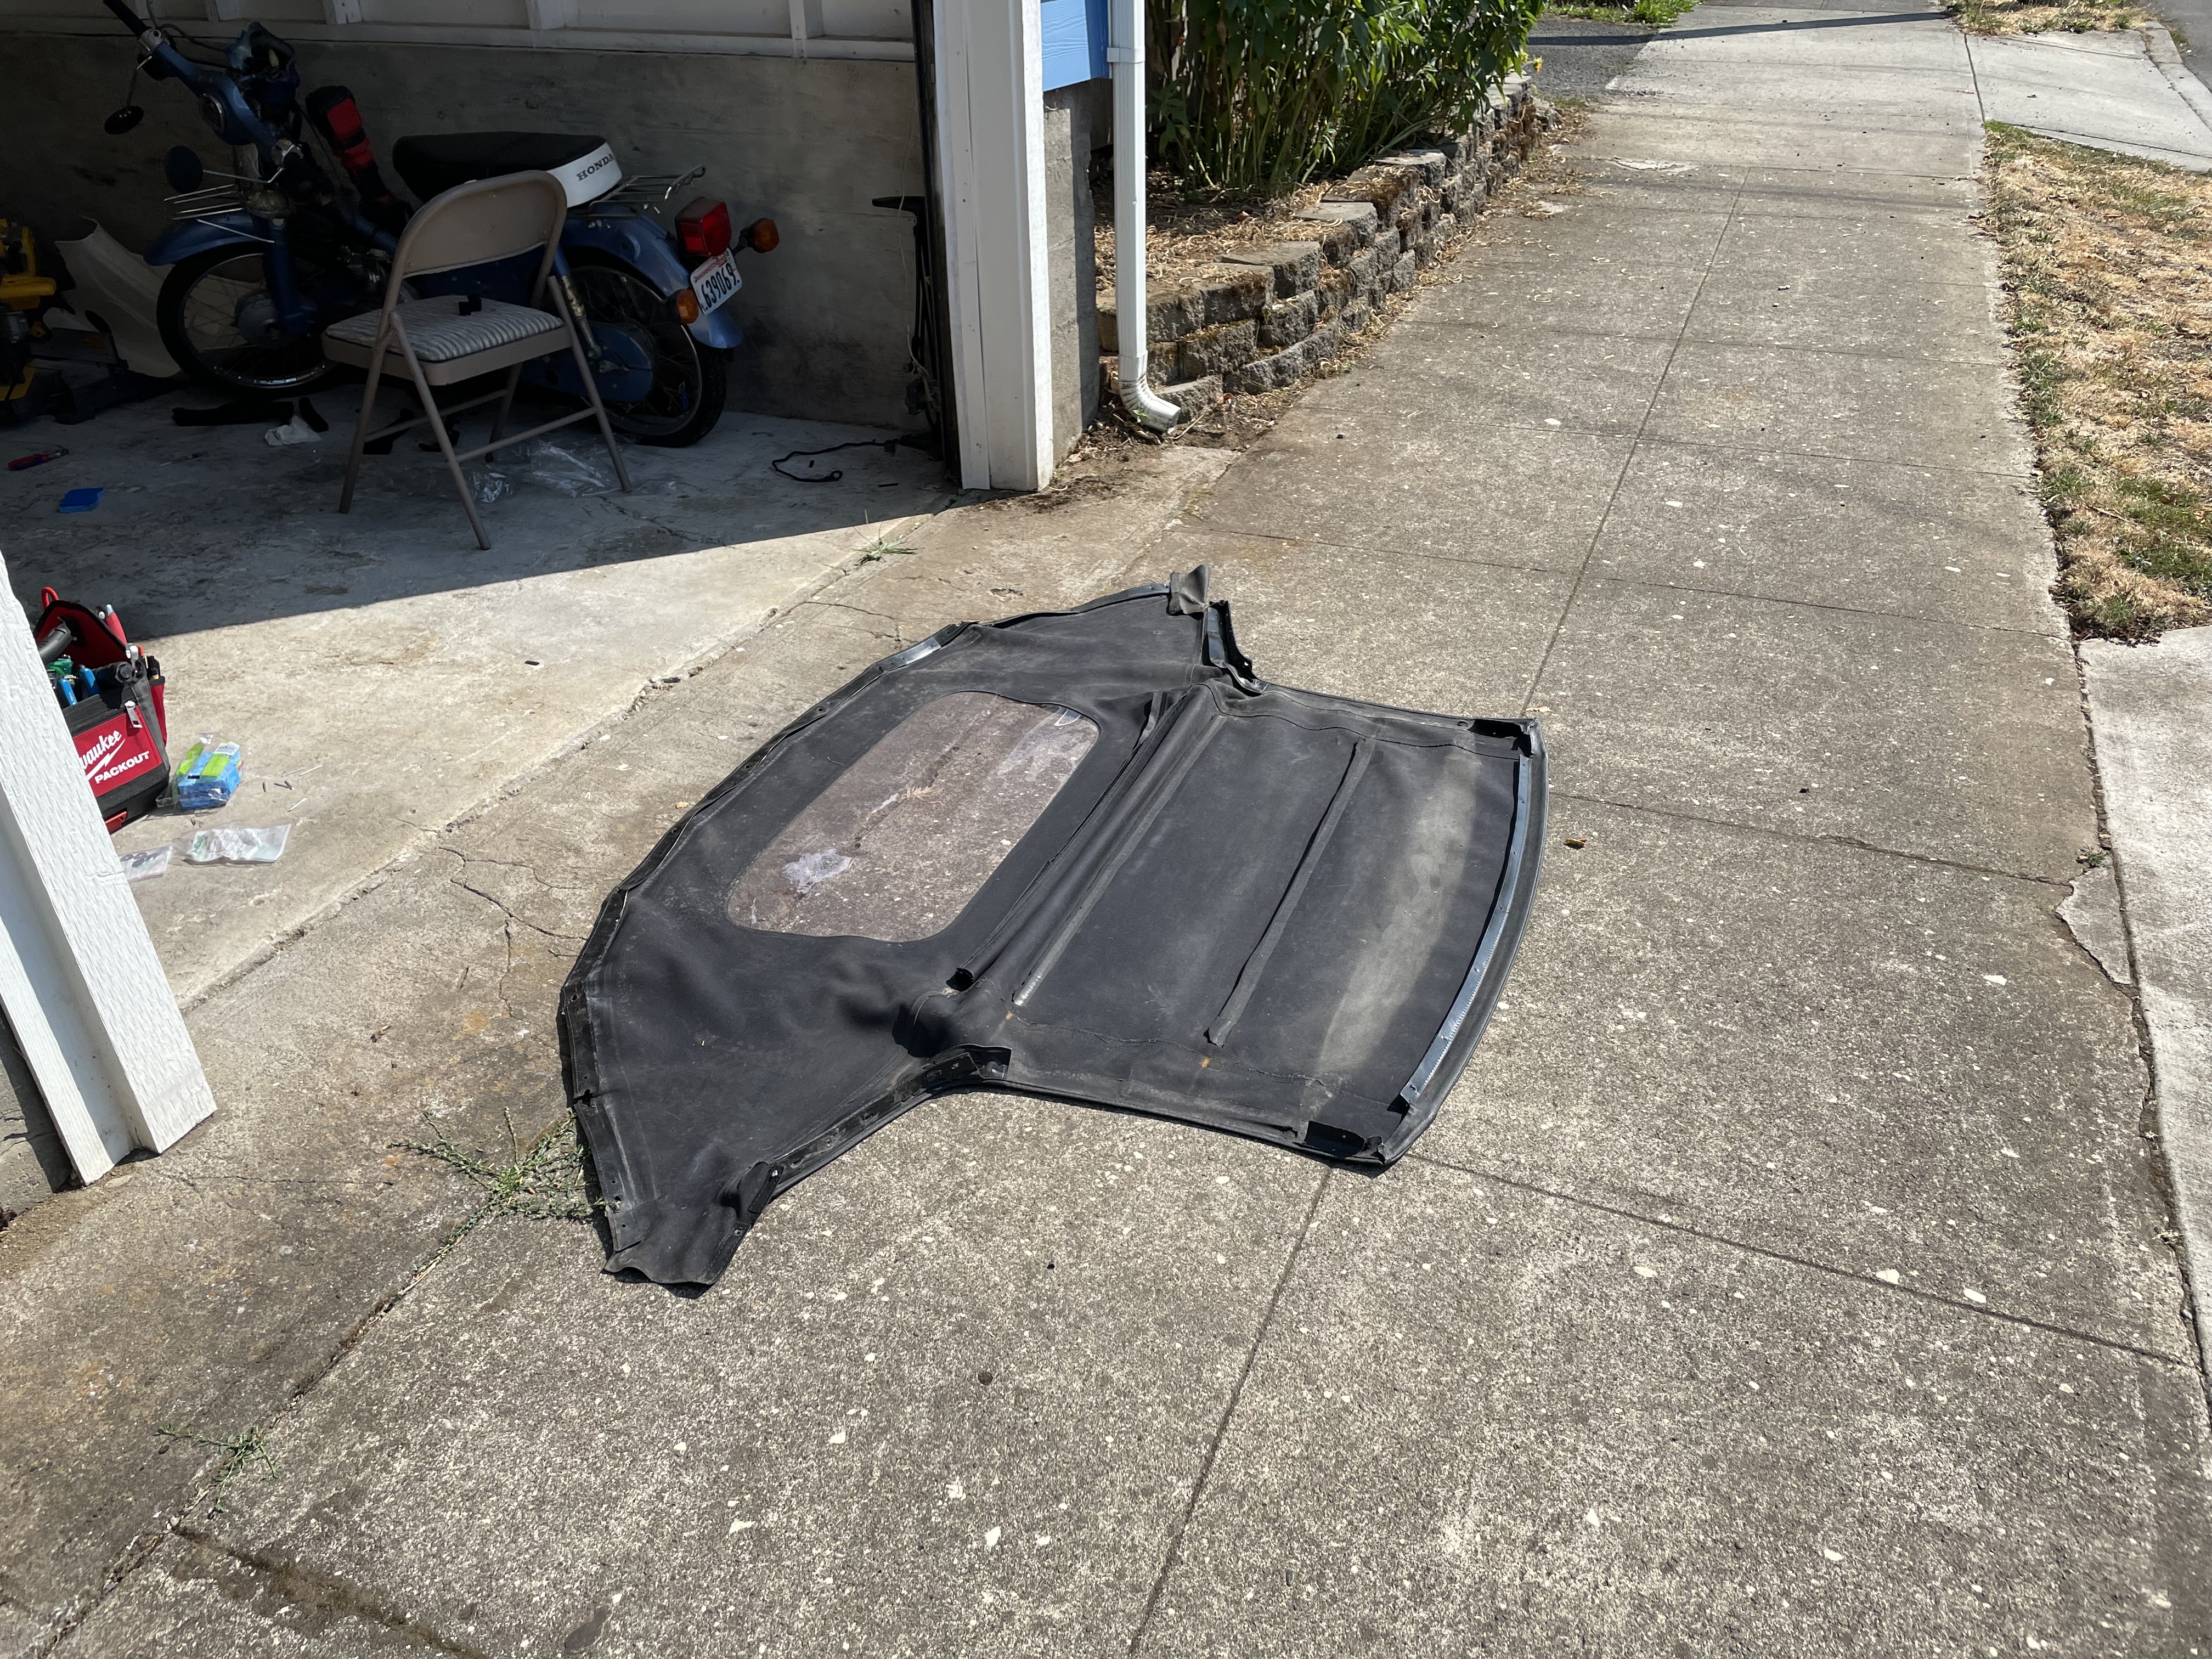
The old top did a great job for a long time, but it was definitely starting to show its age. Also there was a Bic pen shoved in the middle loop. I had no idea I’d been driving around with a pen so close to my head.
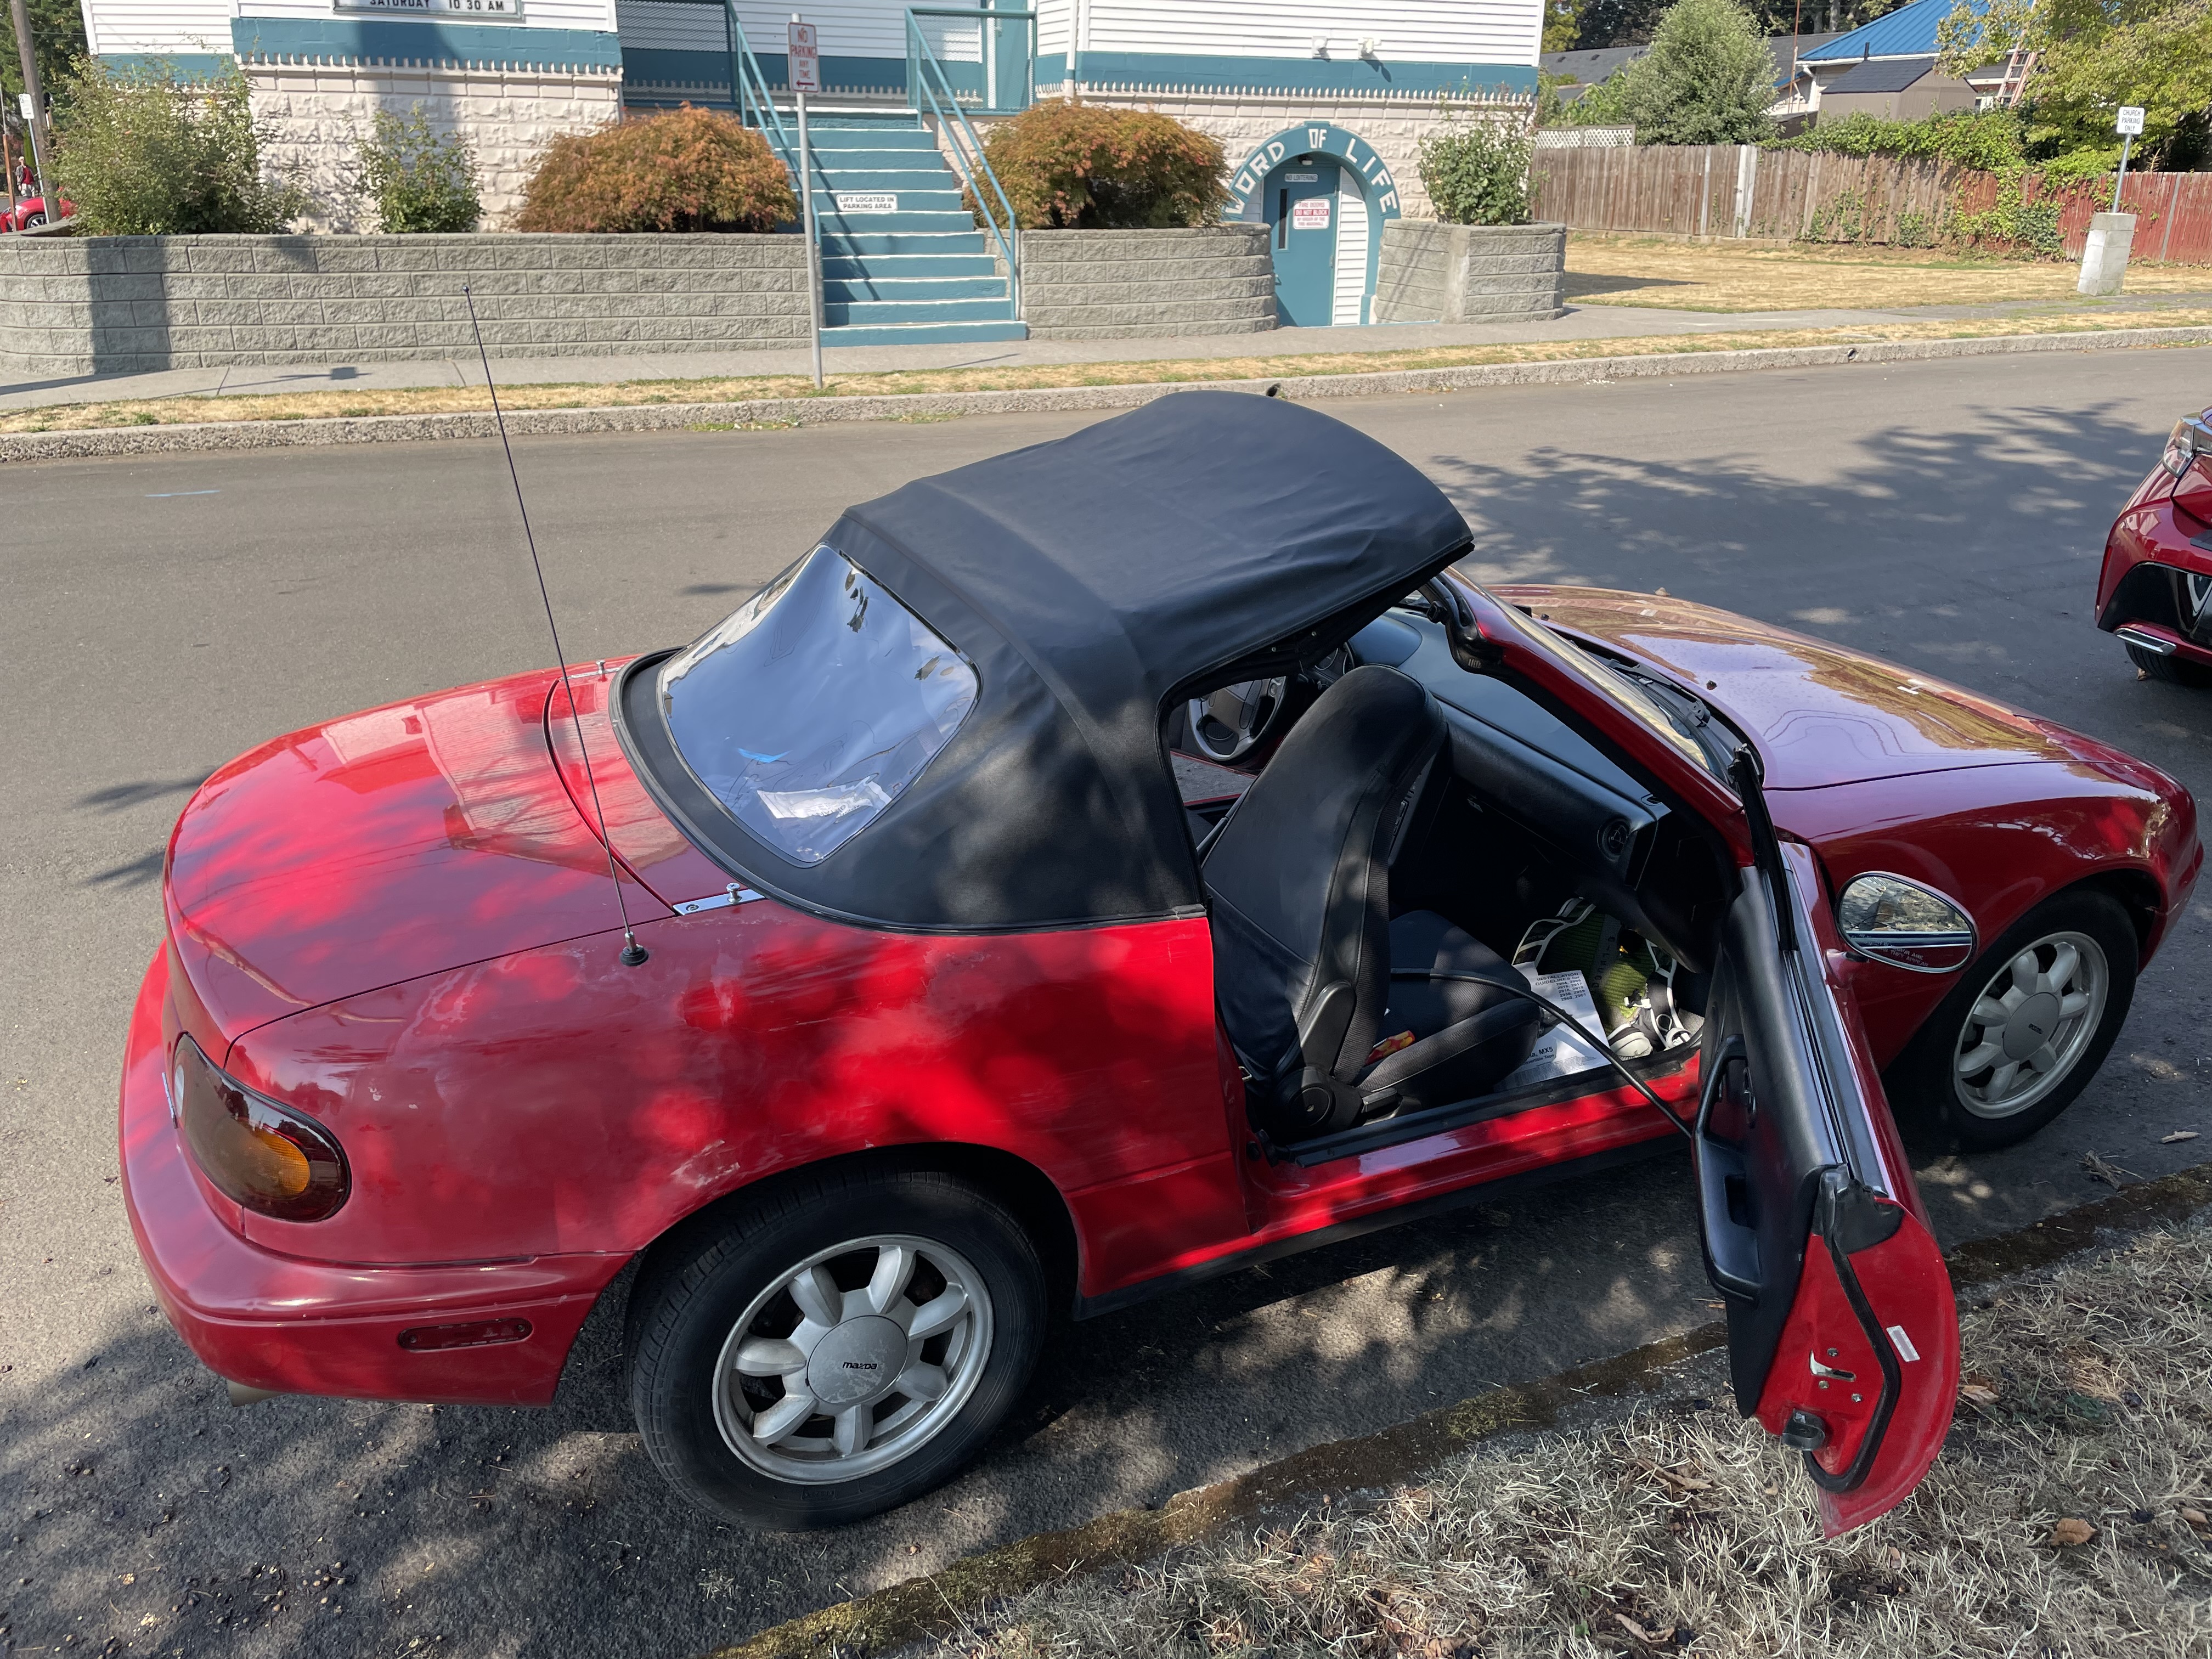
The new top wouldn’t close until it had been stretched out. This involved a lot of pulling and pushing, and a little bit of swearing.
After we finally got it closed, we tightened the bolts that attached the top to the body. I also replaced the seals between the top and the windows.
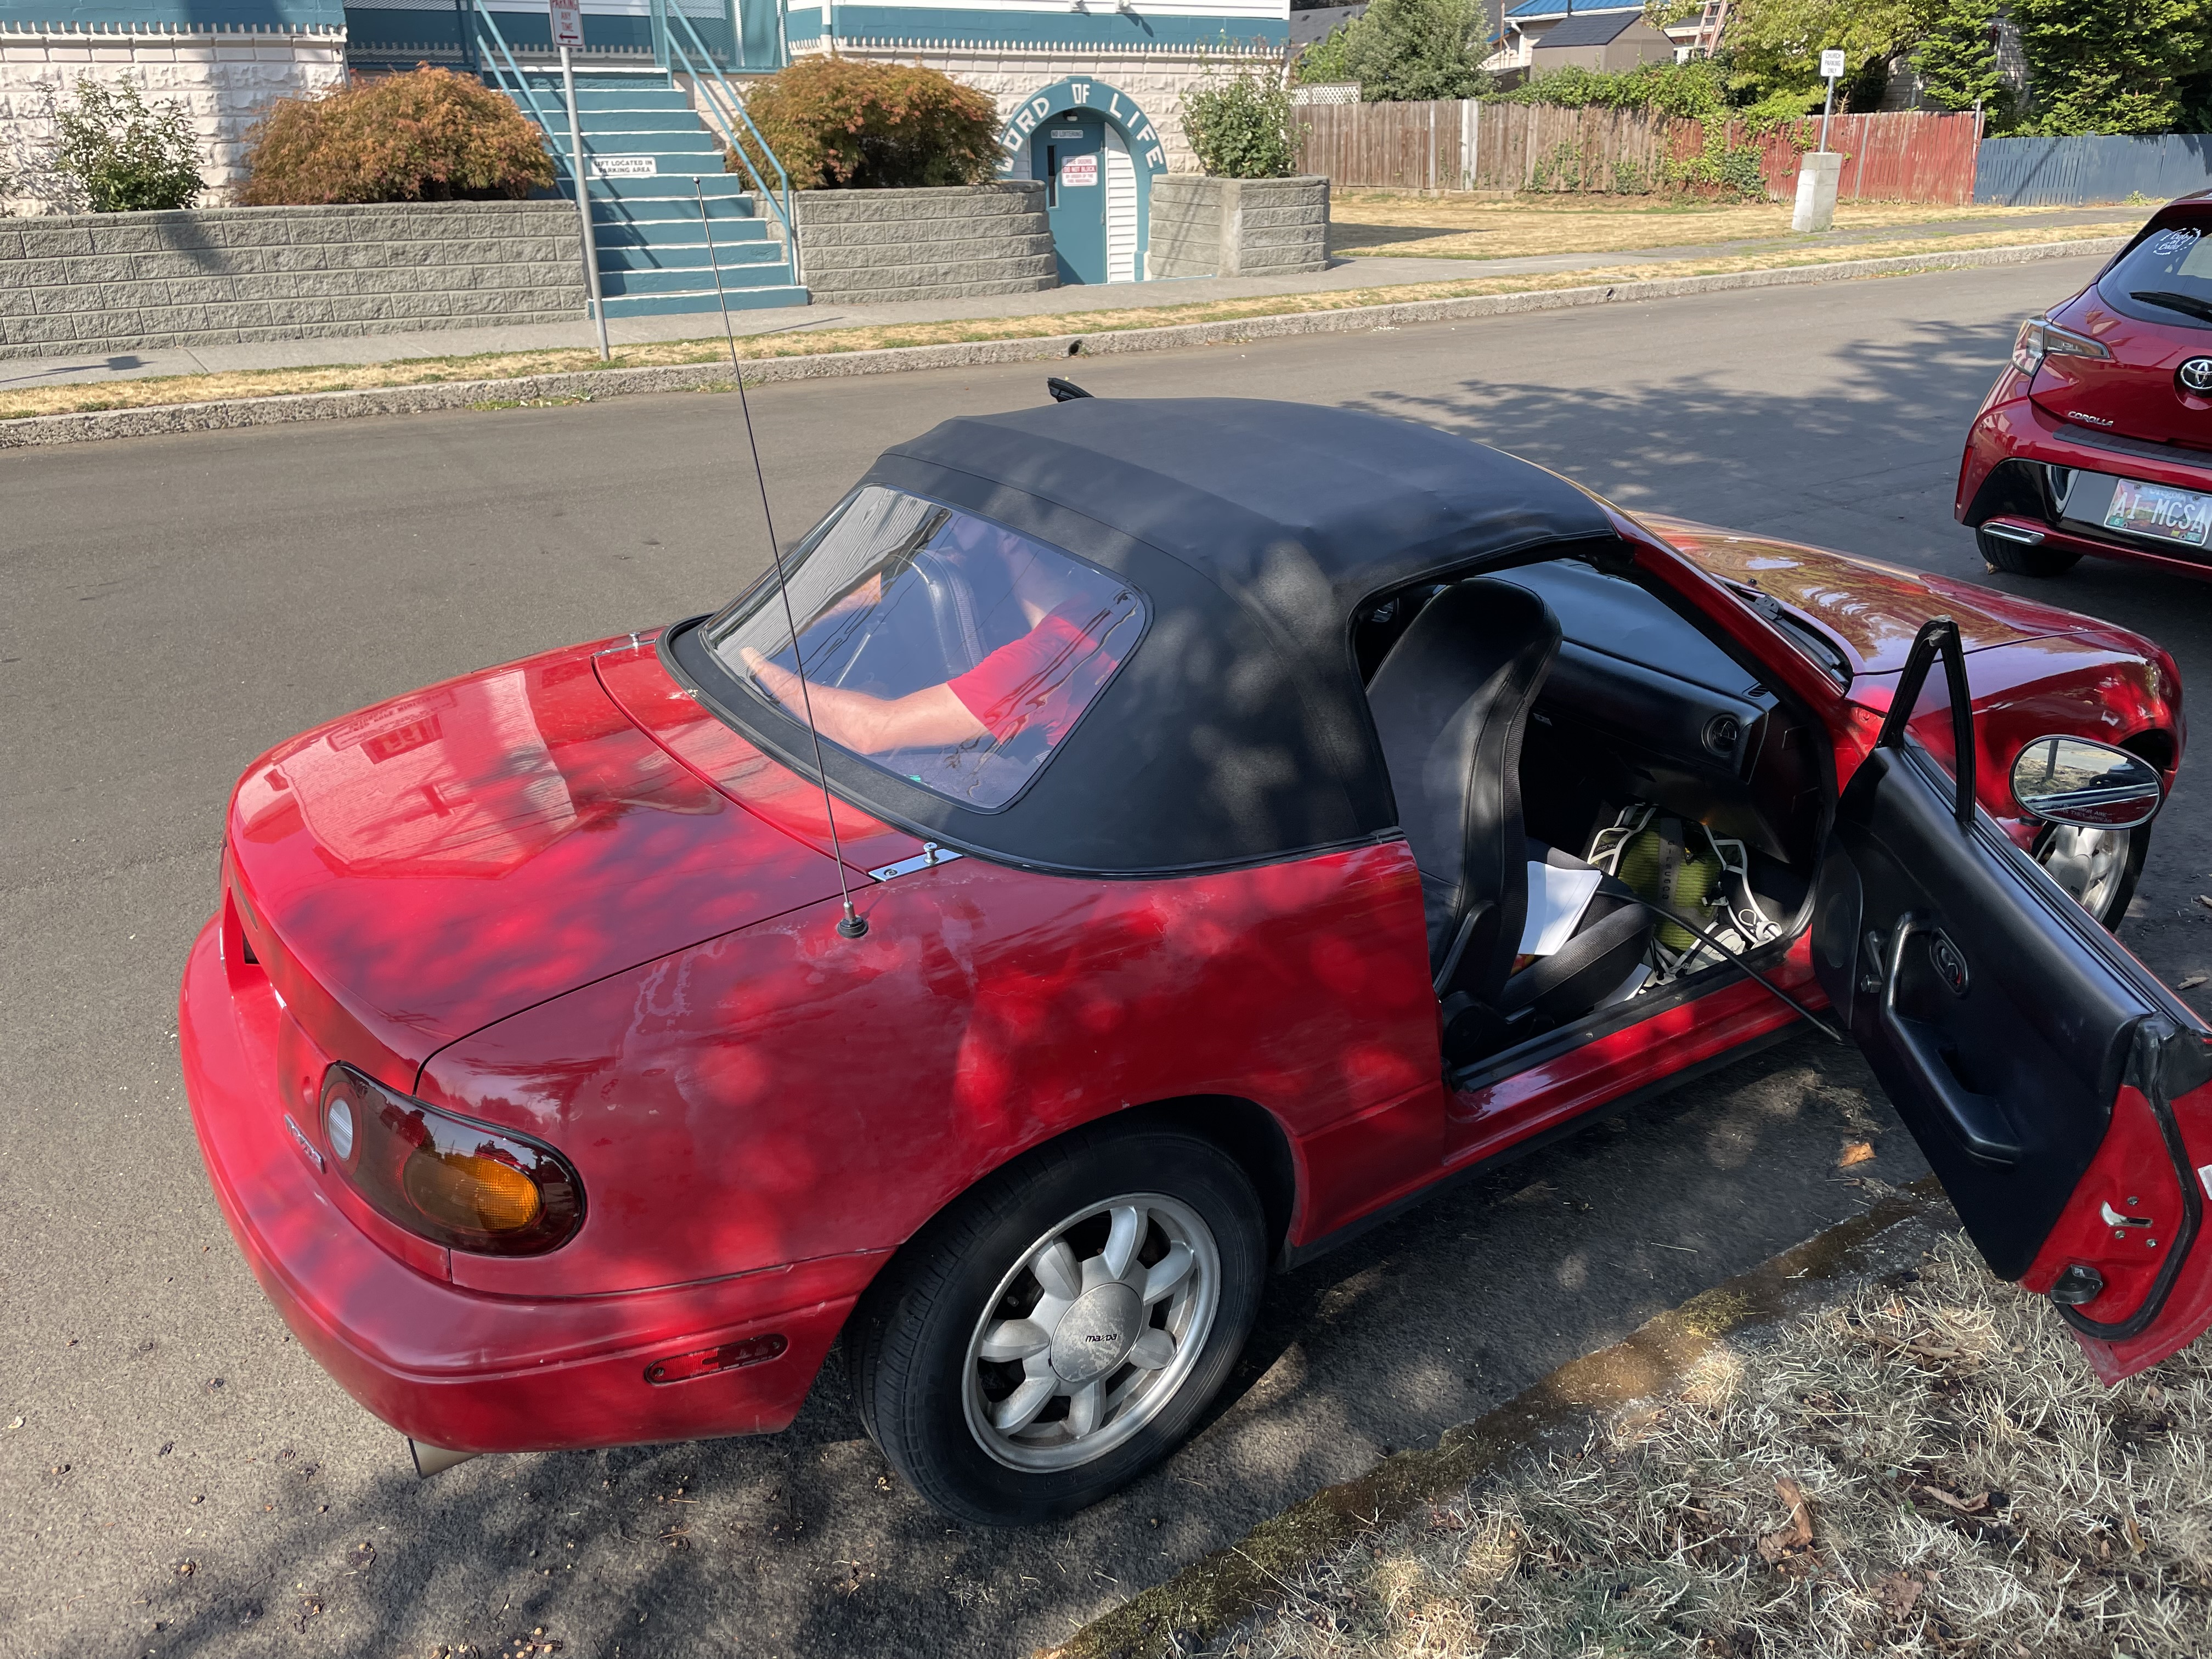
The new top is quite a bit nicer. I can actually see what’s behind me. The old top was like looking through a porthole.
I sewed a cover over the steering wheel to protect it and make driving a little more comfortable.
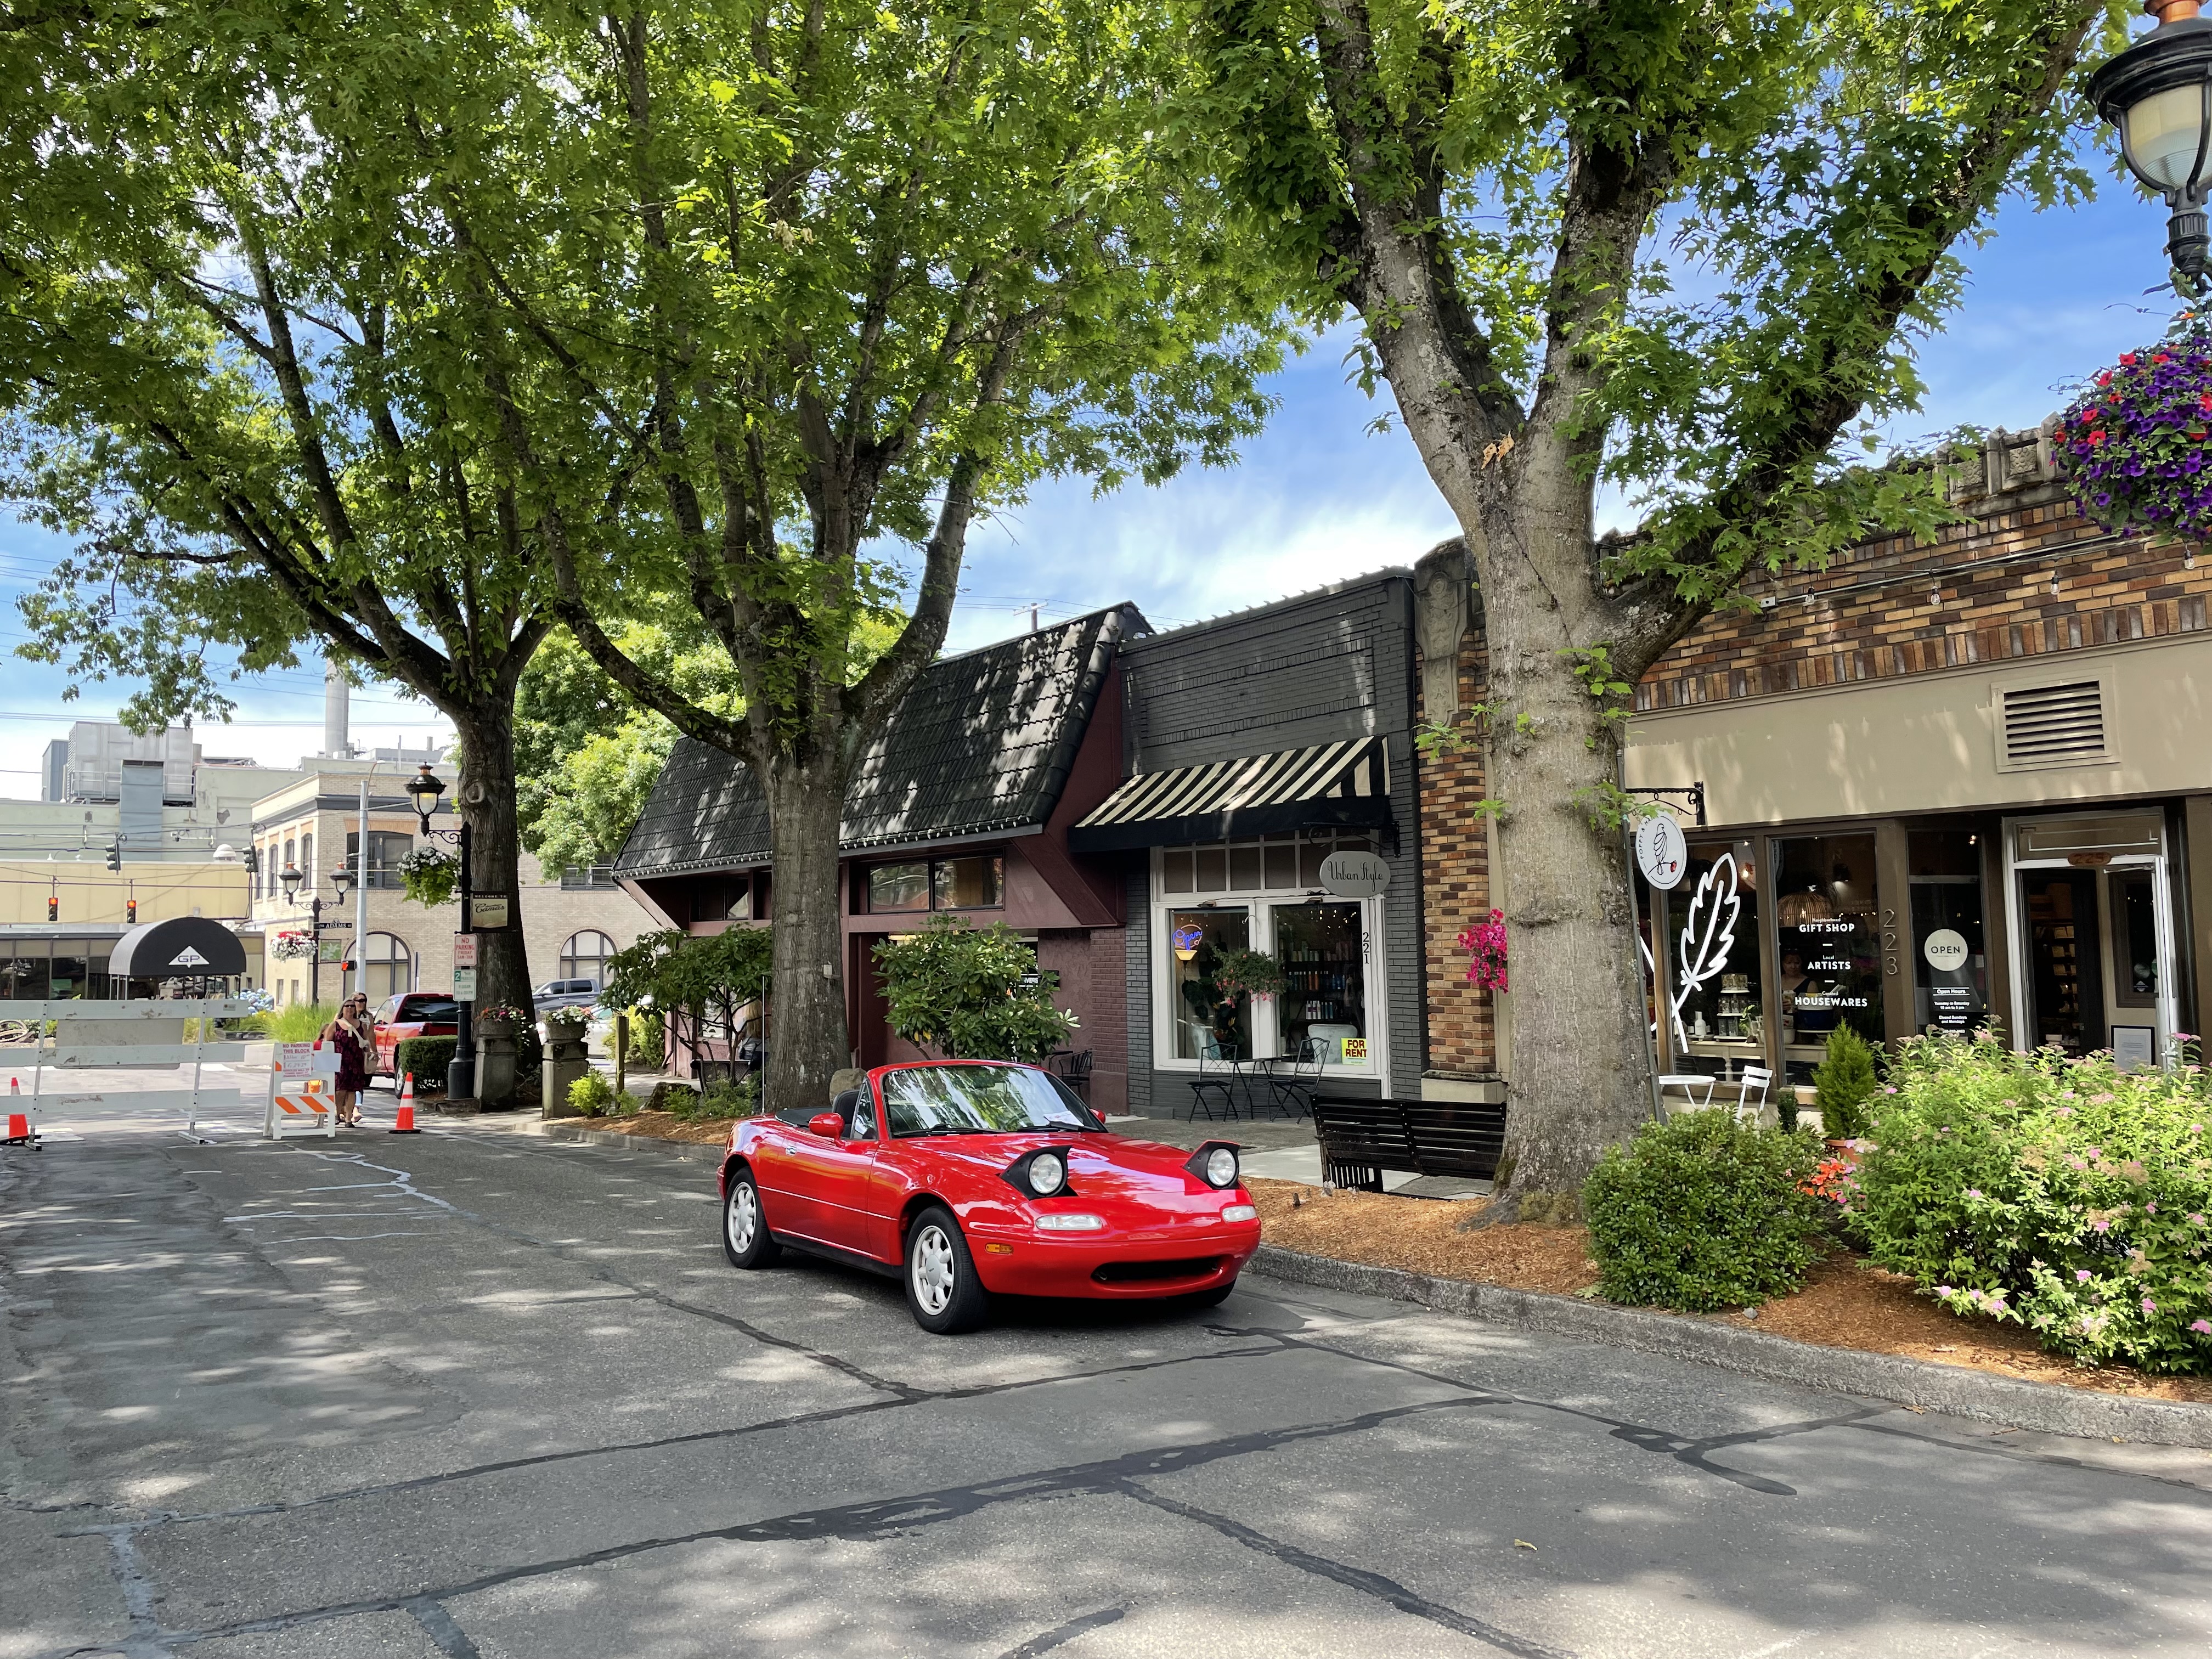
I really enjoy this car. It’s impractical, but boy is it fun.

September 2024 update: I’ve replaced the wiper shield and had the car re-painted. It looks spectacular.

I think the only thing left is to refurbish the wheels. I scrubbed the heck out of them, but the aluminum still has stains on it. I think it’s going to take some sanding or and/or more powerful solvents.
December 2024 update: I got annoyed with the Miata’s lack of cabin air filter, so I designed and built my own.